
Blog

  • Mini Corn Dogs

    Mini Corn Dogs

    Need something to snack on during the day between lunch and dinner? These will satisfy your hunger anytime. They are quite easy to make and won’t fill you up too much before dinner. My son and husband love these. And with hot dogs being a choking hazard the pieces are so small, I know my toddler can eat these safely. With a side of mustard, it will compliment these delicious bites quite nicely. I usually make these for a quick snack, but they would also be a scrumptious appetizer at any Super Bowl party. 

    Mini Corn Dogs

    Prep time: 15 mins

    Cook Time: 20 mins

    Total Time: 35 mins

    Yield: 24 mini corn dogs

    Ingredients

    1 box of Jiffy cornbread

    1 egg

    1/3 cup of milk

    4 hot dogs

    Directions

    Preheat oven to 400 degrees F. Grease two mini muffin tins. Set aside.

    In a medium bowl, combine cornbread mix, egg, and milk. Stir until well combined. Let mixture sit for 5 mins.

    Slice each hot dog into 6 pieces. In your prepared muffin tins, fill cups 1/2 full. Place a piece of hot dog into each cup. Bake for 15-20 mins. Let cool and serve! Serve with favorite mustard or ketchup.

    Enjoy!
  • Cinnamon Apple Muffins

    Cinnamon Apple Muffins

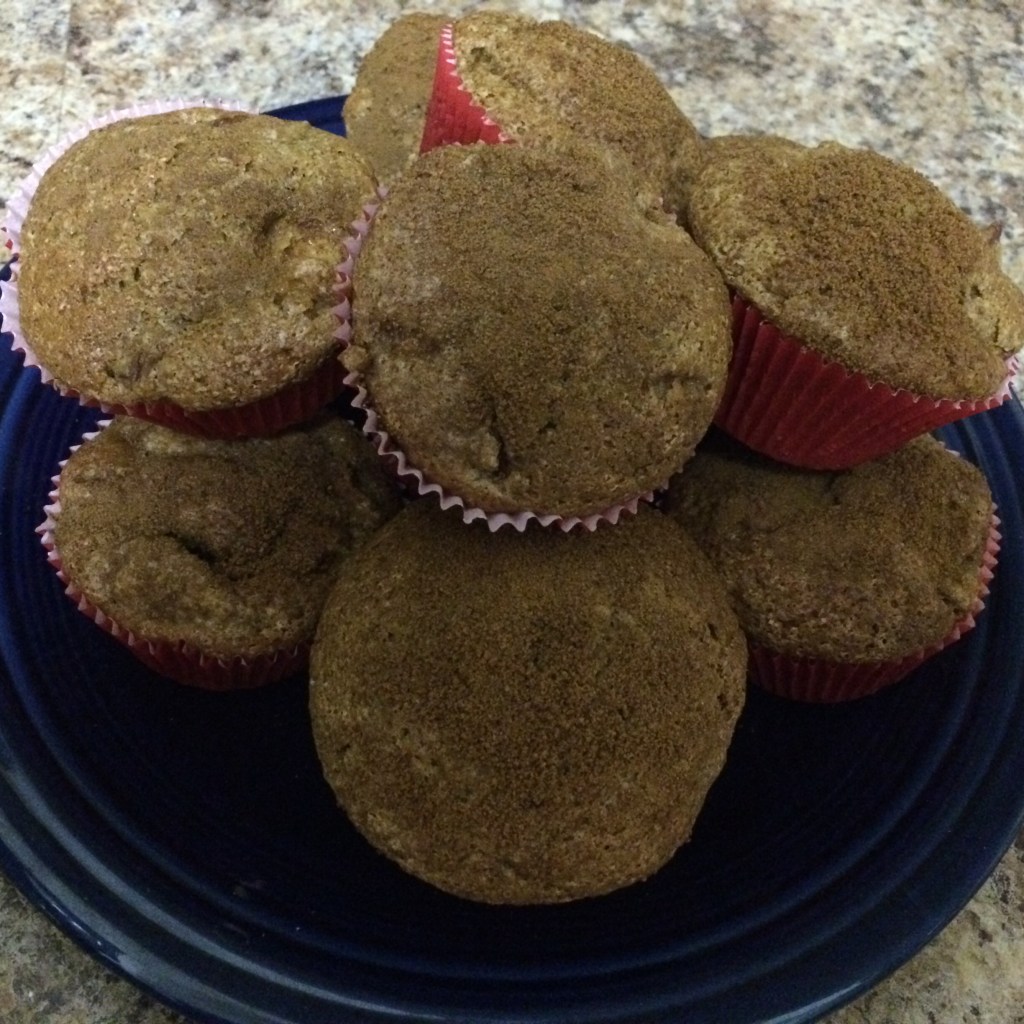
    Sunday mornings I can’t help from jumping into the kitchen to bake. Oh, let’s face it, I’d bake something every morning if I knew I wouldn’t gain 30lbs. Nevertheless,  these tasty delights will start your morning off right. And bring just the right amount of wintry zest to the table to warm anyone’s breakfast hunger. The flavor of cinnamon and apples are one of my family’s favorite. I think if I let my toddler eat the whole pan, he probably would have. So give these a stir, and try them out with your family for breakfast. They are great by themselves or my preference is with a little margarine put on them.

    Cinnamon Apple Muffins

    Prep Time: 10 mins

    Cook Time: 30 mins

    Total Time: 40 mins

    Yield: 12 Muffins

    Ingredients:

    2 cups of flour 

    1 1/2 tsp of baking powder

    1/2 tsp of salt

    2 tsp of cinnamon

    1 cup of sugar

    1 tsp of ginger

    2 cups of diced apples

    2 eggs

    2 tsp of vanilla extract

    1/2 cup of milk

    Directions:

    Preheat oven to 375 degrees F. Spray muffin tins with spray or use baking cup liners.

    In a large bowl, mix together flour, baking powder, salt, cinnamon, sugar, and ginger. Then, stir in apples.

    In a small bowl, combine eggs, vanilla, and milk. Pour into dry ingredients and stir until well combined.

    Scoop mixture into prepared muffin tins, filling about 3/4 full. Sprinkle cinnamon and sugar on top of each muffin cup. Bake for 30 mins or until a toothpick comes out clean.

    Enjoy!  

  • Toddler “Popcorn”

    Toddler “Popcorn”

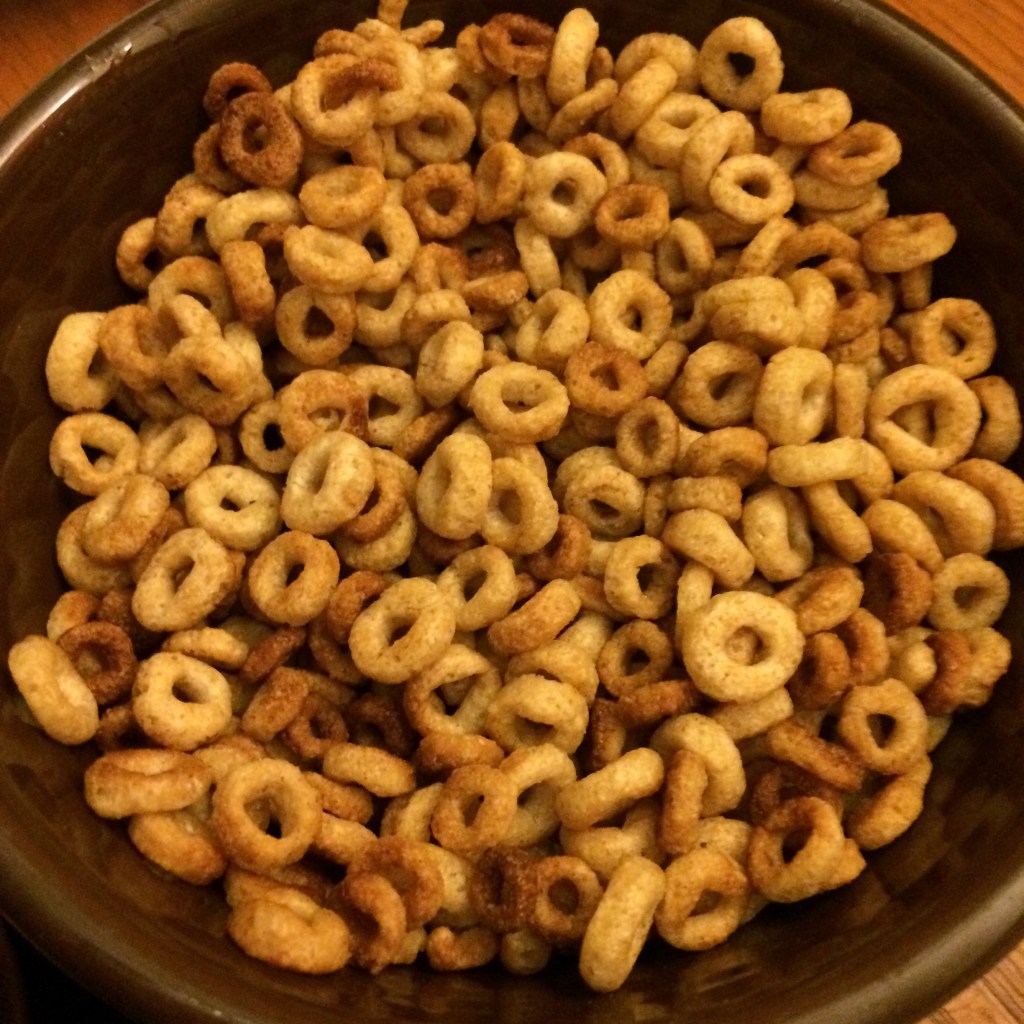
    Family Movie Nights are great! Everyone gets in their pajamas and piles up on the bed for a movie. The only thing missing is the popcorn. Problem is with a toddler they aren’t able to eat popcorn until around 4. Before then, they don’t have the ability to grind down their food into small enough pieces to prevent choking. So popcorn is out, because I can’t eat it in front of him and then tell my toddler he can’t have any. I started making this substitute instead and it tastes pretty close to popcorn. My toddler also enjoys making it with me.

    Toddler “Popcorn”

    Ingredients:

    1/2 stick of Butter

    2 1/2 cups of Cheerios, plain

    Directions:

    In a frying pan, melt butter on medium heat. Add in Cheerios and stir. Cook until Cheerios are golden brown. Let cool and Serve!

    They are toddler approved!  

  • DIY Wall Decor for January

    DIY Wall Decor for January

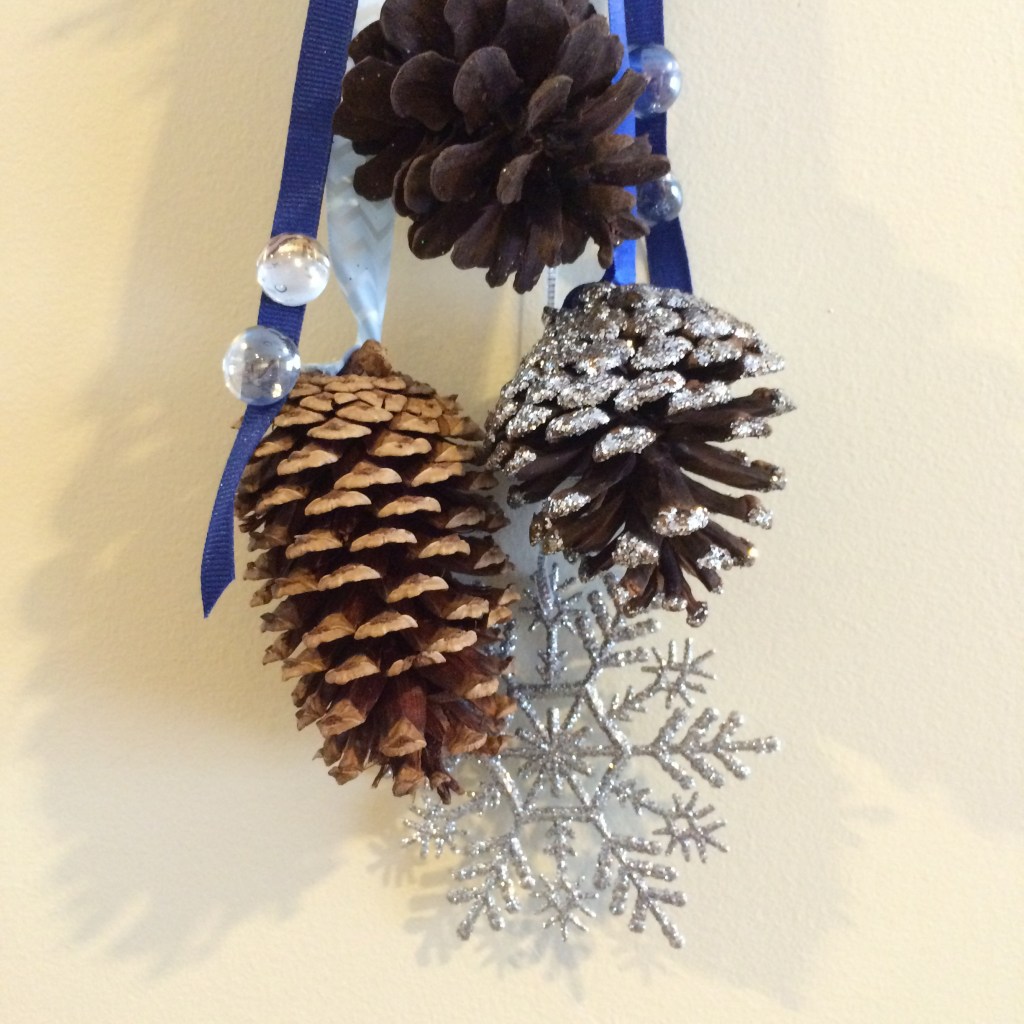
    It’s time to make your home festive for January. You had the wreath up in December but you need something to take its place. This pine cone craft will bring a winter feel to your home and won’t break the bank to make either. Most of the supplies I was able to get on a discount due to being part of Christmas clearance. It will take about 15-20 mins to make. May be quicker, but I am a perfectionist and it took me longer to get the right length for each ornament hanging. You can use a variety of different ribbons, strings, burlap, or tulle. The world is your oyster so design it to however you see fit.

     Pine Cone Wall Decor

    You’ll Need:

    Ribbon (variety)

    Tulle or Burlap

    Pine Cones (scented, optional)

    Snowflake Ornaments

    Beads (optional)

    Hot Glue Gun

    Scissors

    Instructions:

    Cut pieces of ribbon about 18-24ins long. I used 7 strips for mine. Hot glue the end of ribbon pieces to the pine cones and snowflakes. Use a couple ribbon strip tied on the ends or hot glue beads onto the strip to give the craft an extra zest.

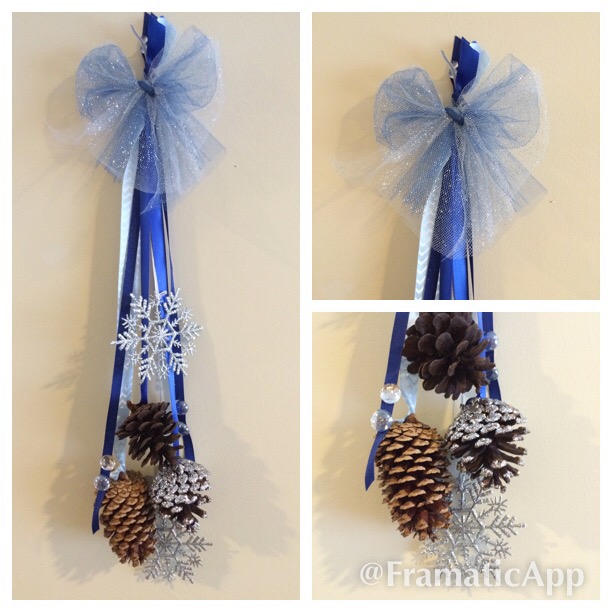
    Once you have aligned each ornament ribbon strip to the length preferred, tie all the strips together into one big knot. Take your burlap or tulle and make a bow to accent the top of the craft. Hang it in your favorite spot in the house. And Tada!, you have a beautiful craft that all your family and friends can admire.

    Here are a couple of examples: 


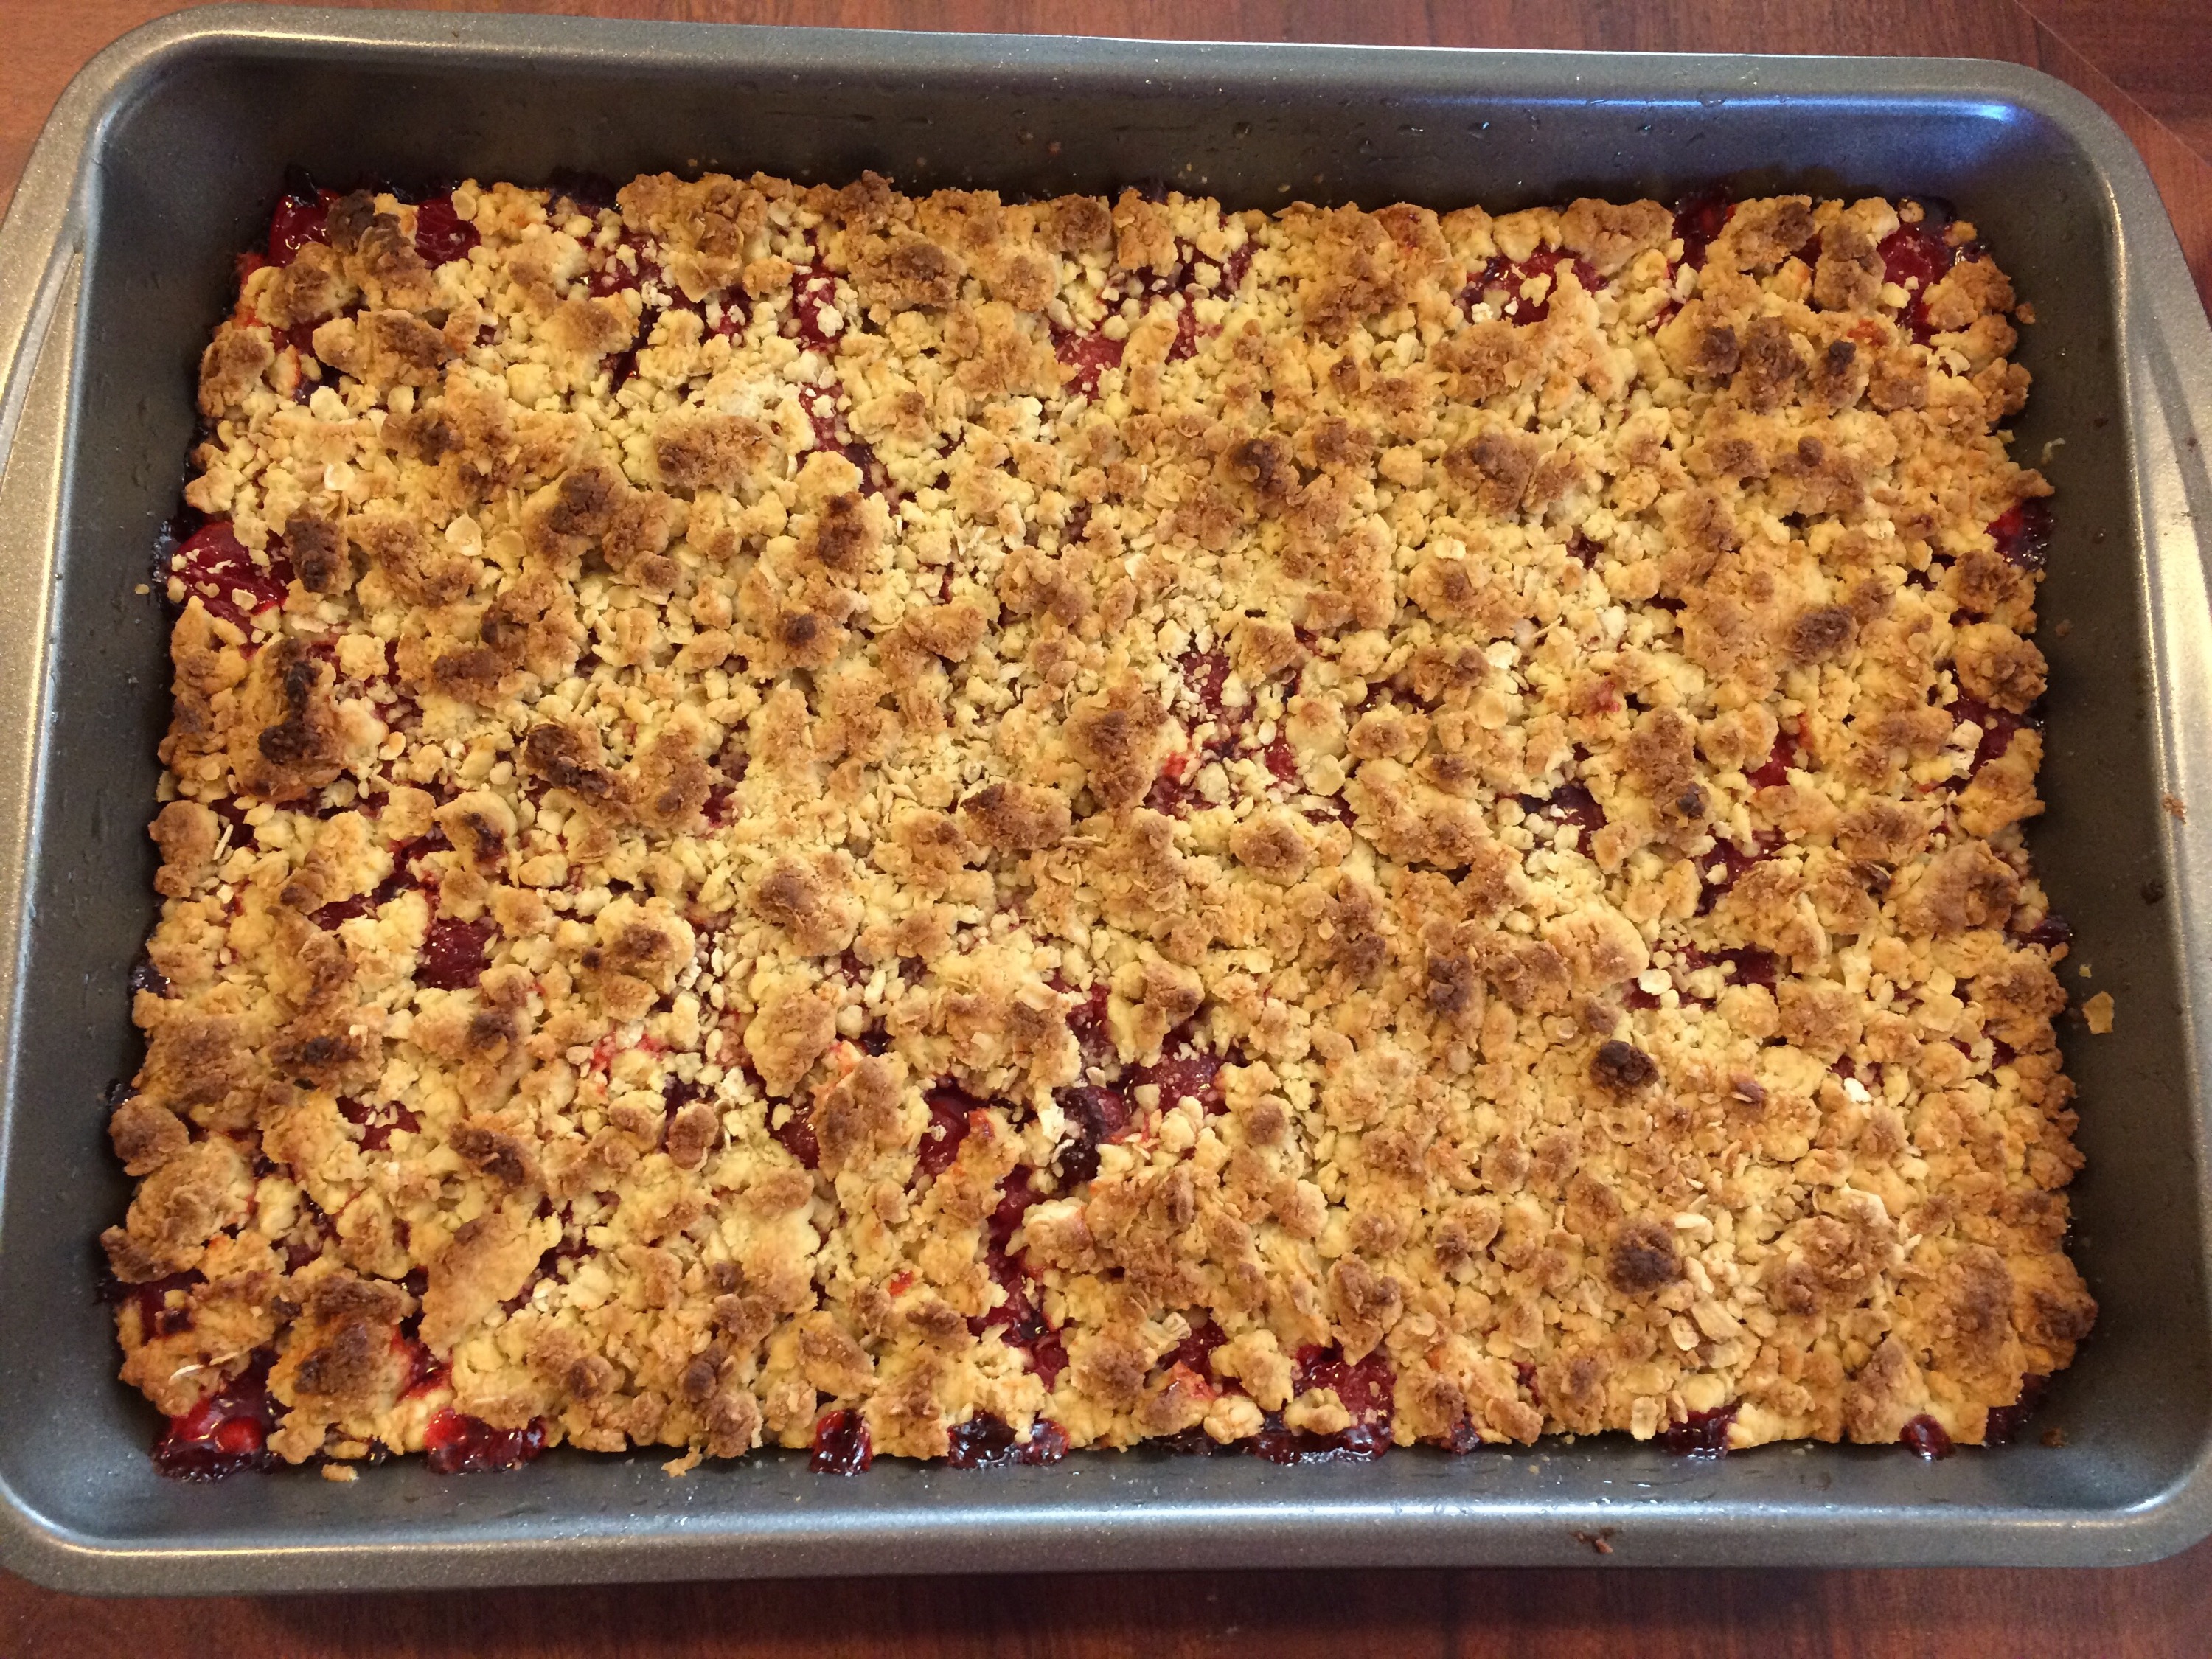
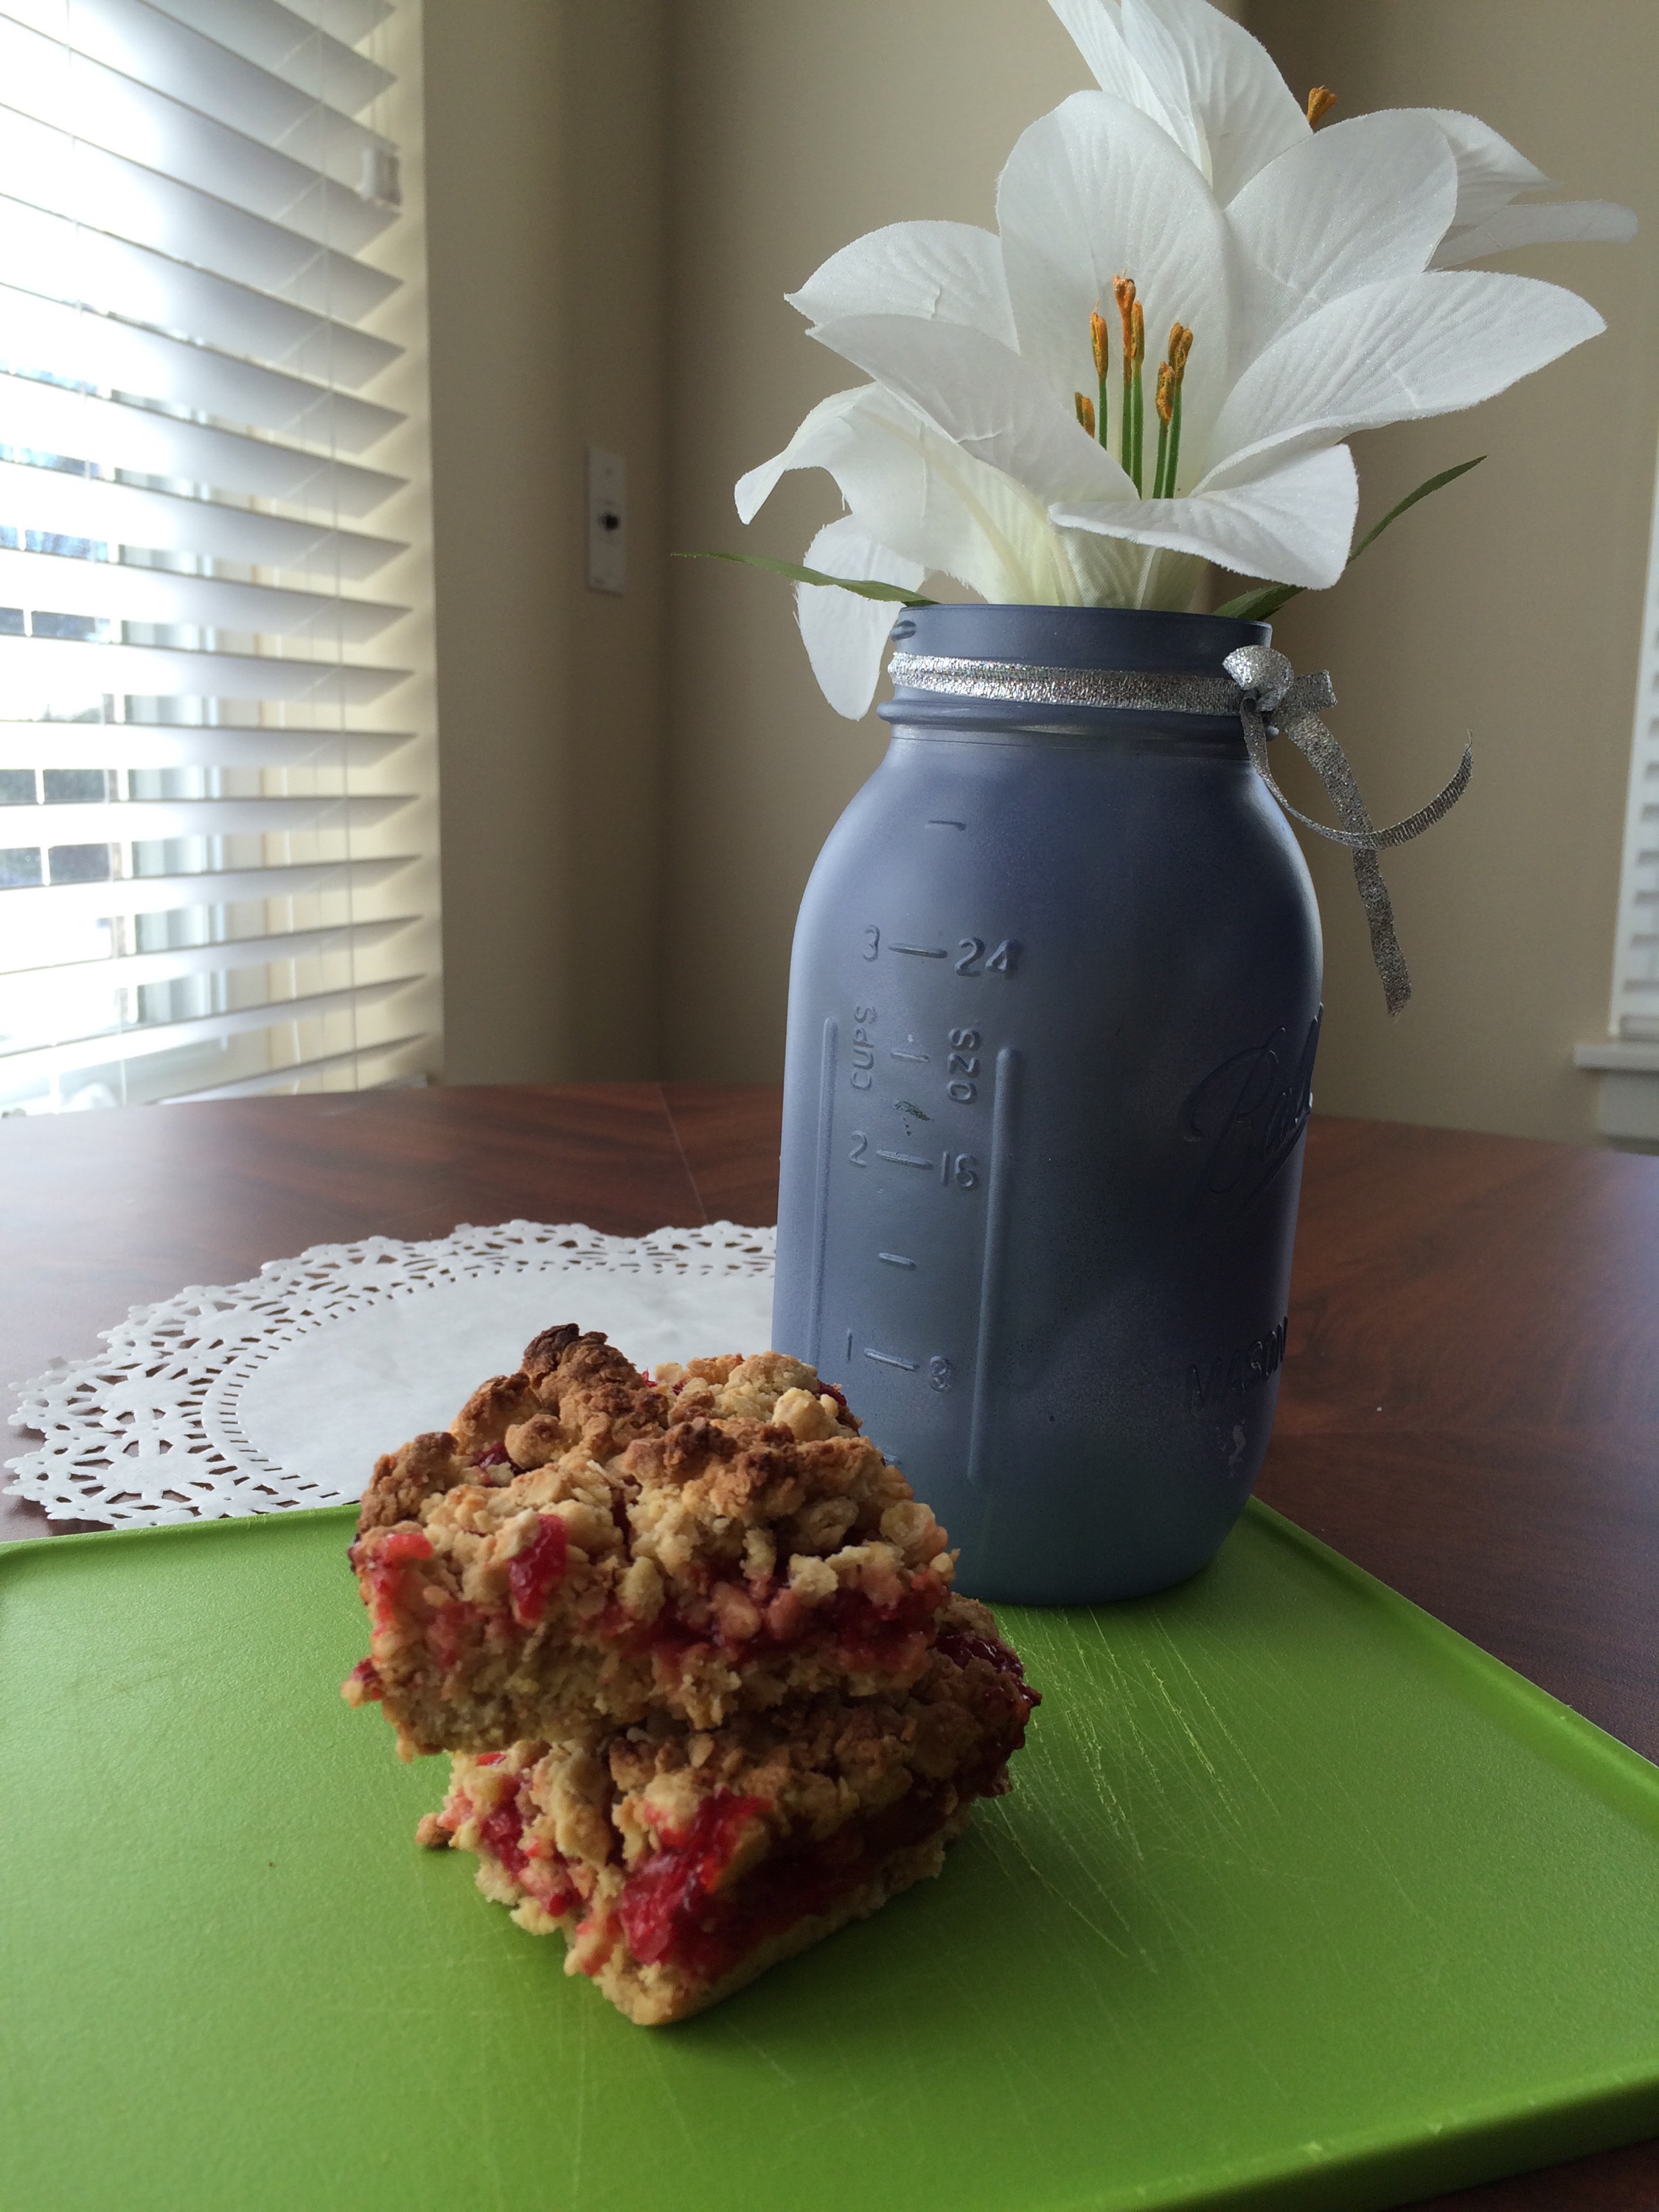
  • Cherry Oatmeal Bars

    Cherry Oatmeal Bars

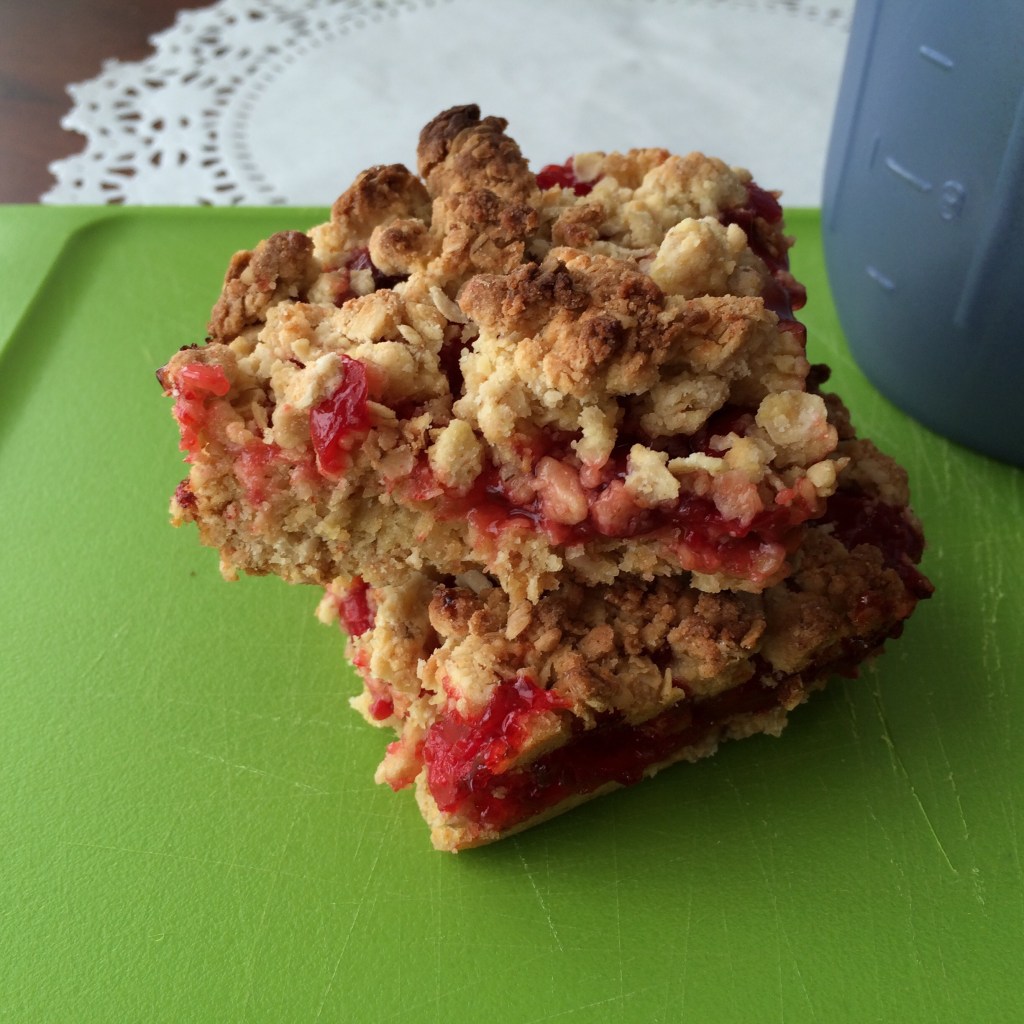
    January is national oatmeal month. So to celebrate, I whipped up these sweet treats. They take hardly anytime to put together and will impress even the pickiest palette. You only need four ingredients too, which to me is a plus!  

    Cherry Oatmeal Bars

    Prep Time: 10 mins

    Cook Time: 20 mins

    Total Time: 30 mins

    Yield: 15 bars

    Ingredients:

    1 Yellow Cake Mix

    2 1/2 cups of Oatmeal

    3/4 cup of butter, melted

    1 can of Cherry Pie Filling

    Directions:

    Preheat oven to 375 degrees F. Grease a 9 x 13 baking dish.

    In a large bowl, mix the yellow cake mix and oatmeal together. Then add in melted butter and stir until well combined.

    Take half of the mixture and press into the bottom of the baking dish. Then, take the Cherry Pie Filling and evenly spread on top of oatmeal mixture. With the remaining oatmeal mixture, crumble on top of pie filling.

    Place in oven and bake for 18-20 mins.

    Enjoy!  

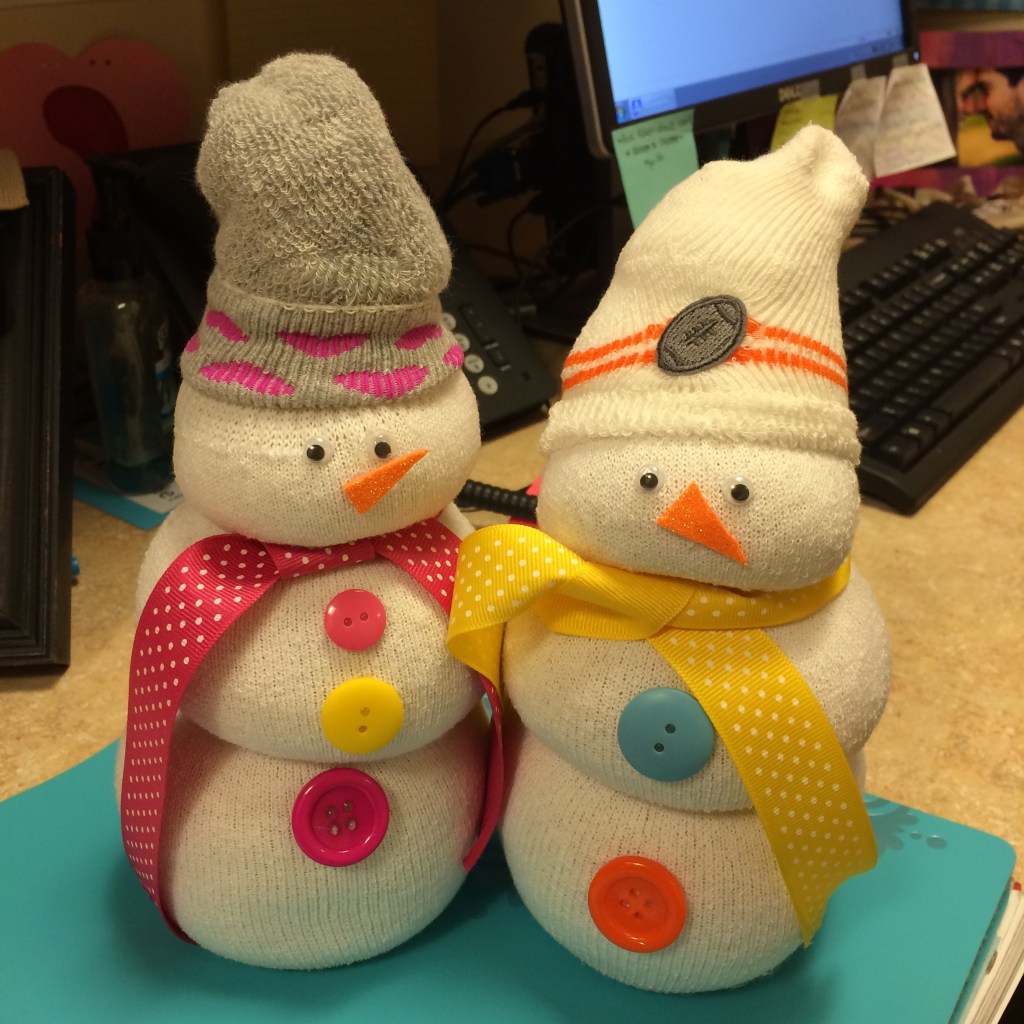
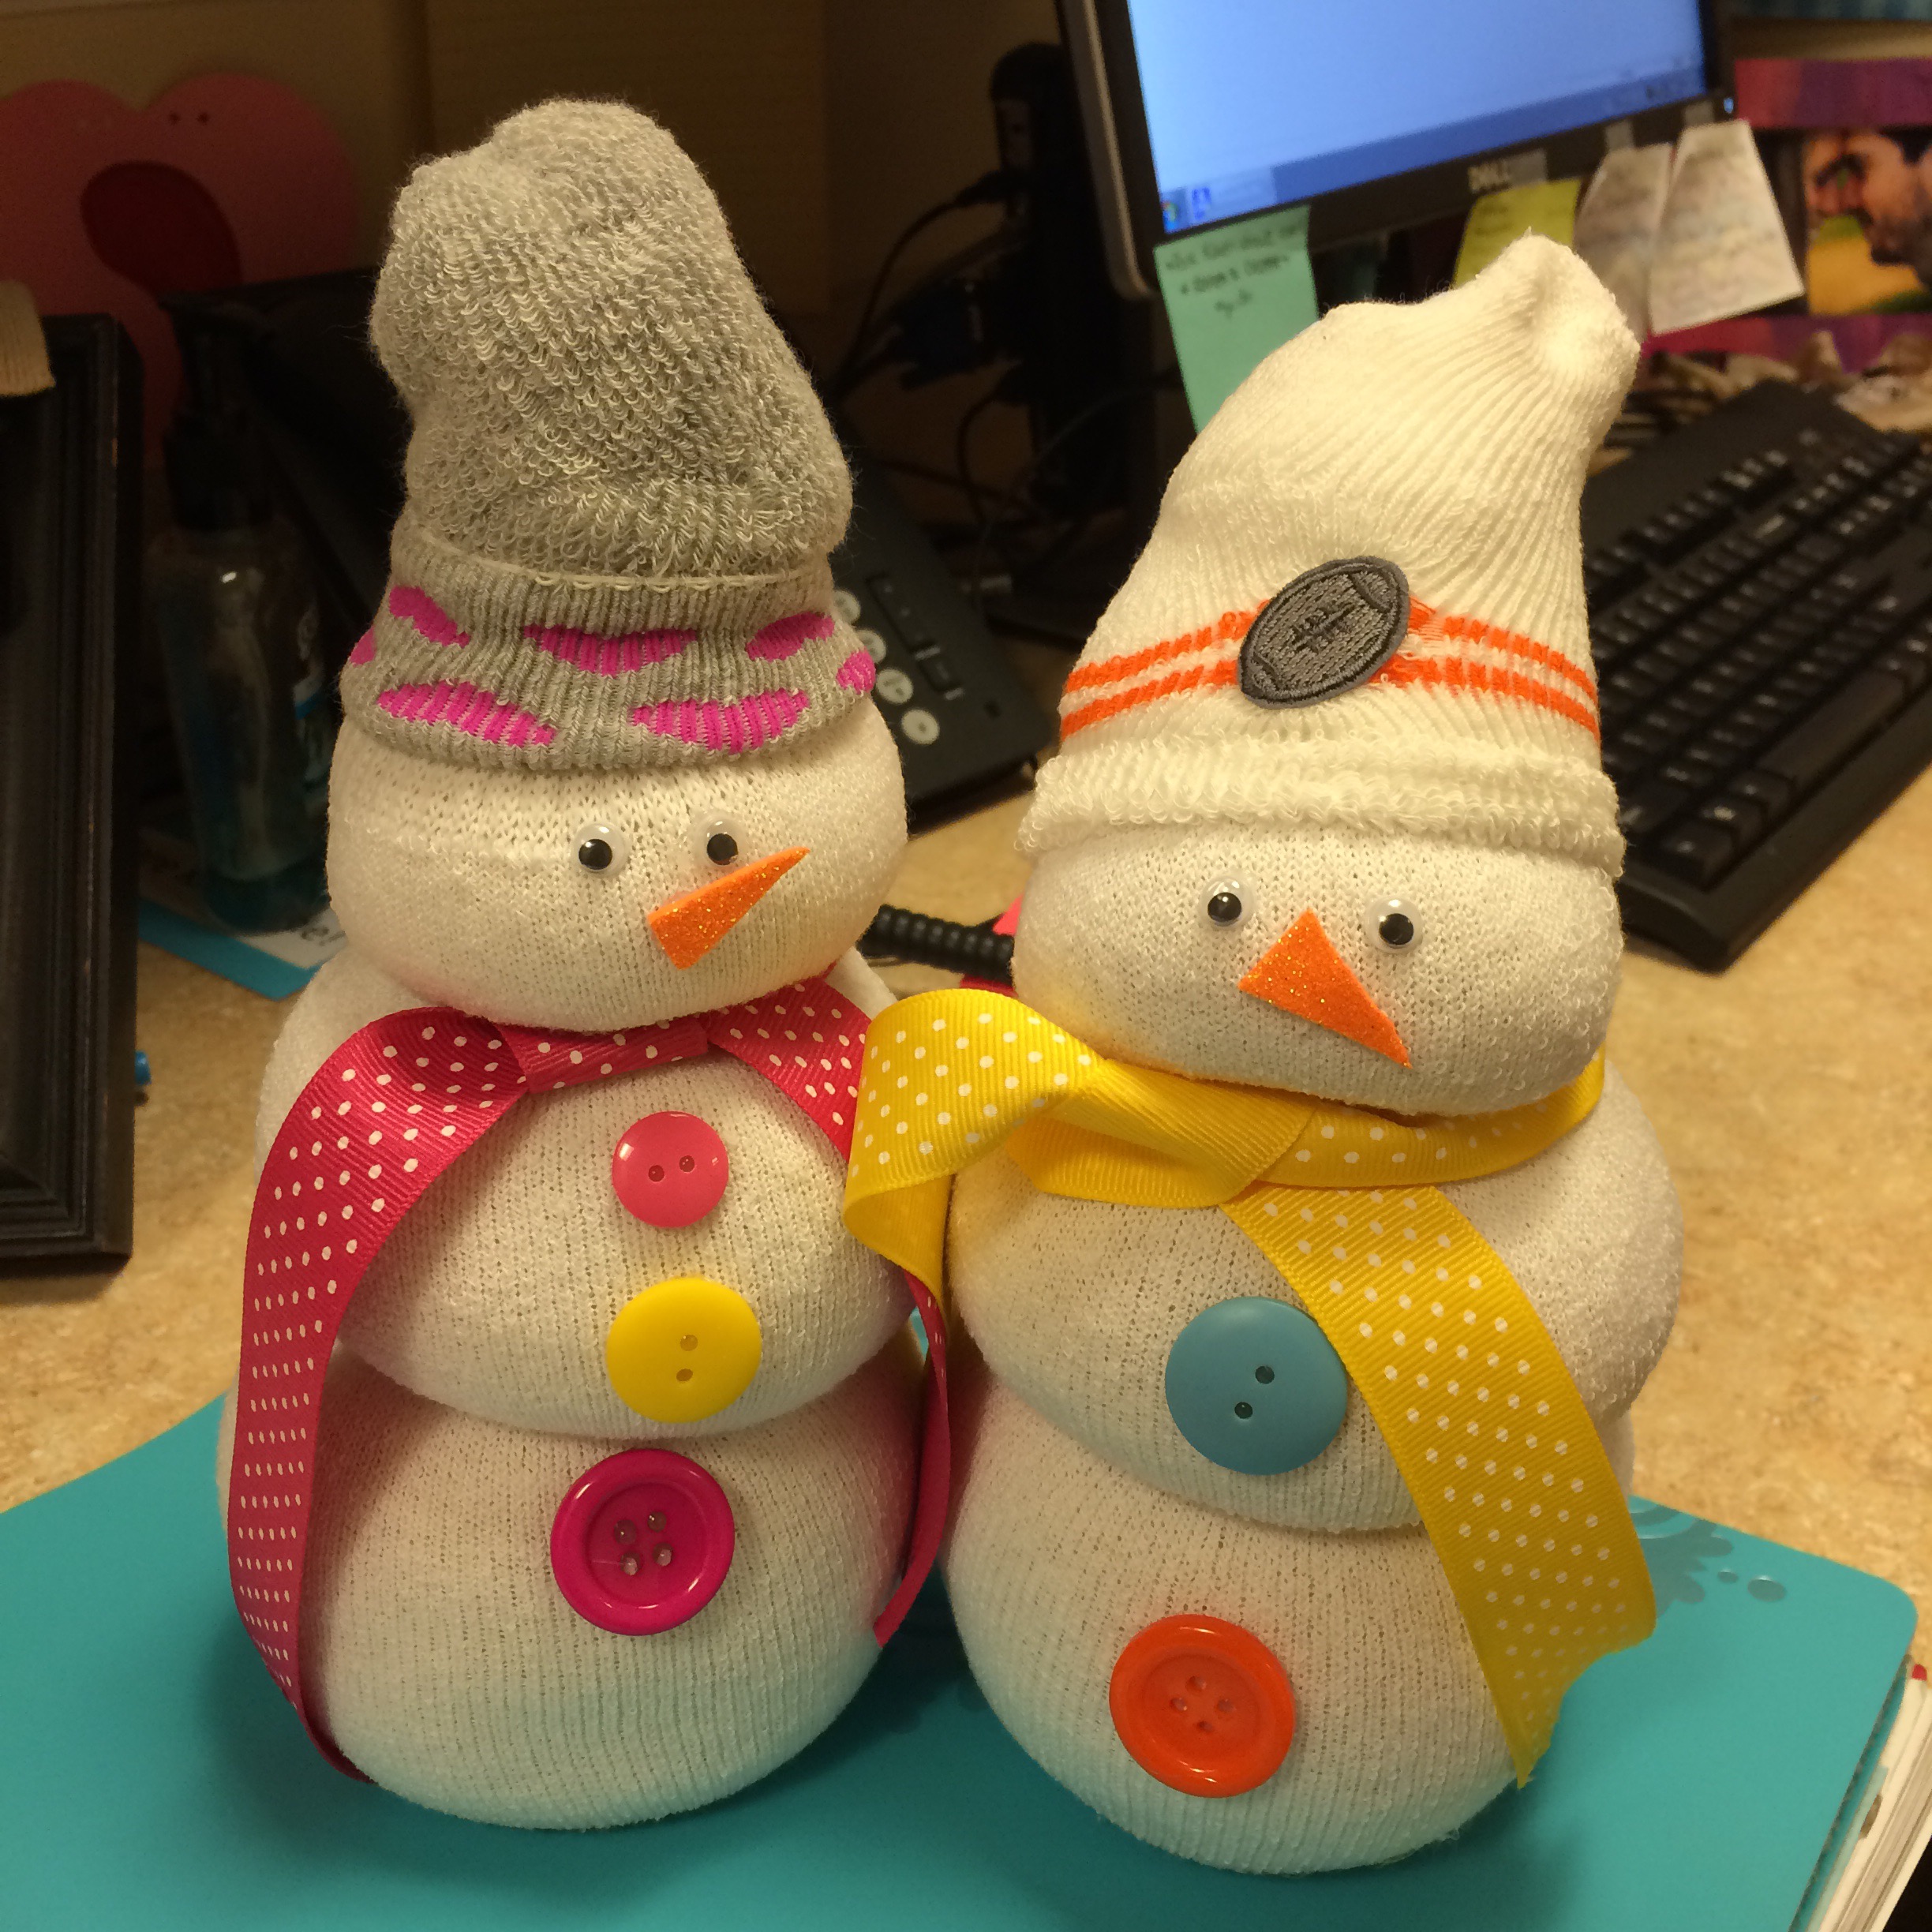
  • DIY Snowman Craft

    DIY Snowman Craft

    All of the Christmas decorations are down by now, yet to me it feels like some decor is missing. Sure, there is Valentine’s Day in February, but I needed something to spruce up my home for January. With January being such a cold month, this Snowman craft would be just enough festivity. These Snowmen are super easy to make, and you can be as creative as you want with decorating them. You can find the instructions below on how to create you own Snowman.

    DIY Snowman Craft

    You’ll need:

    Rice

    White Tube Socks

    Rubber bands

    1″ Colorful Ribbon

    Buttons

    Orange Foam

    Googley Eyes

    Baby Socks

    Hot Glue Gun

    Scissors

    Directions:

    Take a tube sock and fill it with rice. It is up you how much you want to fill each section. Once you have filled the sock with the amount of rice desired, tie off with a rubber band. Fill up the sock with more rice, for the middle section, then tie off with another rubberband. Once again, fill the sock up with more rice, for the top section of snowman, then tie off with a rubberband. The left over sock portion on top fold down. Take a baby sock and stretch it over the head of the snowman. This will hide the left over portion of the tube sock and will become the snowman’s hat. Take your orange foam and cut out a triangle for the snowman’s nose. Then, with a hot glue gun, glue the googley eyes, nose, and buttons onto the snowman. Take your choice of ribbon and cut a strand long enough to wrap around the snowman’s neck and tie off to make his scarf. The ends of the snowman’s scarf can be easily fread by snipping little lines on the ends of the ribbon. 

    And TADA! You have a cute winter craft that will bring a zest to any home.  

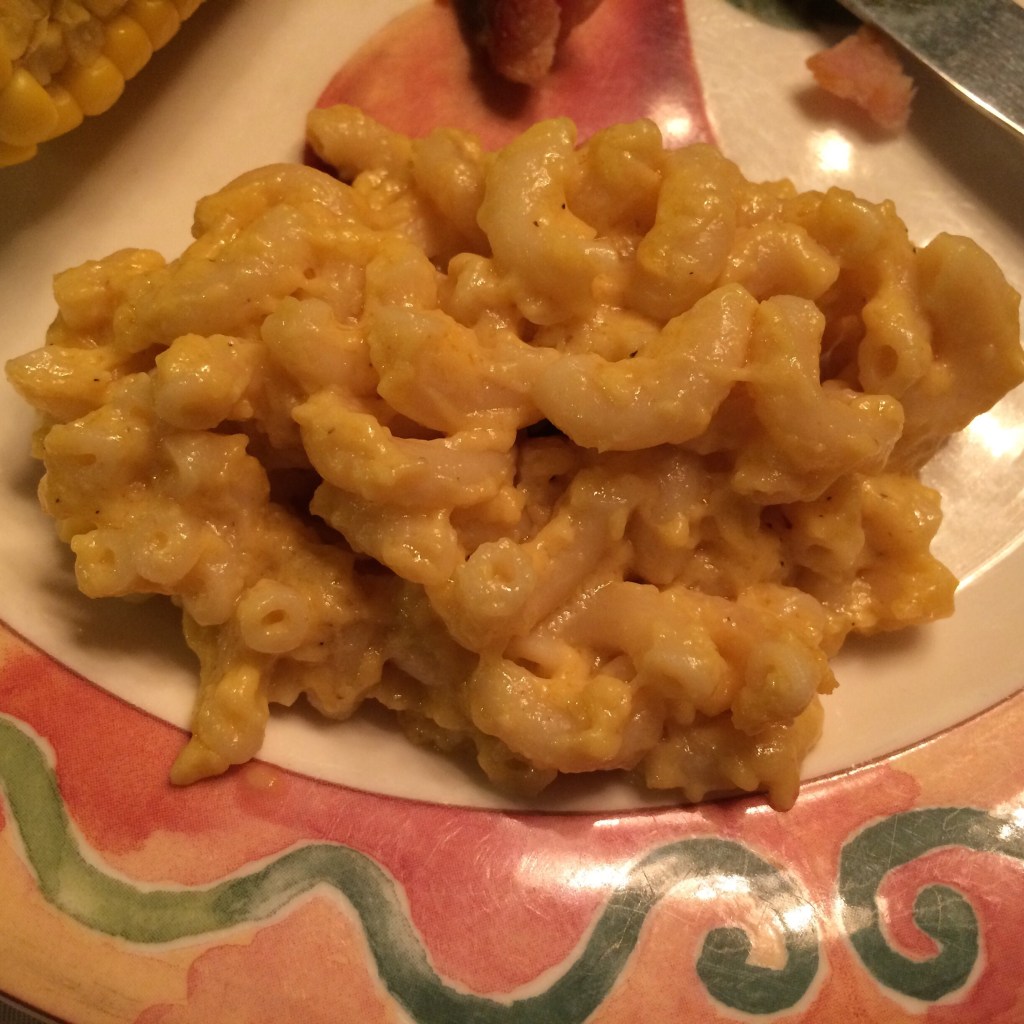
  • Lactose Free Mac n’ Cheese

    Lactose Free Mac n’ Cheese

    When you discover you’re lactose intolerant, some of your favorite dishes can be missed. My husband is lactose intolerant and I try my best to substitute and create similar tastes of his favorite meals. Thank goodness for more awareness of lactose intolerance, this way I am able to find most lactose free items at my local grocery store. One of my hubby’s favorite meals is Mac n’ Cheese. This recipe is pretty quick to make and tastes almost exactly like the real thing. Give it a try and you’ll find cooking lactose free is pretty simple and delicious.

    Lactose Free Mac n’ Cheese

    Cook Time: 20 mins

    Serves 4-6

    Ingredients

    3 Cups of Macaroni noodles

    1 stick of soy butter

    1/4 cup of flour

    2 1/4 cups of Lactaid Milk

    1 tsp of dry mustard

    1 egg

    1/2 tsp of salt

    1/4 tsp of black pepper

    1 lb of Go Veggie! Lactose Free Cheddar Cheese 

    Directions:

    In a 3 quart pot, bring 8 cups of water to a boil. Add macaroni noodles and cook 8-10 mins. Macaroni noodles should be slightly firm. Drain and set aside. 

    In a small bowl, beat the egg. In a large pot, melt the butter and sprinkle in the flour. Whisk together over medium-low heat. Cook for a couple of minutes, whisking constantly.  Add the milk and mustard and whisk until smooth. Cook until the mixture thickens, about 5 minutes. Reduce the heat to low.

    Take 1/4 cup of the mixture and slowly pour it into the beaten egg, whisking constantly to avoid cooking the egg. Whisk together until smooth. Pour the egg into the sauce, whisking constantly. Stir until smooth. Add in the cheese and stir to melt. Add the salt and pepper.
    Add the drained macaroni noodles and stir until combined. Serve!

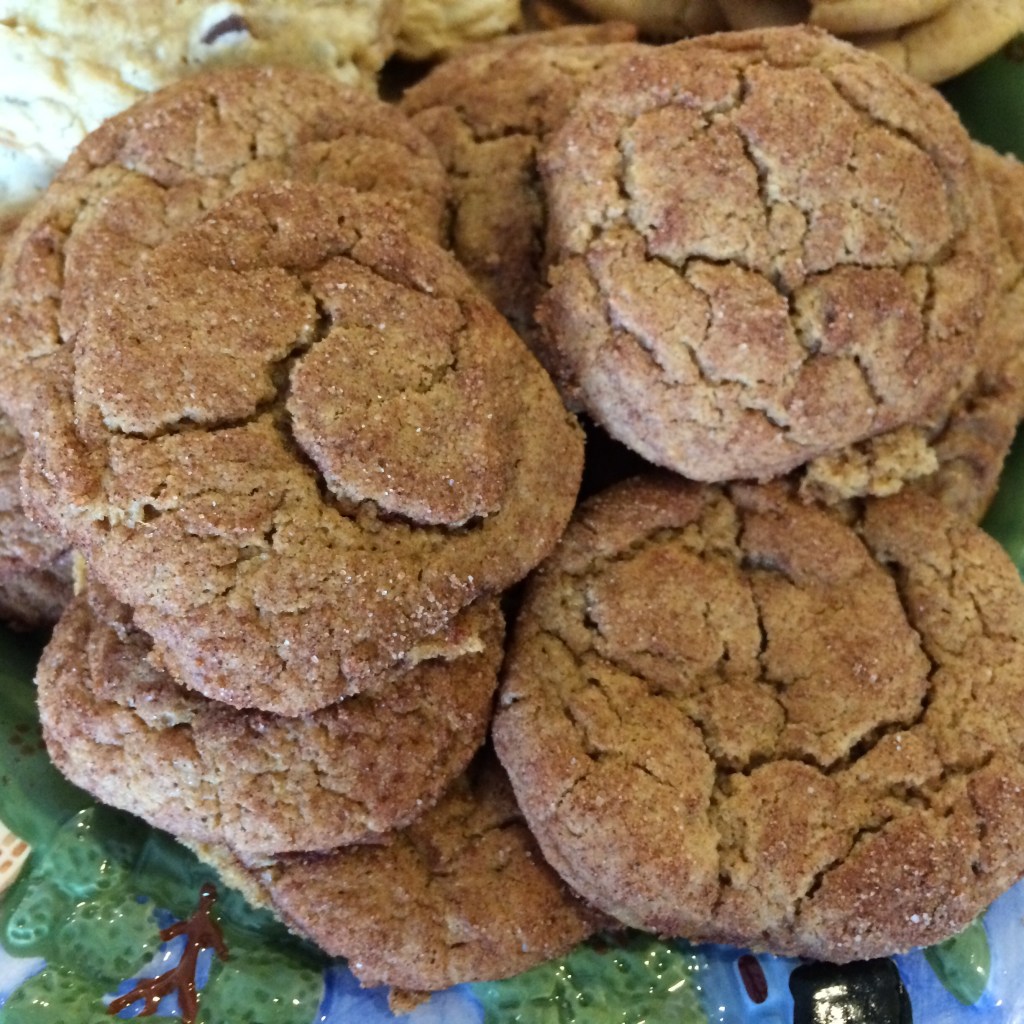
  • Ginger Molasses Snickerdoodles

    Ginger Molasses Snickerdoodles

    One of my favorite cookies to bake are Snickerdoodles. I thought I would spice up a new winter twist on these classic cookies. And come to find out, they were delicious and turned out great! Soft and chewy! It’s hard to stop eating after one.

    Ginger Molasses Snickerdoodles

    Prep Time: 15 mins

    Cook Time: 9 mins

    Total Time: 24 mins

    Yield: 24 cookies

    Ingredients

    1/2 cup of butter, softened

    1/2 cup of brown sugar

    1/4 cup of sugar

    1 large egg

    1/3 cup of molasses

    1 Tbsp of vanilla extract

    3 tsp of cinnamon

    1 tsp of ginger

    1 tsp of cloves

    1/2 tsp of salt

    2 cups of flour

    1 tsp of cornstarch

    1 tsp of baking soda

    1/2 tsp of cream of tartar

    Spice Coating

    1/2 cup granulated sugar

    3 tsp of cinnamon

    1 tsp of ginger

    Directions

    Preheat oven to 350 degrees F. Grease a cookie sheet.

    In a large bowl, cream butter, brown sugar, and sugar together. Then add vanilla, egg, molasses. Mix until combined.

    In a medium bowl, mix flour, cornstarch, baking soda, cream of tartar, cinnamon, ginger, cloves, and salt.

    Add dry ingredients to wet ingredients and stir until combined. 

    To make the spice coating, mix together the sugar, cinnamon, and ginger.

    Take drops of dough and roll them in the spice coating, then place on cookie sheet. Bake for 8-9 mins.

    Enjoy!

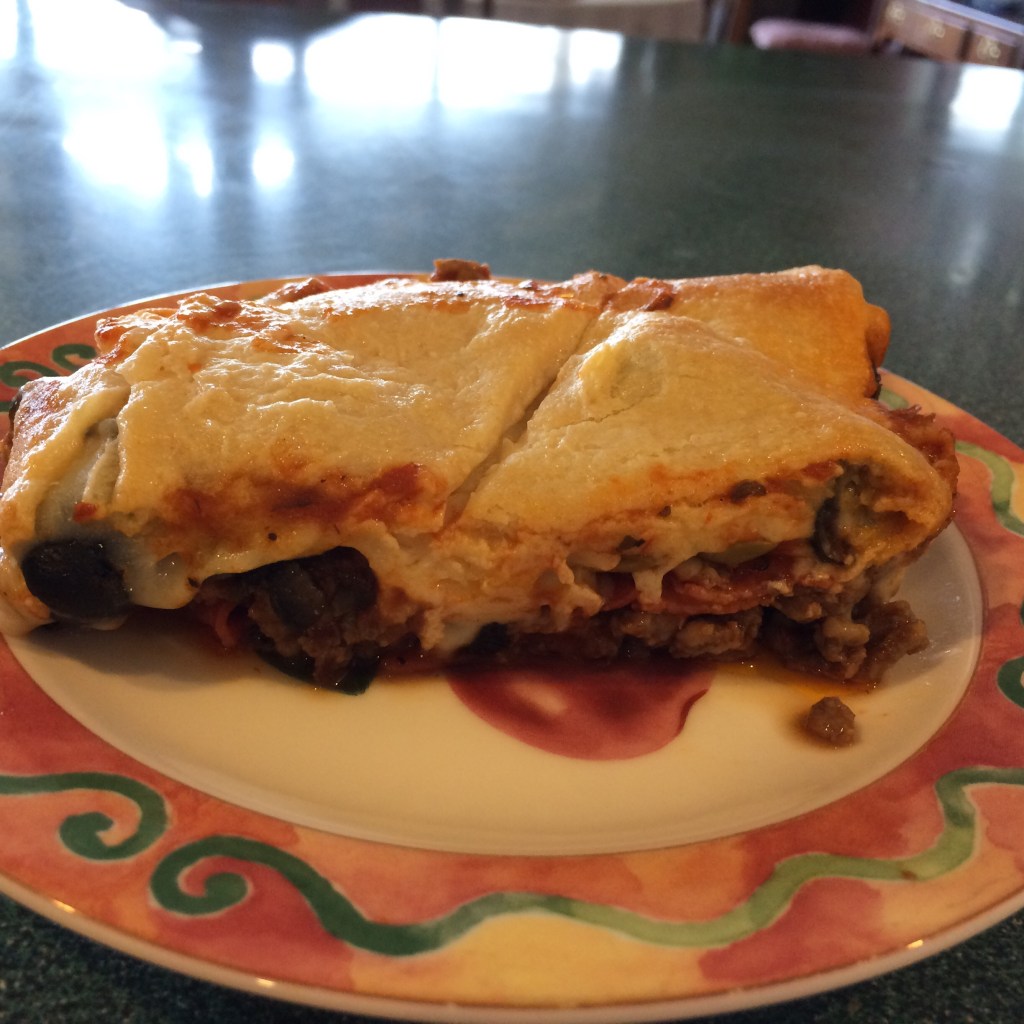
  • Upside Down Pizza

    Upside Down Pizza

    This time of year is great but once Christmas is over I’m tired of turkey and ham. So, this recipe should help any bored appetite perk back up.

    Upside Down Pizza

    Prep Time: 15 mins

    Cook Time: 15 mins

    Total Time: 30 mins

    Yield: 6-8 Serving

    Ingredients

    1 lb of Italian Sausage, ground

    1 onion, diced

    2 tbsp of minced garlic

    8 oz of mushroom, sliced

    4 oz of pepperoni, sliced

    16 oz of pizza sauce

    1/2 tsp of salt 

    1 can of black olives, sliced

    1/4 cup of green olives, sliced

    16 oz of mozzarella cheese
    1 can of crescent rolls

    Directions 
    Preheat oven to 350 degrees F. Grease a 9×13 in casserole dish.

    In a large saucepan, brown the Italian sausage. Sauté onions, garlic, and mushrooms with sausage. 

    After sausage is browned, mix in pepperoni, pizza sauce, and salt until combined.

    Pour mixture into casserole dish. Sprinkle black and green olives on top of mixture. Layer cheese on top. 

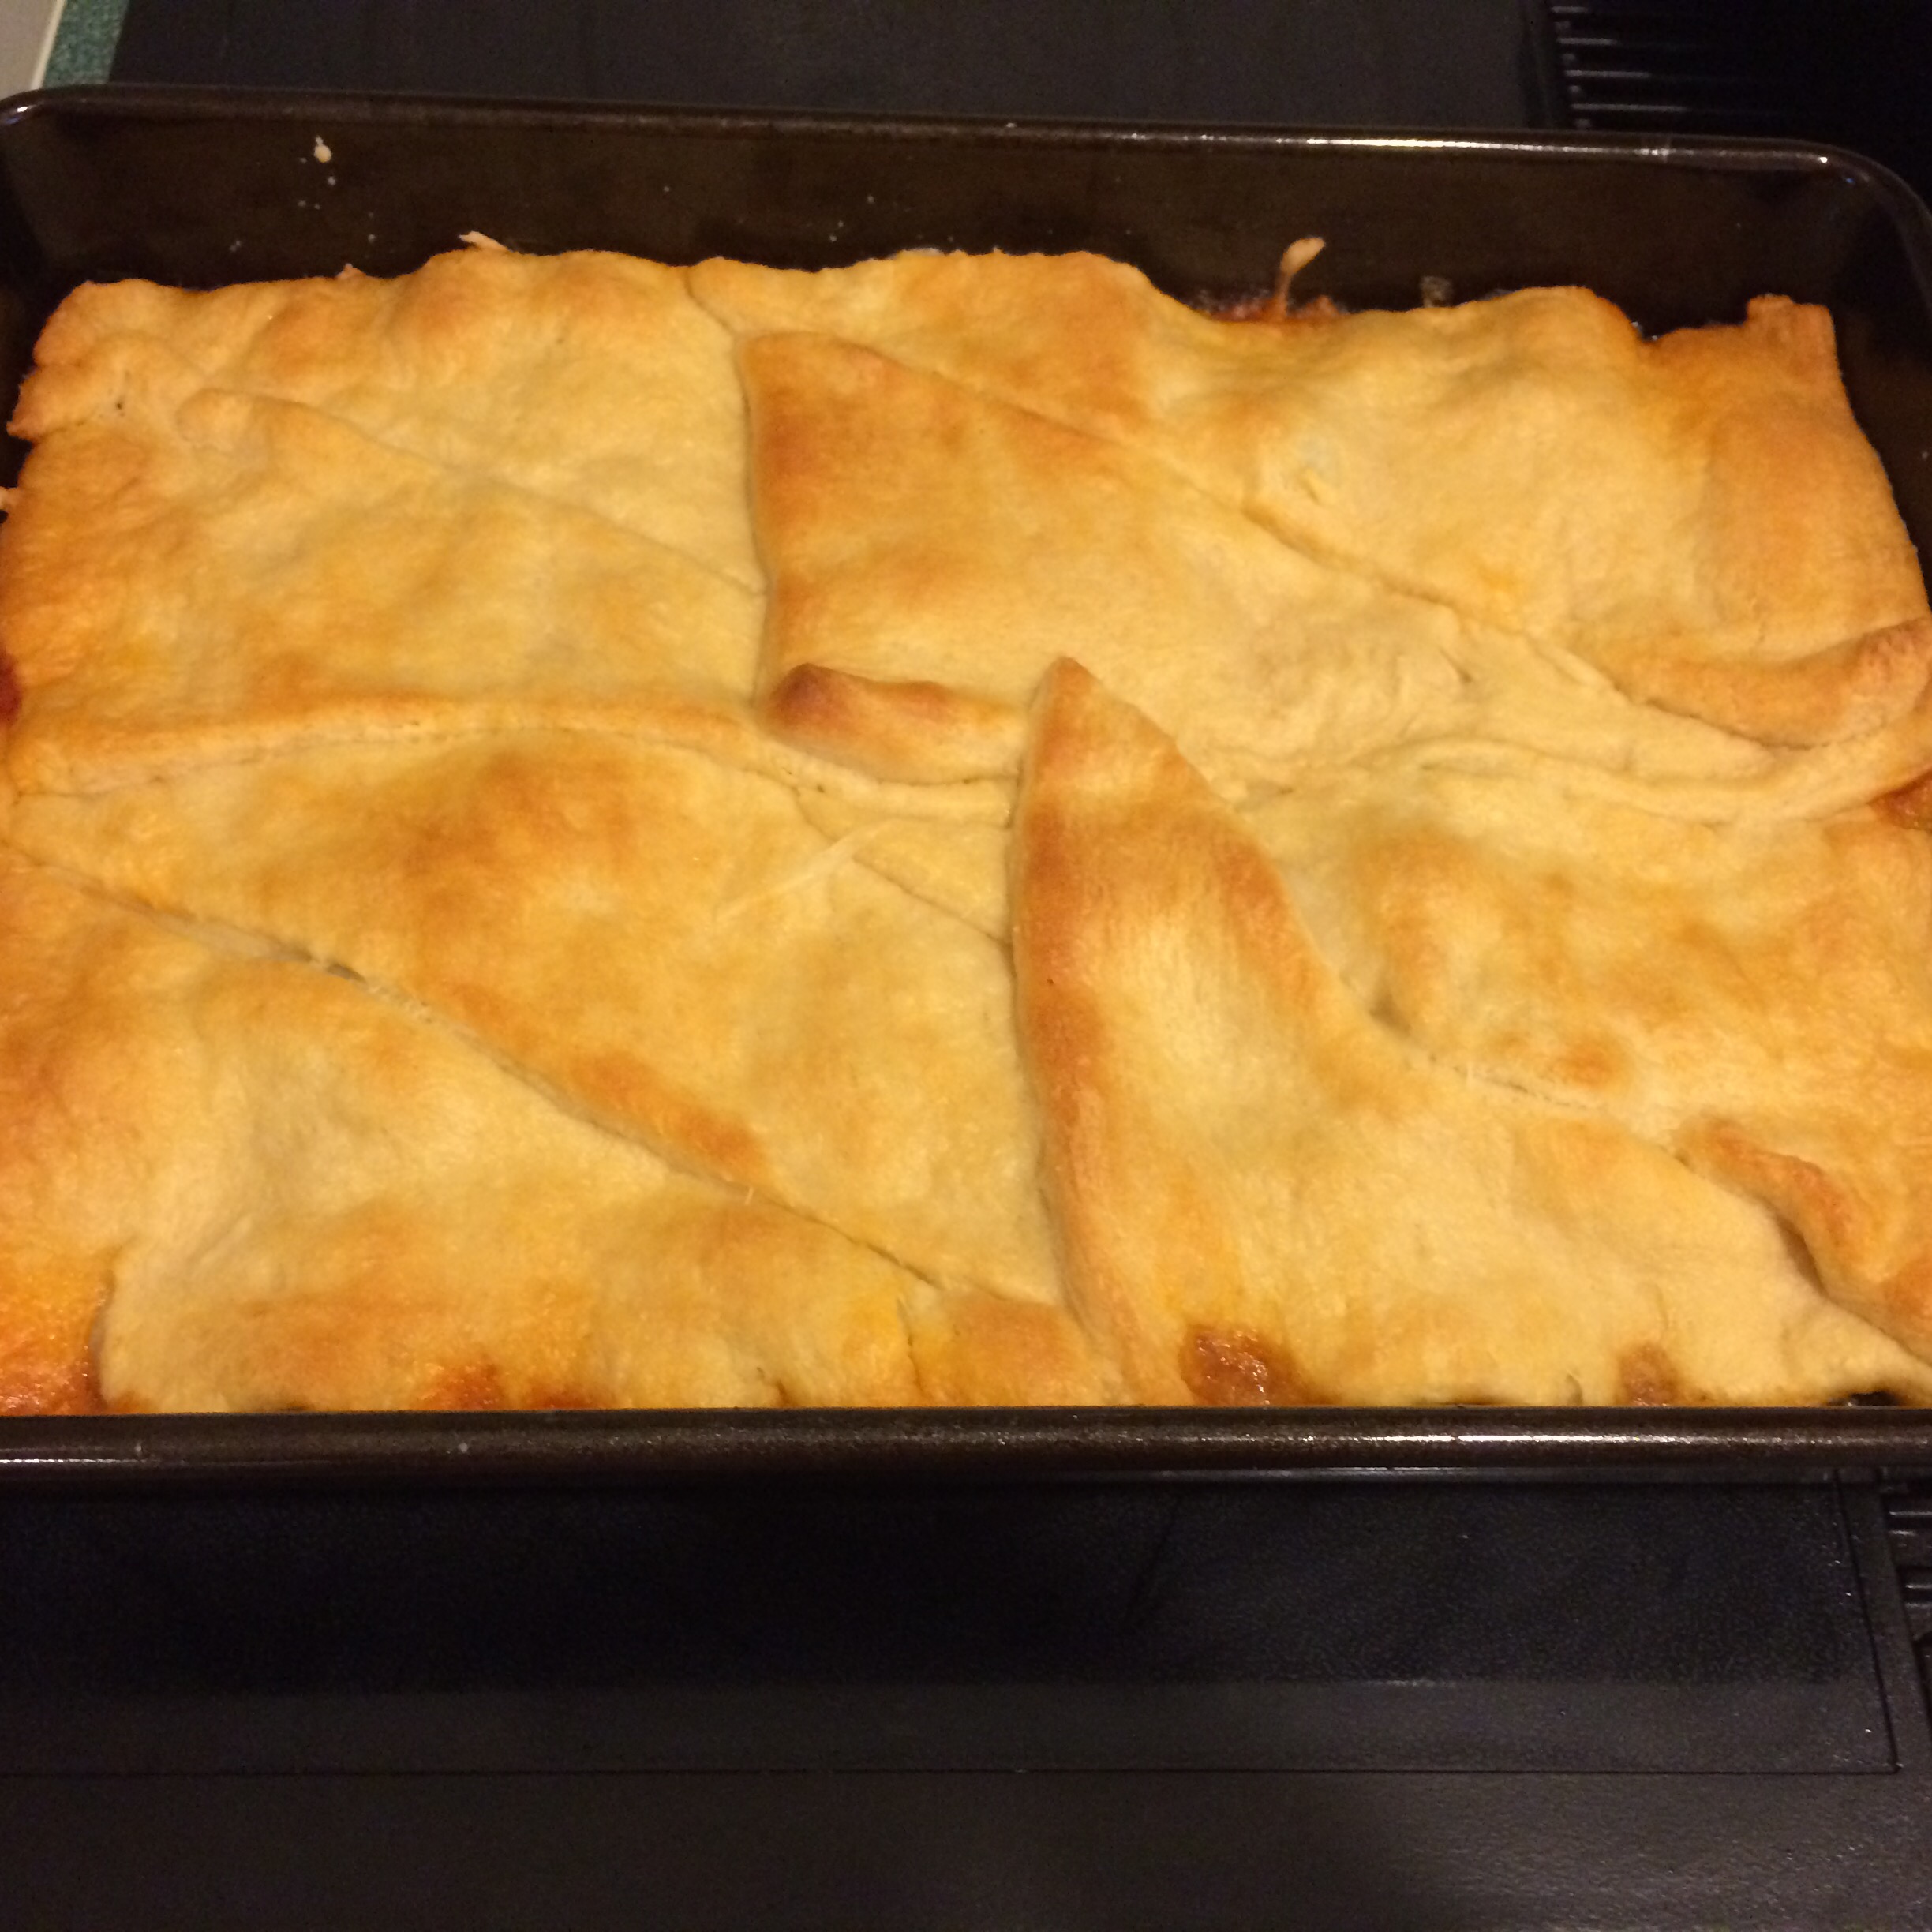
    Unroll crescent rolls on top of casserole for the crust. Bake casserole 12-15 mins.

    Enjoy! 

  • Apple Cider Scones

    Apple Cider Scones

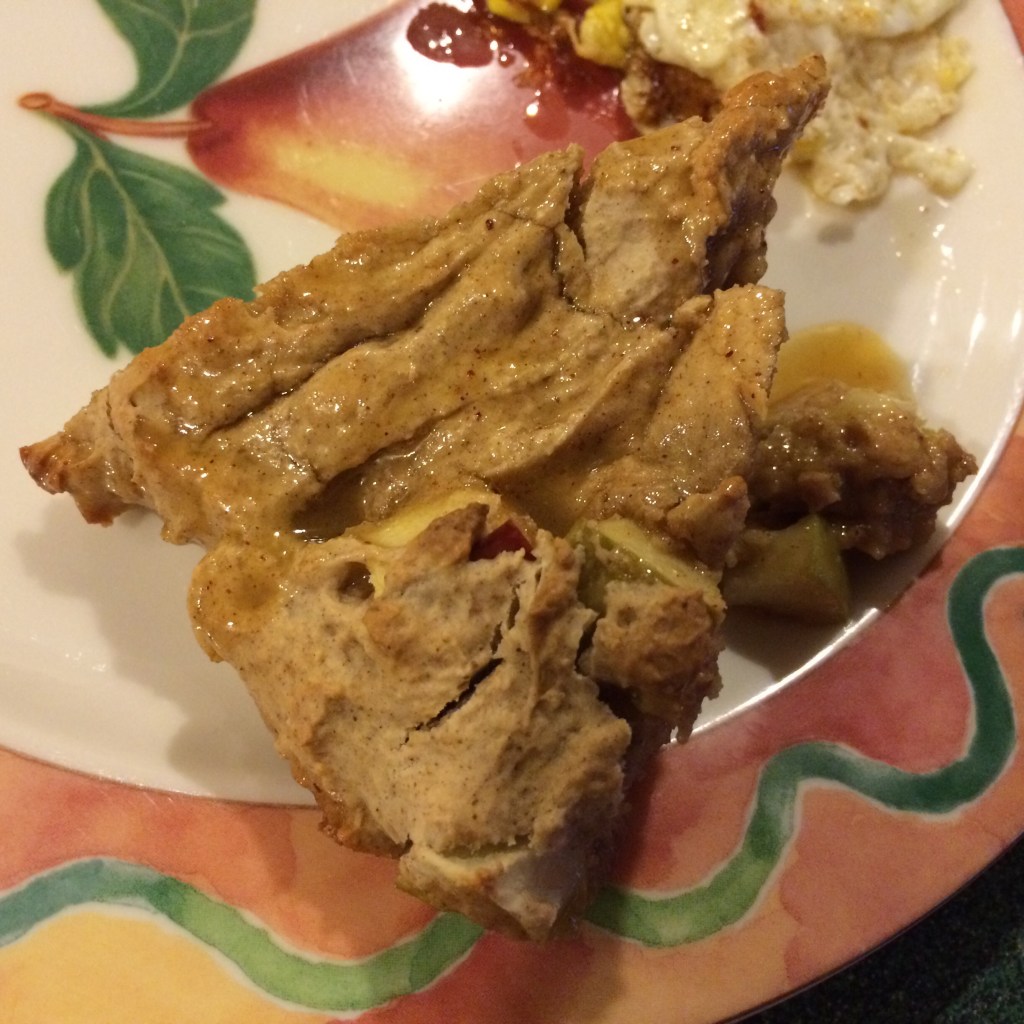
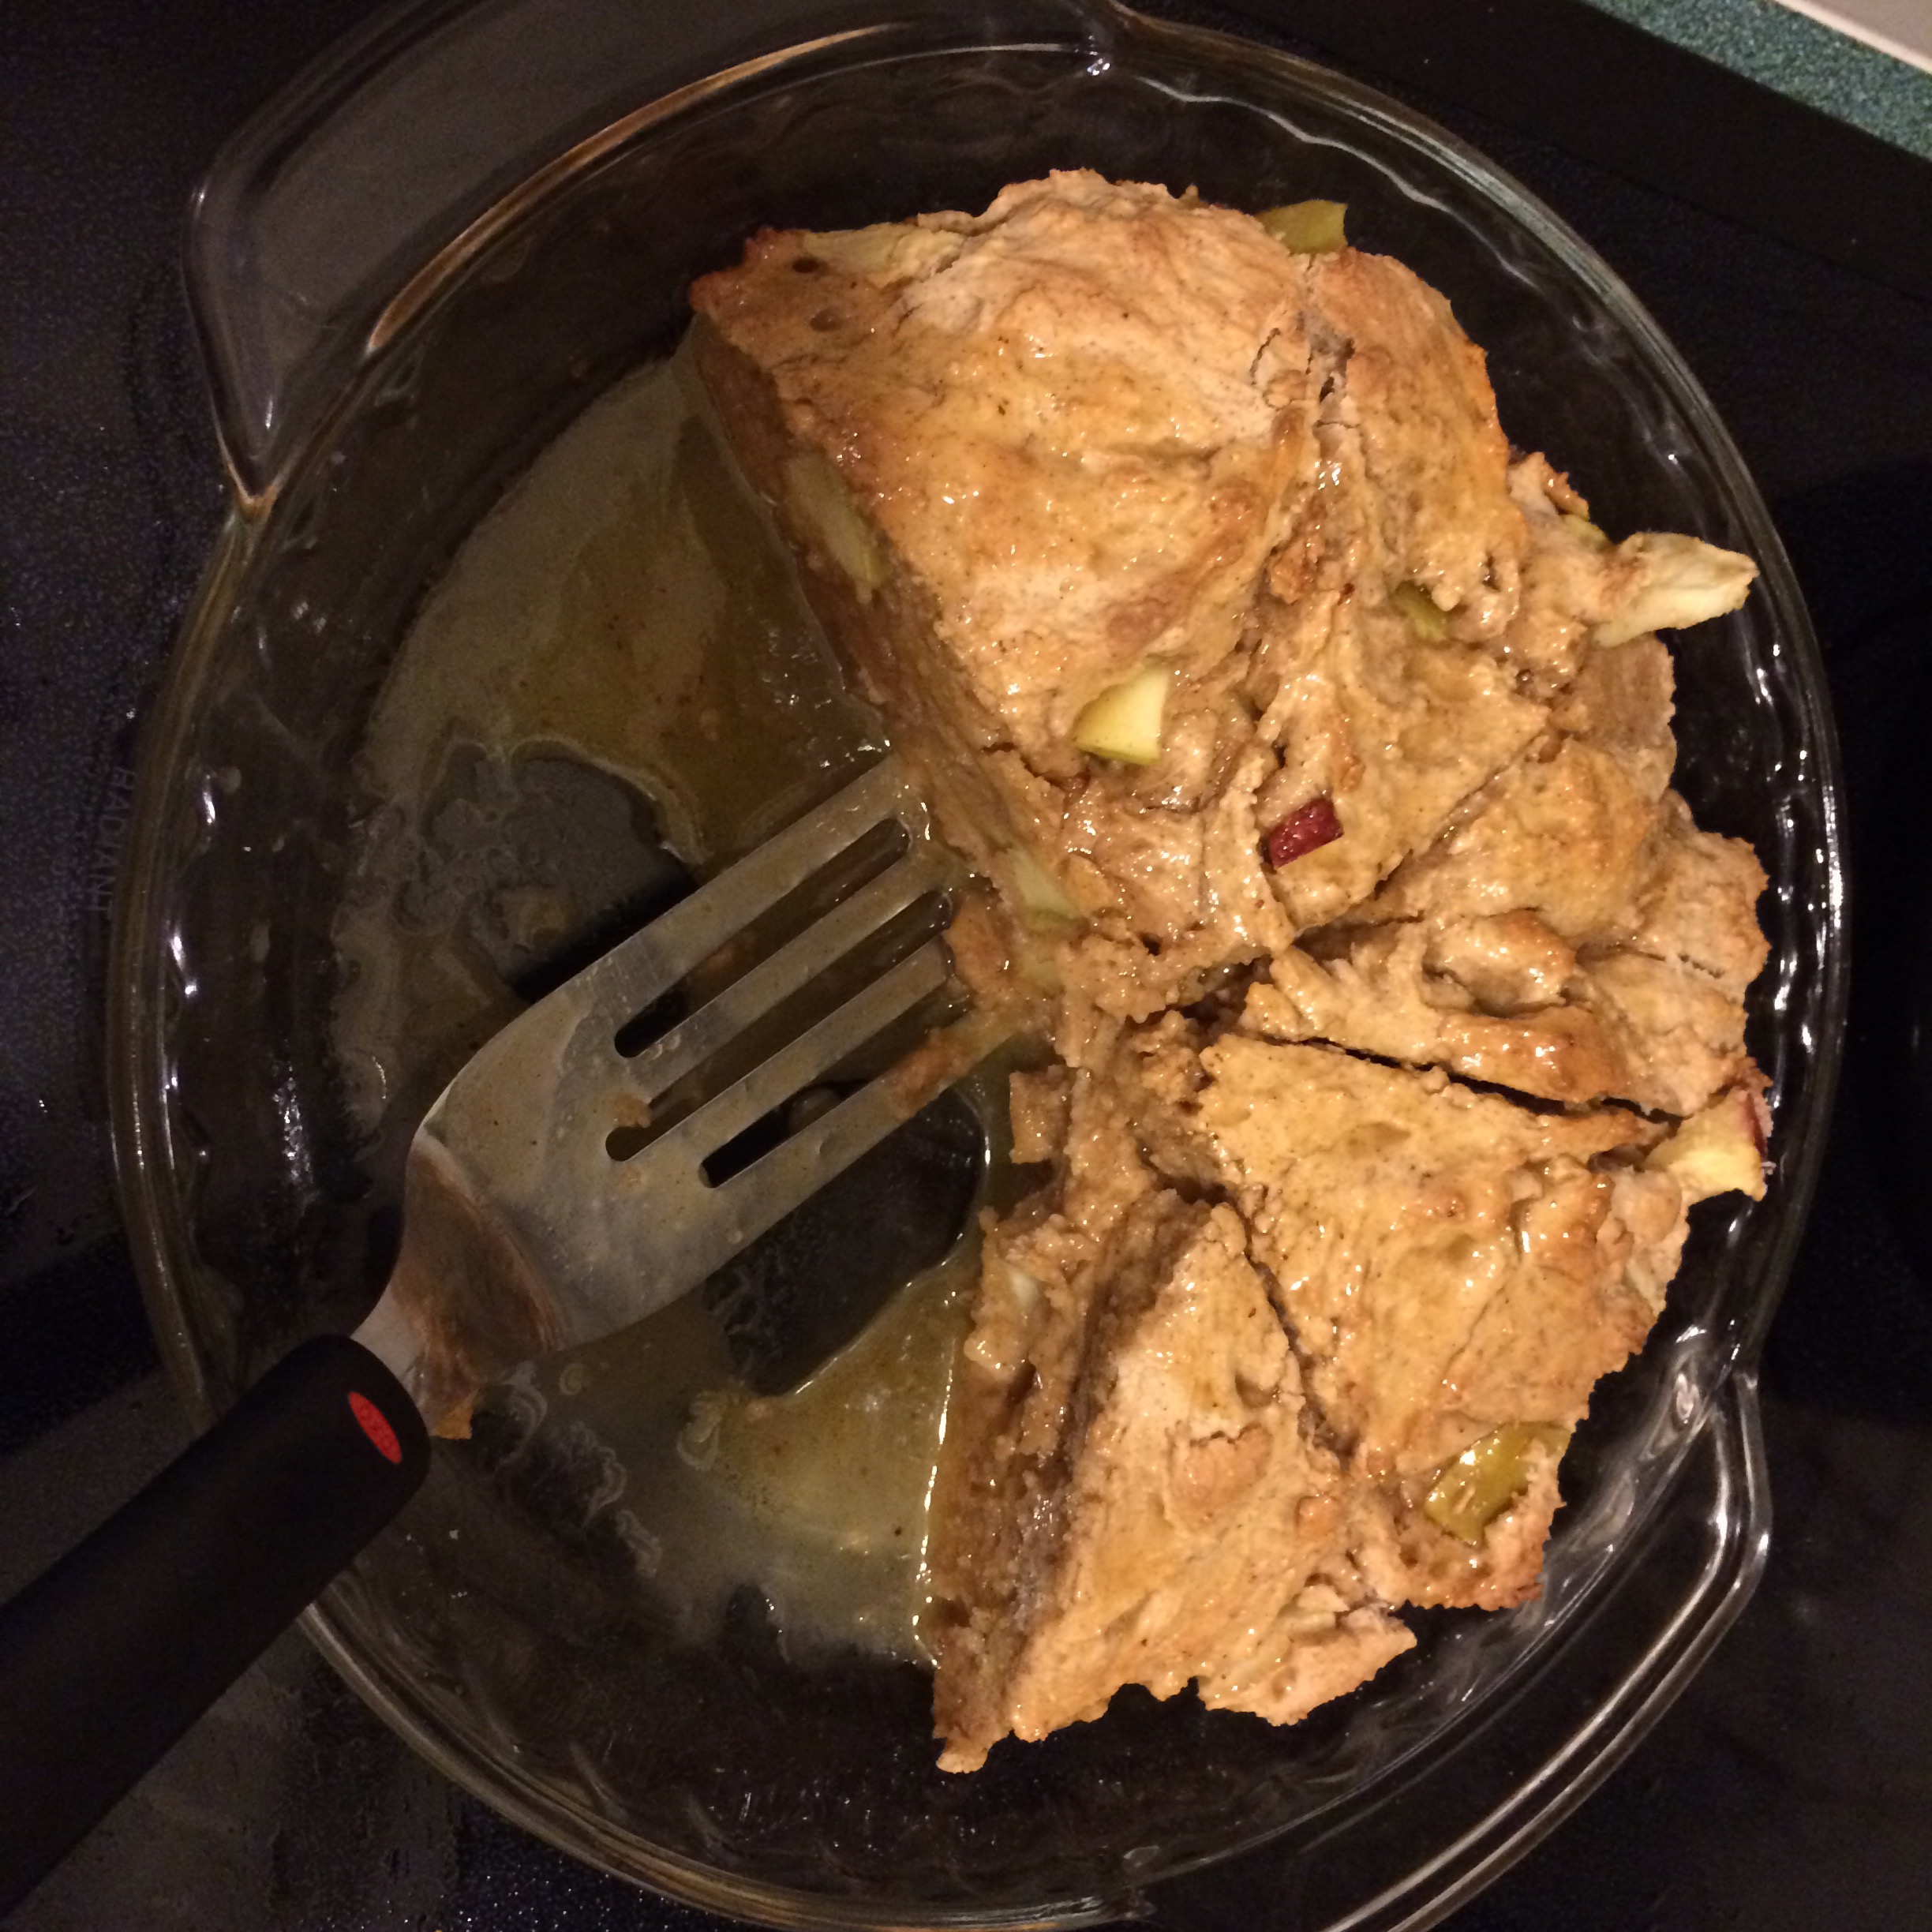
    The winter season always make me think of sipping warm apple cider by the fire. These apple cider scones will hit the spot. They are fairly quick to whip up. These will bring the holiday seasons flavor to any table.

    Apple Cider Scones

    Prep Time: 15 mins

    Cook Time: 22 mins

    Total Time: 37 mins

    Yield: 8 scones

    Ingredients

    2 3/4 cups of flour 

    1/3 cup of sugar

    3/4 tsp of salt

    1 Tbsp of baking powder

    2 tsp of cinnamon

    1/4 tsp of nutmeg

    1/4 tsp of cloves

    1/2 cup of butter

    1 cup of apples, chopped

    2 large eggs

    2 tsp of vanilla extract

    1/2 cup of applesauce

    Glaze:

    1/2 cup brown sugar

    1/4 cup of butter, melted

    3 Tbsp of apple cider or juice

    1/2 tsp of cinnamon

    Directions

    Preheat oven to 425 degrees F. Grease an 8-inch pie pan.

    In a large mixing bowl, whisk together the flour, sugar, salt, baking powder, cinnamon, nutmeg, and cloves. 

    Cut in the butter just until the mixture is crumbly. Stir in the chopped apples.

    In a small bowl, whisk together the eggs, vanilla, and applesauce.

    Add the wet ingredients to the dry ingredients and stir until well combined.

    Place mixture evenly in pie pan and bake for 18-22 mins.

    To make the glaze: Mix together the brown sugar, butter, cinnamon, and apple cider until combined.

    Once the scones have come out of the oven, slice into 8 wedges. Pour glaze on top and serve.

    Enjoy!