
Blog

  • Spiced Pear and Chocolate Muffins

    Spiced Pear and Chocolate Muffins

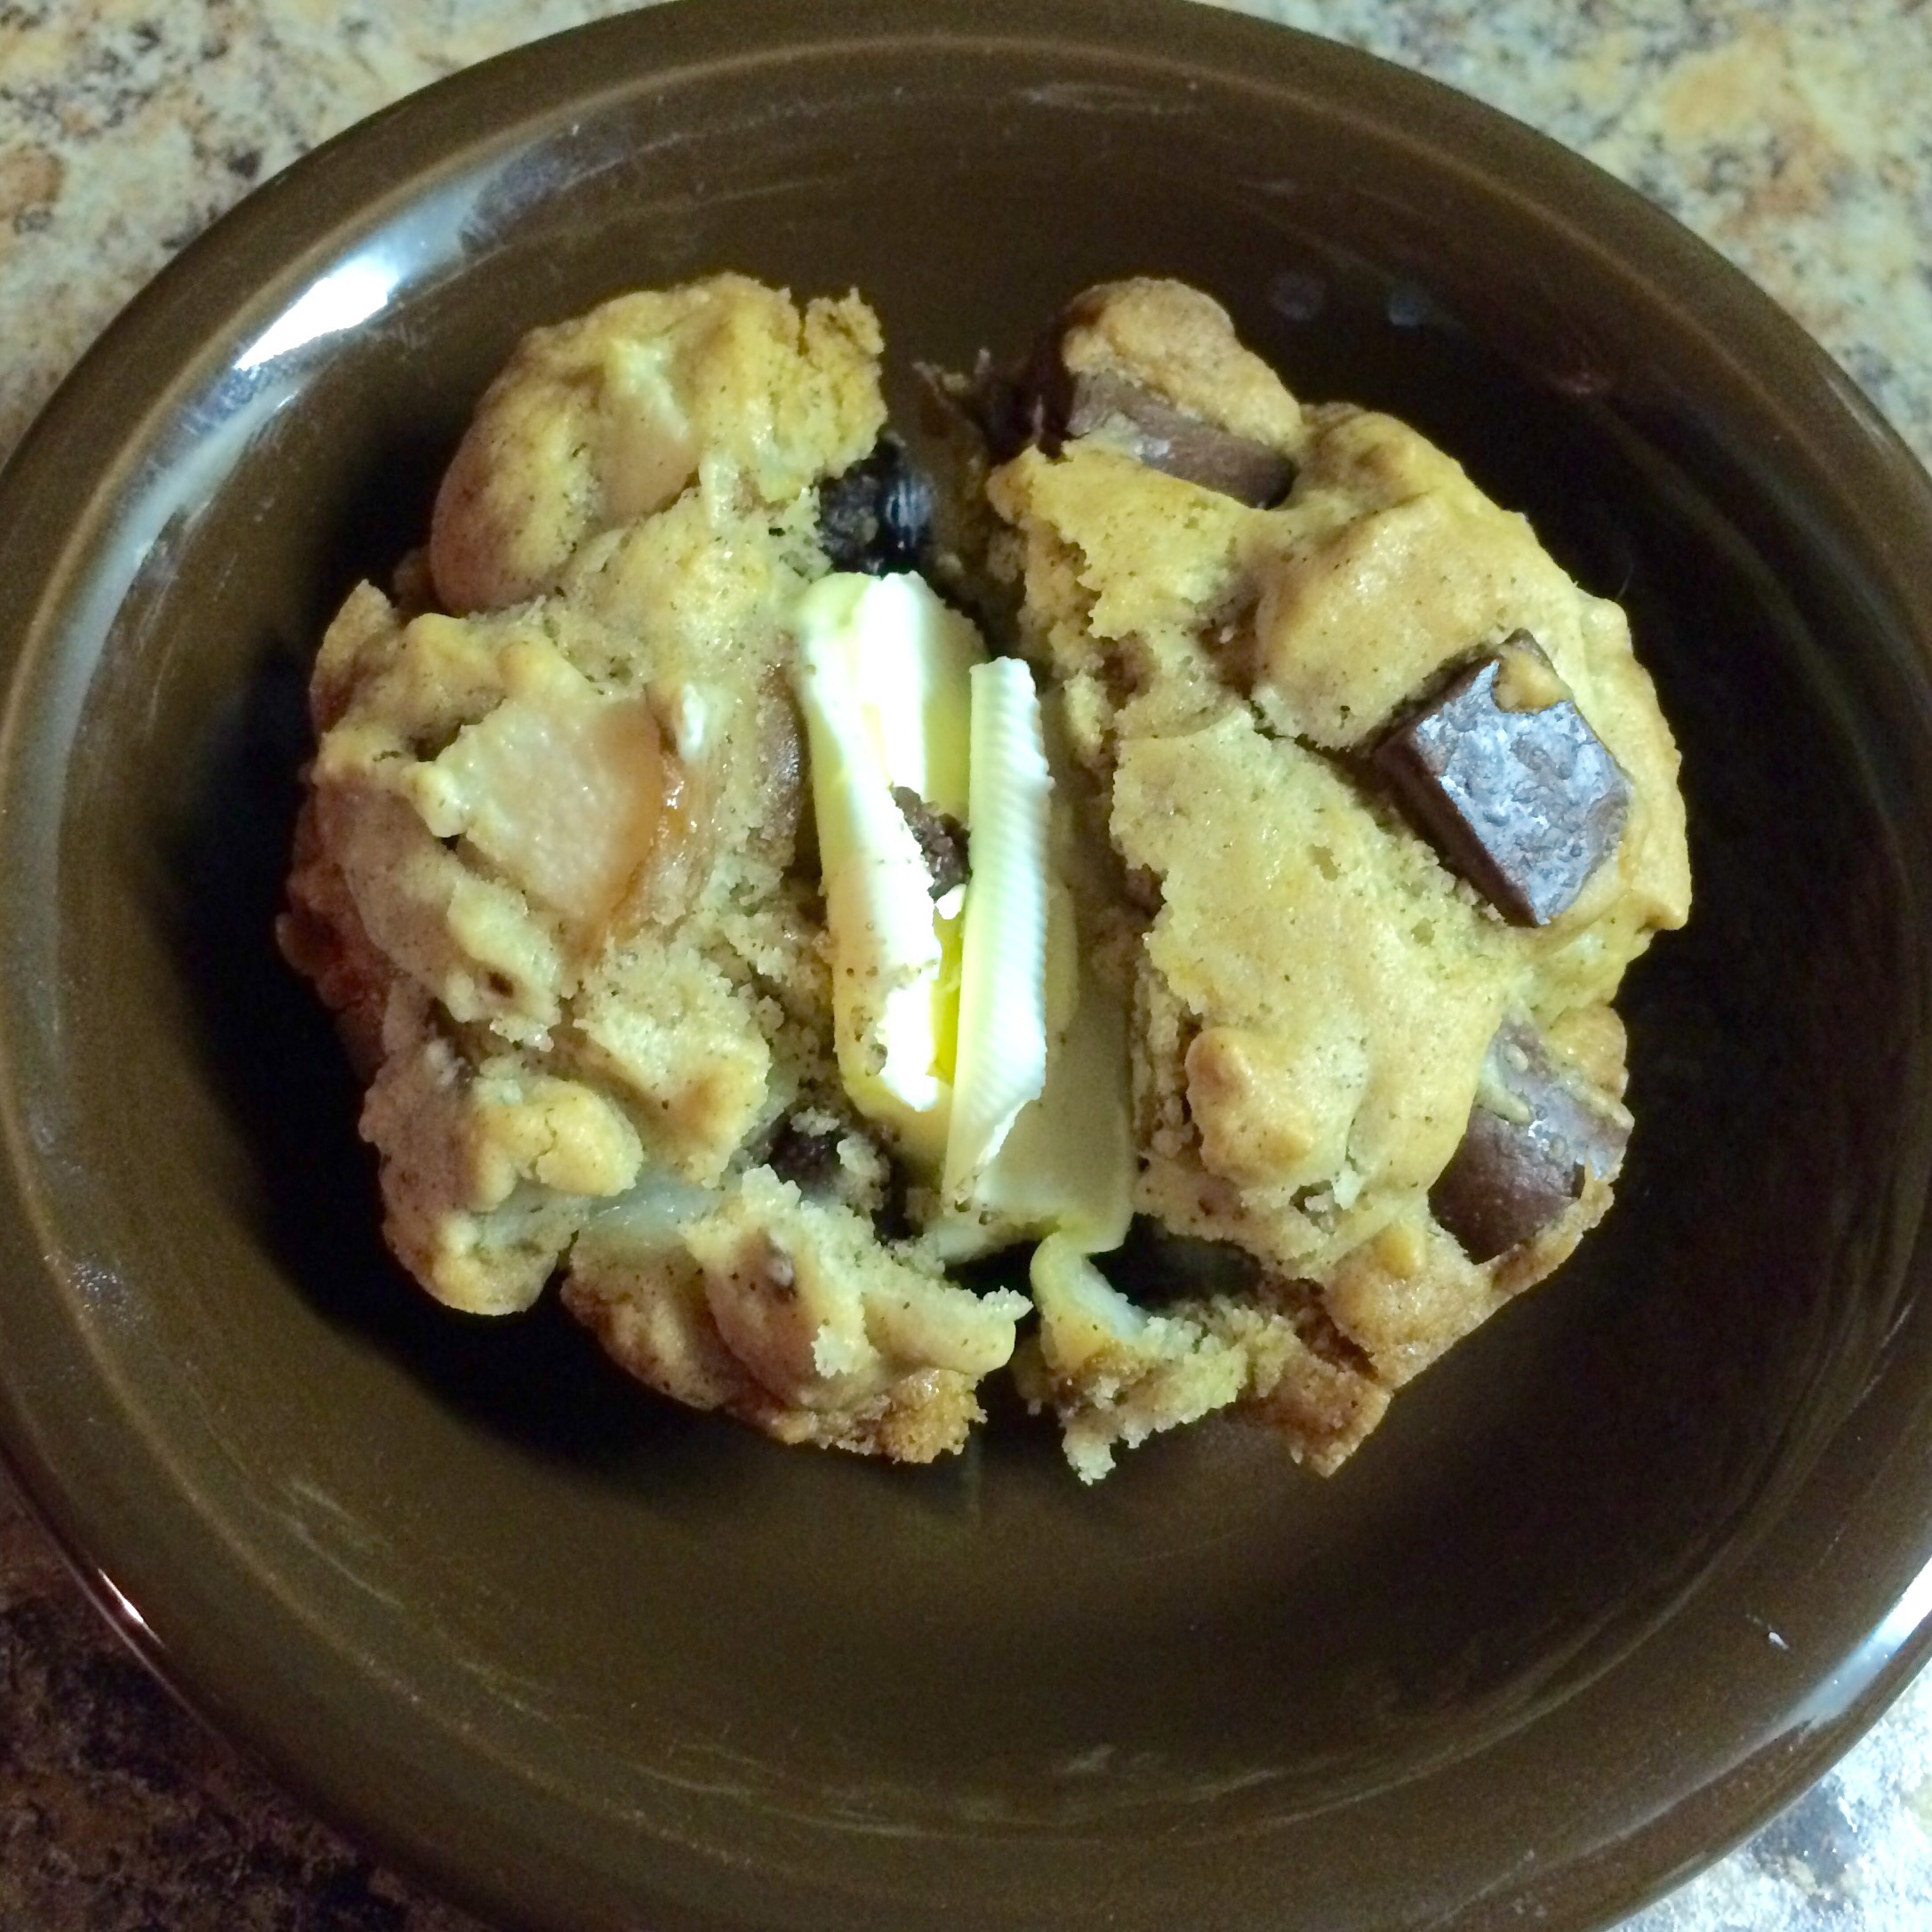
    I wanted something out of the ordinary. So I threw together this concoction and was quite please. It’s full flavor of the spiced pears and rich chocolate taste really make your palate go, “Wow!” The recipe is quite simple and would be an enjoyable surprise to anyone waking up for breakfast. This would be also a great addition to any brunch to impress your guests with your super baking skills.

    Spiced Pear and Chocolate Muffins 

    Prep Time: 10 mins

    Cook Time: 25 mins

    Total Time: 35 mins

    Yield: 12 muffins

    Ingredients

    1 1/2 cups of flour

    1 tsp of baking soda

    1 tsp of baking powder

    1/2 tsp of salt

    1 tsp of cinnamon

    1 1/2 tsp of pumpkin pie spice

    3 pears, diced

    3/4 cup of sugar

    1 egg

    1/3 cup of butter, melted

    1 tsp of vanilla extract

    1 cup of chocolate chips

    Directions

    Preheat oven to 450 degrees F. Line muffin tin with baking cups or spray muffin tin with cooking spray.

    In a large bowl, combine the flour, baking soda, baking powder, salt, cinnamon, and pumpkin pie spice together.

    In a medium bowl, mix the butter, egg, and sugar together. Stir in pears.

    Add the wet ingredients to the dry ingredients. Fold in chocolate chips and mix until well combined.

    Fill muffin cups 3/4 full. Place the muffin tin in the oven and reduce the heat to 375 degrees F.

    Bake for 20-25 minutes.

    Enjoy!  
  • Valentine’s Red Velvet Whoopie Pies

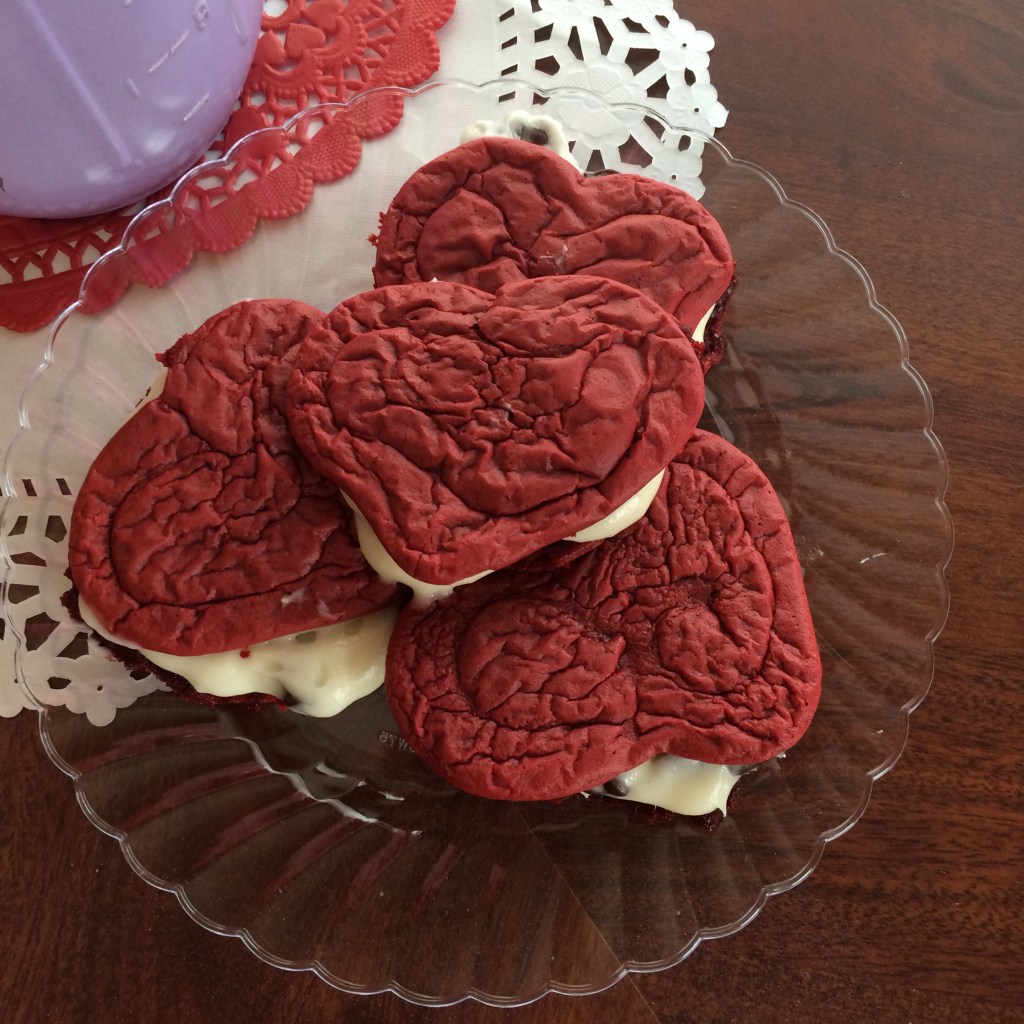
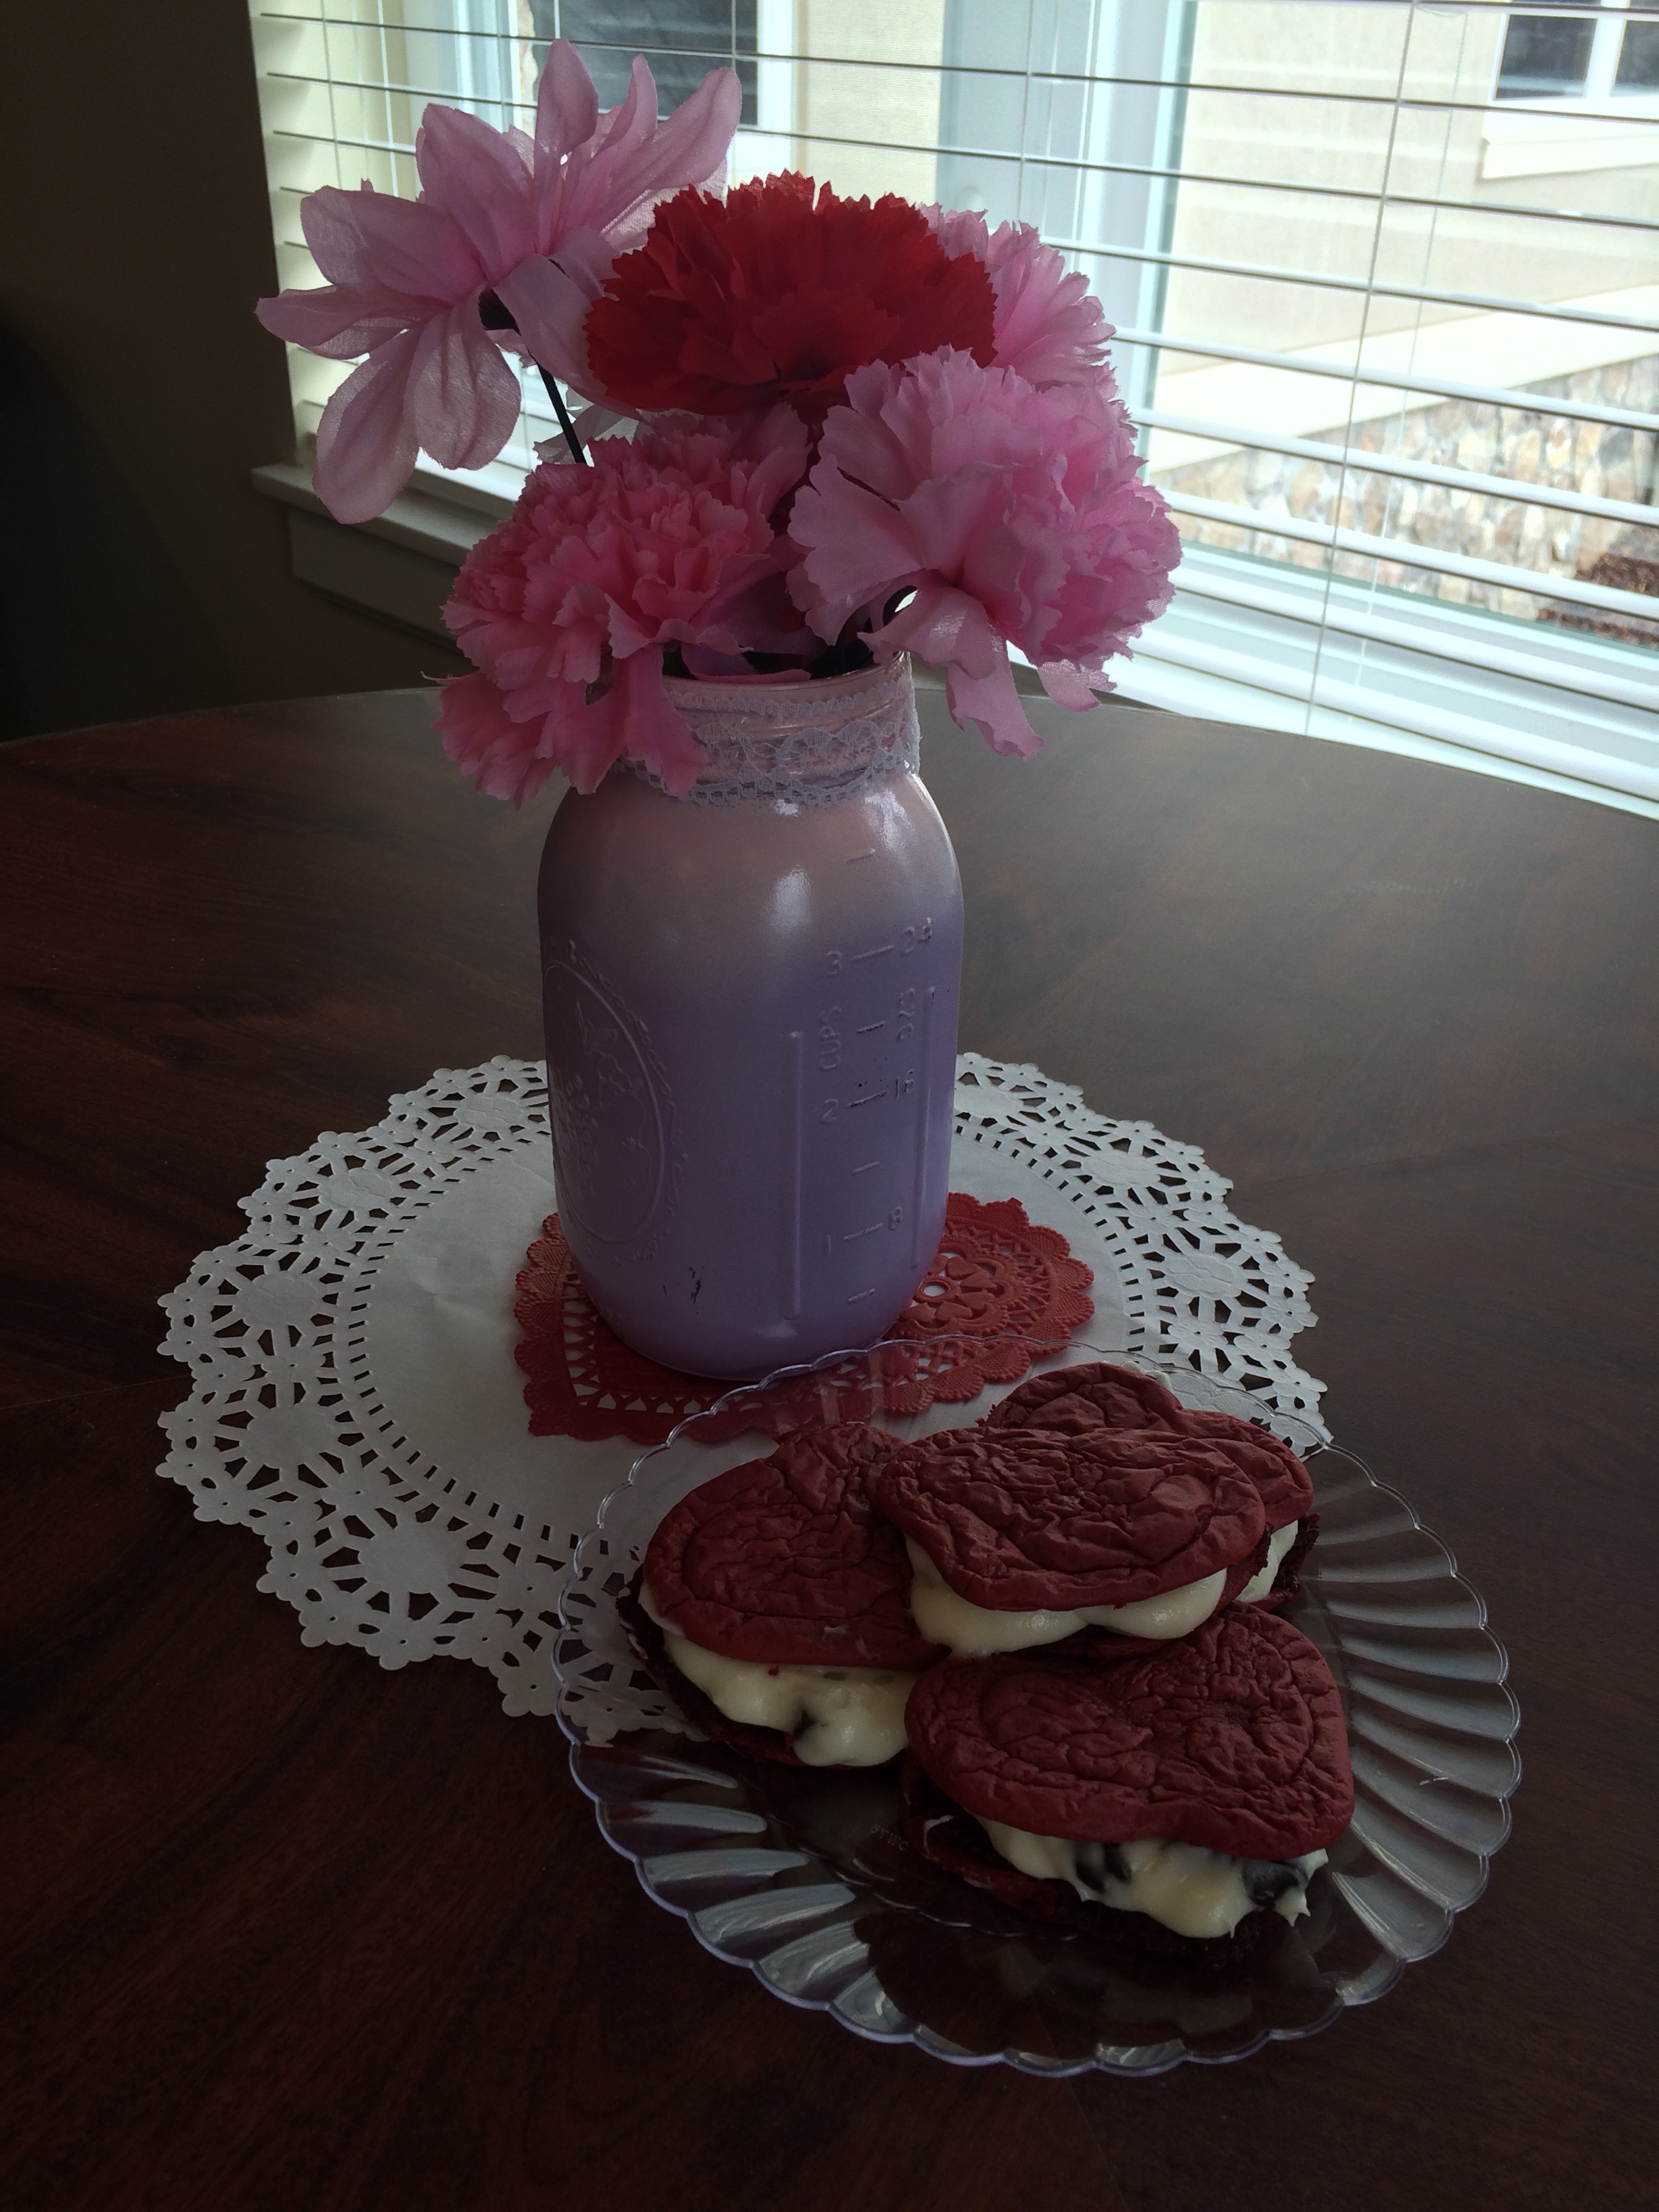
    Valentine’s Red Velvet Whoopie Pies

    Valentine’s Day is this weekend. So if you are looking for a sweet treat to impress your loved one, check this out! These whoopie pies are pretty quick to whip up and have a rich, creamy flavor that will be hard to stop eating after one. No need for fancy pans to make these. All you’ll need is a ziplock bag to use as a piping bag. Depending on the size you decide to make the heart-shaped cookies, it will give you a yield between 18-24. Show off your mad baking skills with these tasty pies.

    Red Velvet Whoopie Pies

    Prep Time: 15 mins

    Cook Time: 8 mins

    Total Time: 23 mins

    Yield: 18-24 pies

    Ingredients

    1 red velvet cake mix

    3 eggs

    1/2 cup of canola oil

    2 tsp of vanilla extract

    Filling

    8 oz of cream cheese, softened

    1/2 cup of butter, softened

    2 cups of powdered sugar

    1 1/2 cups of semisweet chocolate chips

    Directions

    Preheat oven to 350 degrees F. Line two baking sheets with parchment paper. Set aside.

    In a large bowl, combine cake mix, eggs, oil and extract. Beat mixture for 2 mins on medium speed.

    Put mixture into a gallon ziplock bag. Cut a 1/2 in hole in the corner of the bag. Pipe hearts onto parchment paper, space hearts 1 in. apart.

    Bake 6-8 minutes. Let cool on pans for 5 mins.

    For filling, in a large bowl, beat cream cheese and butter until well combined. Gradually beat powdered sugar until creamy. Fold in chocolate chips. Spread filling on bottoms of half of the cookies. Top with remaining cookies.

    Enjoy!  

  • Soft Pretzels

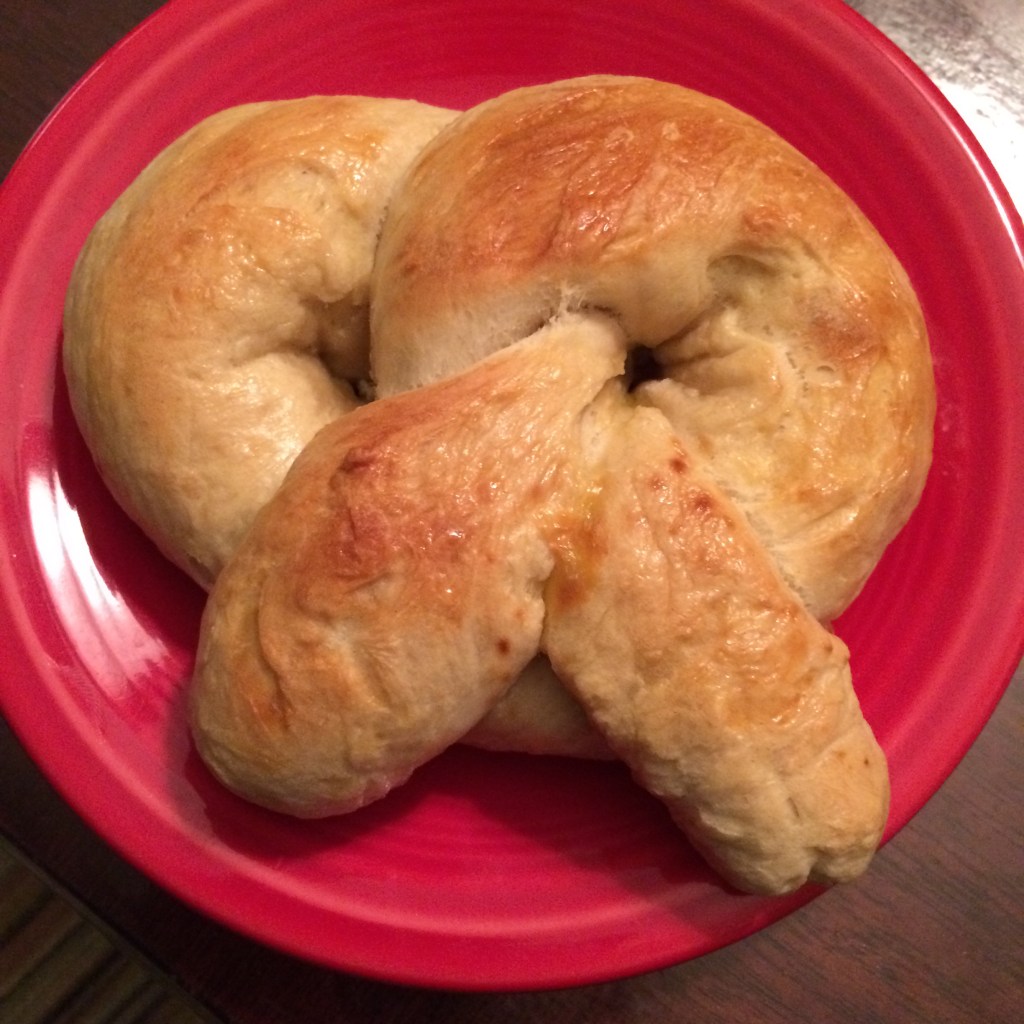
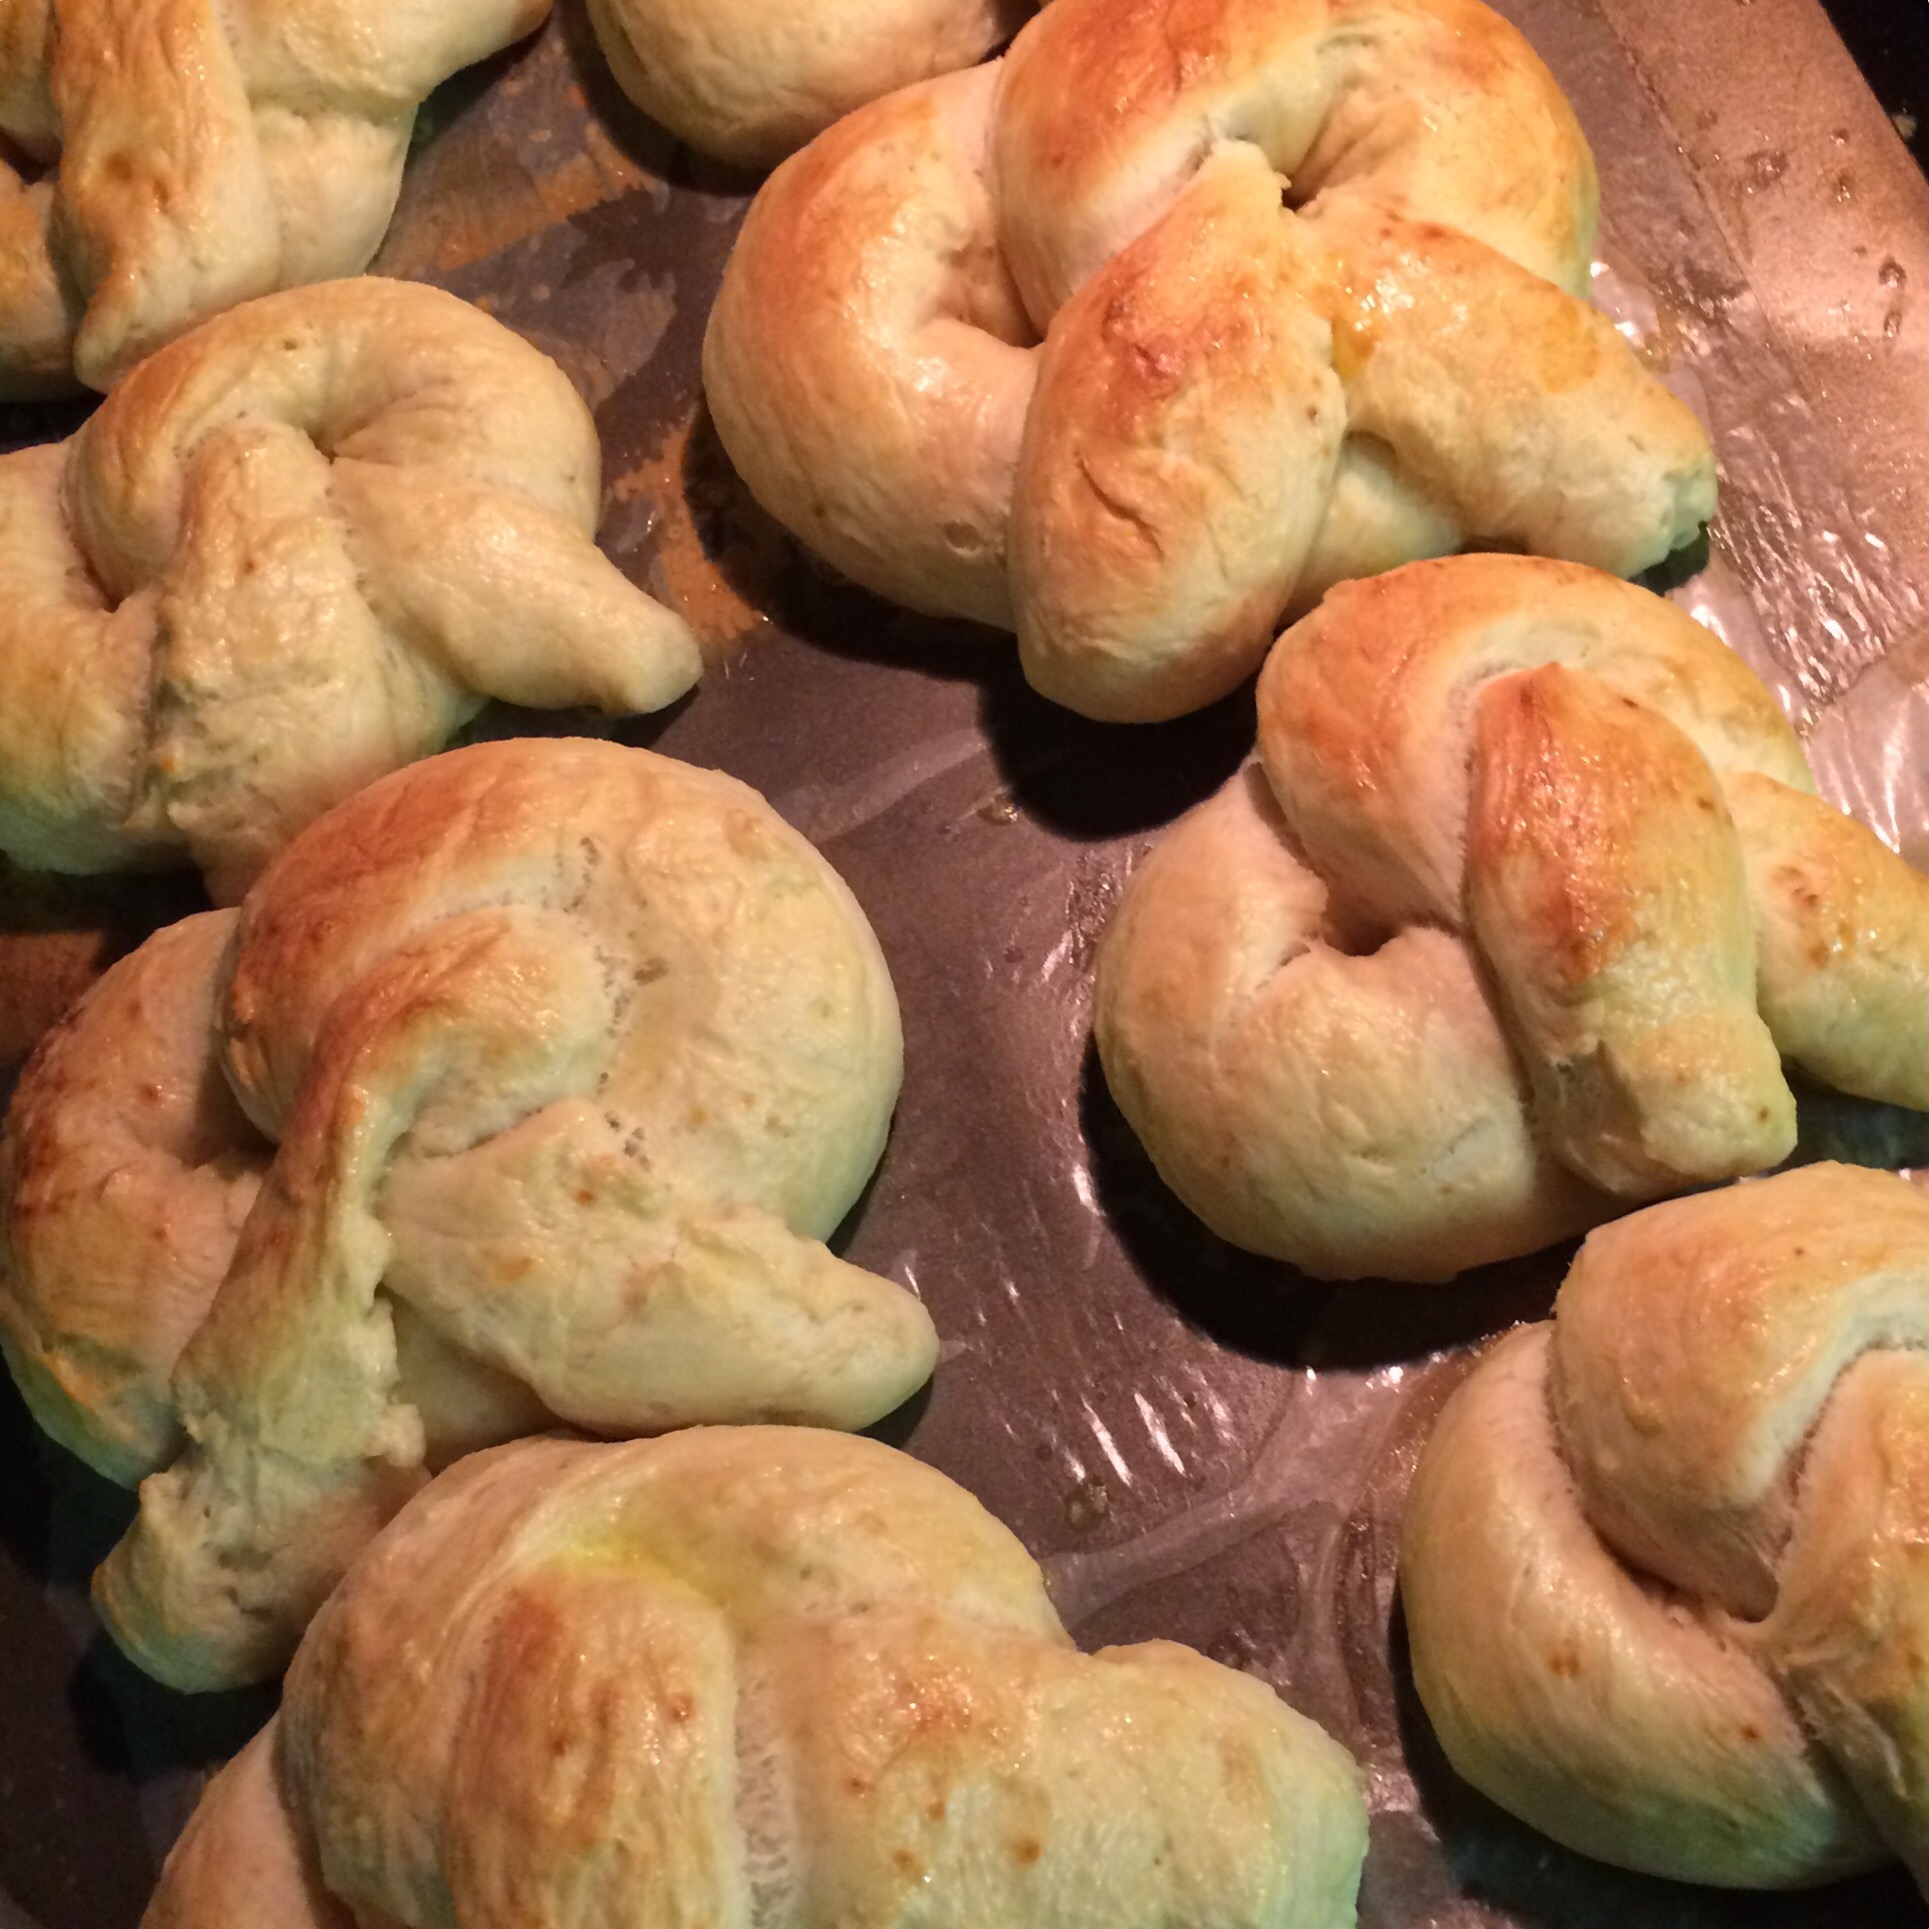
    Soft Pretzels

    What better to compliment your beer than a soft pretzel. I made these for our Super Bowl party,  but they are just in time for the upcoming baseball season. They would be a great addition to watching any of your favorite team’s games. You can serve with a side of mustard, cream cheese icing, or just by themselves. 

    Soft Pretzels

    Prep Time: 1 hr 15 mins

    Cook Time: 14 mins

    Total Time: 1hr 29 mins

    Yield: 8 pretzels

    Ingredients:

    1 1/2 cups of warm water

    1 Tbsp of sugar

    2 tsp of salt

    1 package active dry yeast

    4 1/2 cups of flour

    1/4 cup of butter, melted

    10 cups water

    1/3 cup baking soda

    1 egg yolk + 1 Tbsp of water

    Pretzel Salt

    Directions:

    Mix the water, sugar and salt in standing mixer bowl and stir in yeast. Allow to sit for 5 minutes or until the mixture begins to foam. 

    Add in flour and butter and, using the dough attachment, mix on low speed until well combined. Increase to medium speed and knead until the dough is smooth and pulls away from the side of the bowl. Remove the dough from the bowl, clean the bowl and then grease bowl. Put dough back into bowl and cover with plastic wrap. Let sit in a warm place for approximately 50 to 55 minutes or until the dough has doubled in size.

    Preheat the oven to 450 degrees F. Line baking sheets with parchment paper and lightly brush with the vegetable oil.

    Boil the 10 cups of water and baking soda in a saucepan.

    Knead the dough out onto a slightly oiled work surface and divide into 8 equal pieces. Roll out each piece of dough into a 24-inch rope. Make a U-shape with the rope, holding the ends of the rope, cross them over each other and press onto the bottom of the U in order to form the shape of a pretzel. Place onto greased piece of parchment paper.

    Put each pretzels into the boiling water seperately for 30 seconds. Remove them from the water and place on baking sheet. Brush each pretzel with the egg yolk and water mixture and sprinkle with the pretzel salt. Bake 12-14 minutes. Let cool for 5 mins.

    Enjoy!  

  • Mini King Cakes

    Mini King Cakes

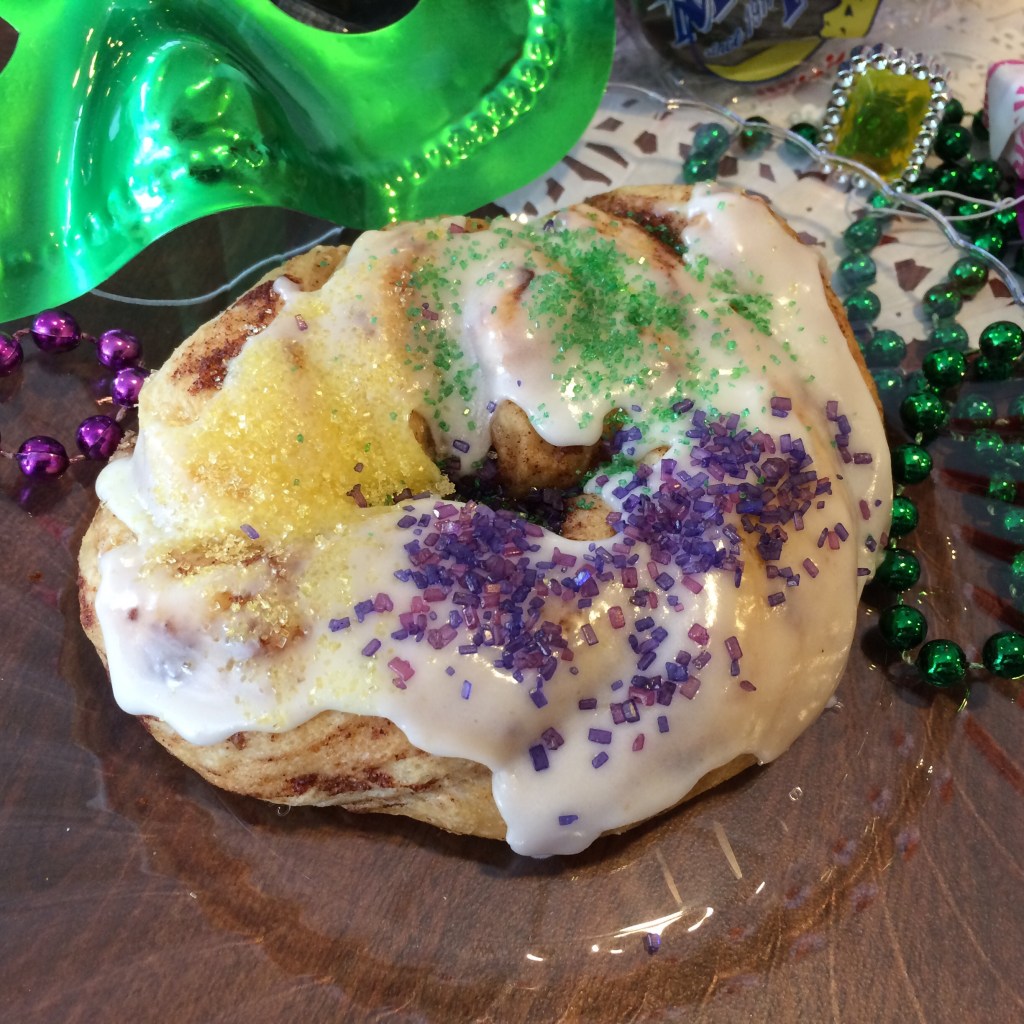
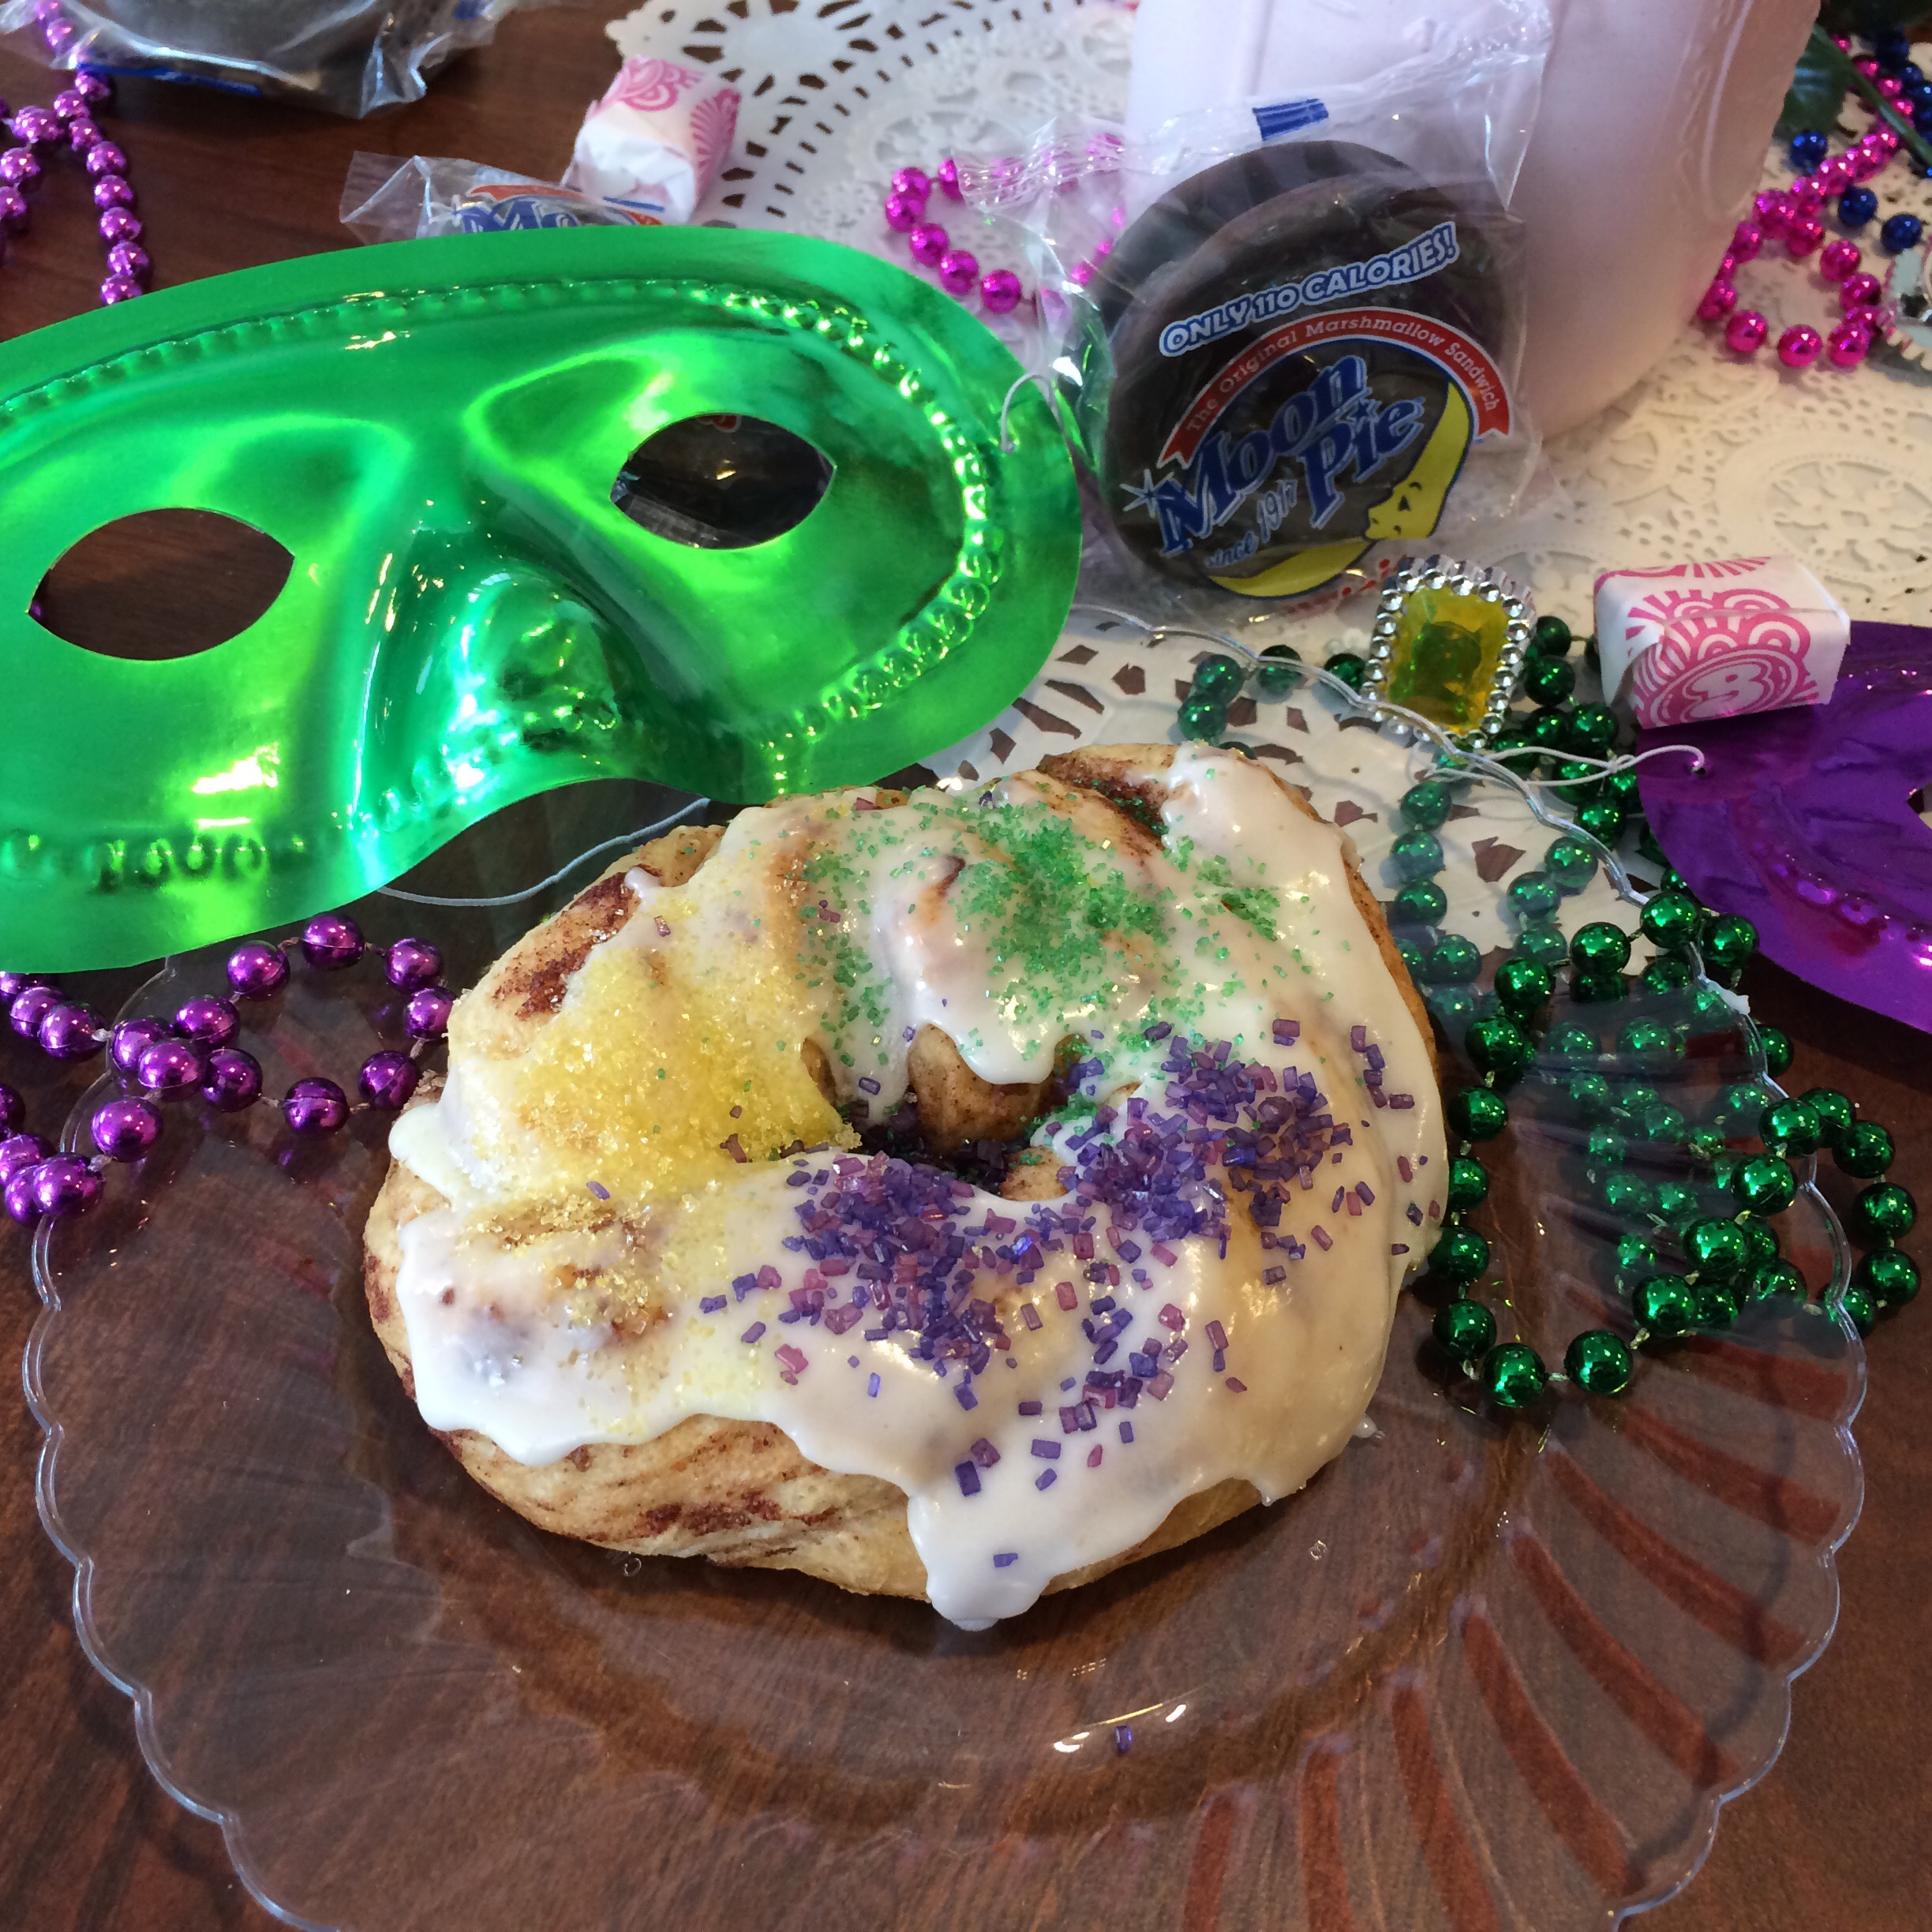
    Mardi Gras is almost here! What better way to celebrate than making mini king cakes. If you aren’t in Mobile, AL or New Orleans, LA better luck next time trying to find one premade. In New Orleans alone, they sell 500,000 king cakes every Mardi Gras. You will need purple, green, and gold sprinkle sugars for the trinity to make these king cakes complete. To make one from scratch can be quite time consuming, but with this easy trick you can make mini King cakes that no one will go home complaining about. They are also big enough to be able to hide the baby Jesus in one, so you can bring the official tradition of someone finding the baby in their cake. There is one of two meanings to the traditions. It can either symbolize that the person who finds the baby will host the Mardi Gras party next year or they will have good luck all through the Lenten season. So try these out for your Mardi Gras party, and use your time saved in the kitchen to relax before the party. Happy Mardi Gras!

    Mini King Cakes

    Prep Time: 10 mins

    Cook Time: 20 mins

    Total Time: 30 mins

    Yield: 25 mini cakes

    Ingredients

    5 cans of cinnamon rolls w/ icing

    Purple sprinkle sugar

    Green sprinkle sugar

    Gold sprinkle sugar

    Directions

    Preheat oven to 350 degrees F. Line two large baking sheets with parchment paper.

    Take cinnamon rolls out of containers. Unroll each cinnamon roll, then fold dough in half. Twist dough and pinch two ends together to form a circle. Place on parchment paper. Repeat these steps with each cinnamon roll. Bake for 20 mins. Take out of oven and let cool for 5 mins. Spread icing on each cake and sprinkle the purple, green, and gold sugar on top.

    Serve & Enjoy!  

  • Blueberry Ginger Crumble Muffins

    Blueberry Ginger Crumble Muffins

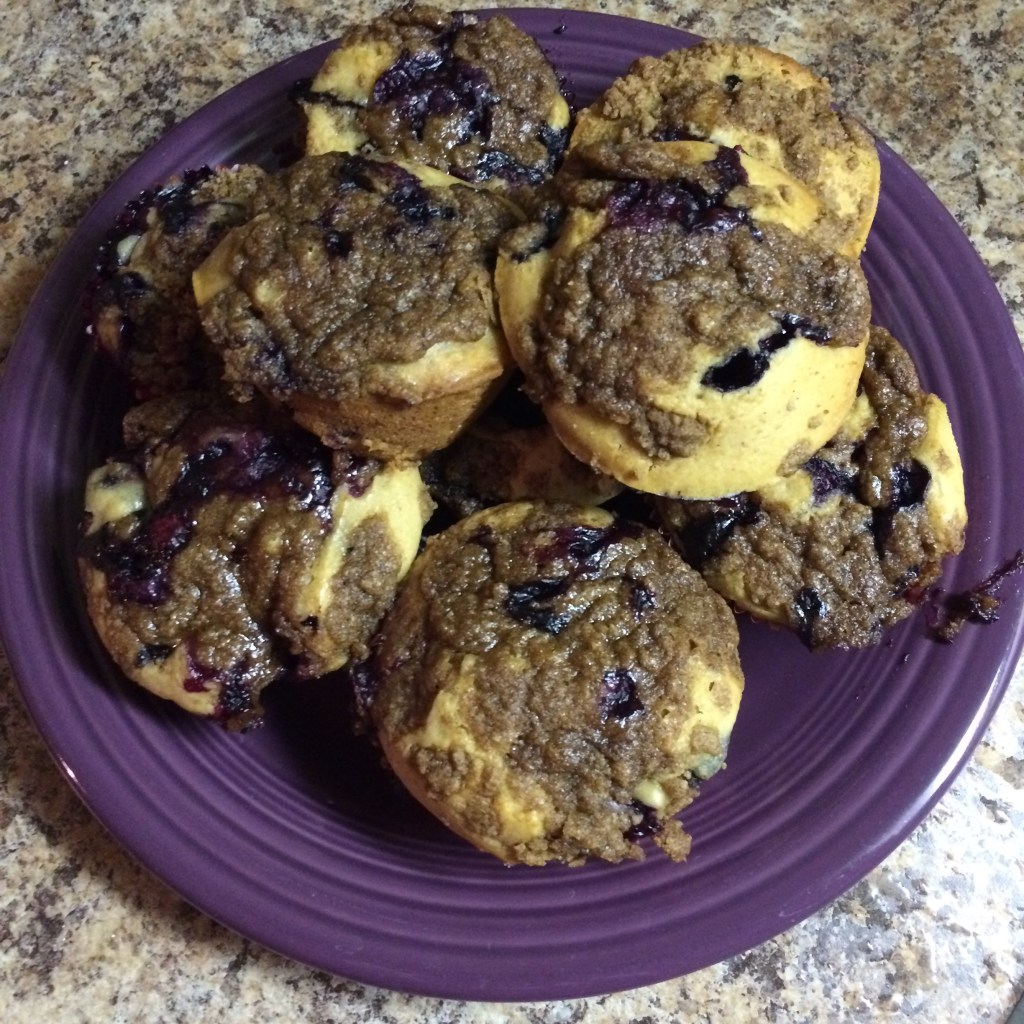
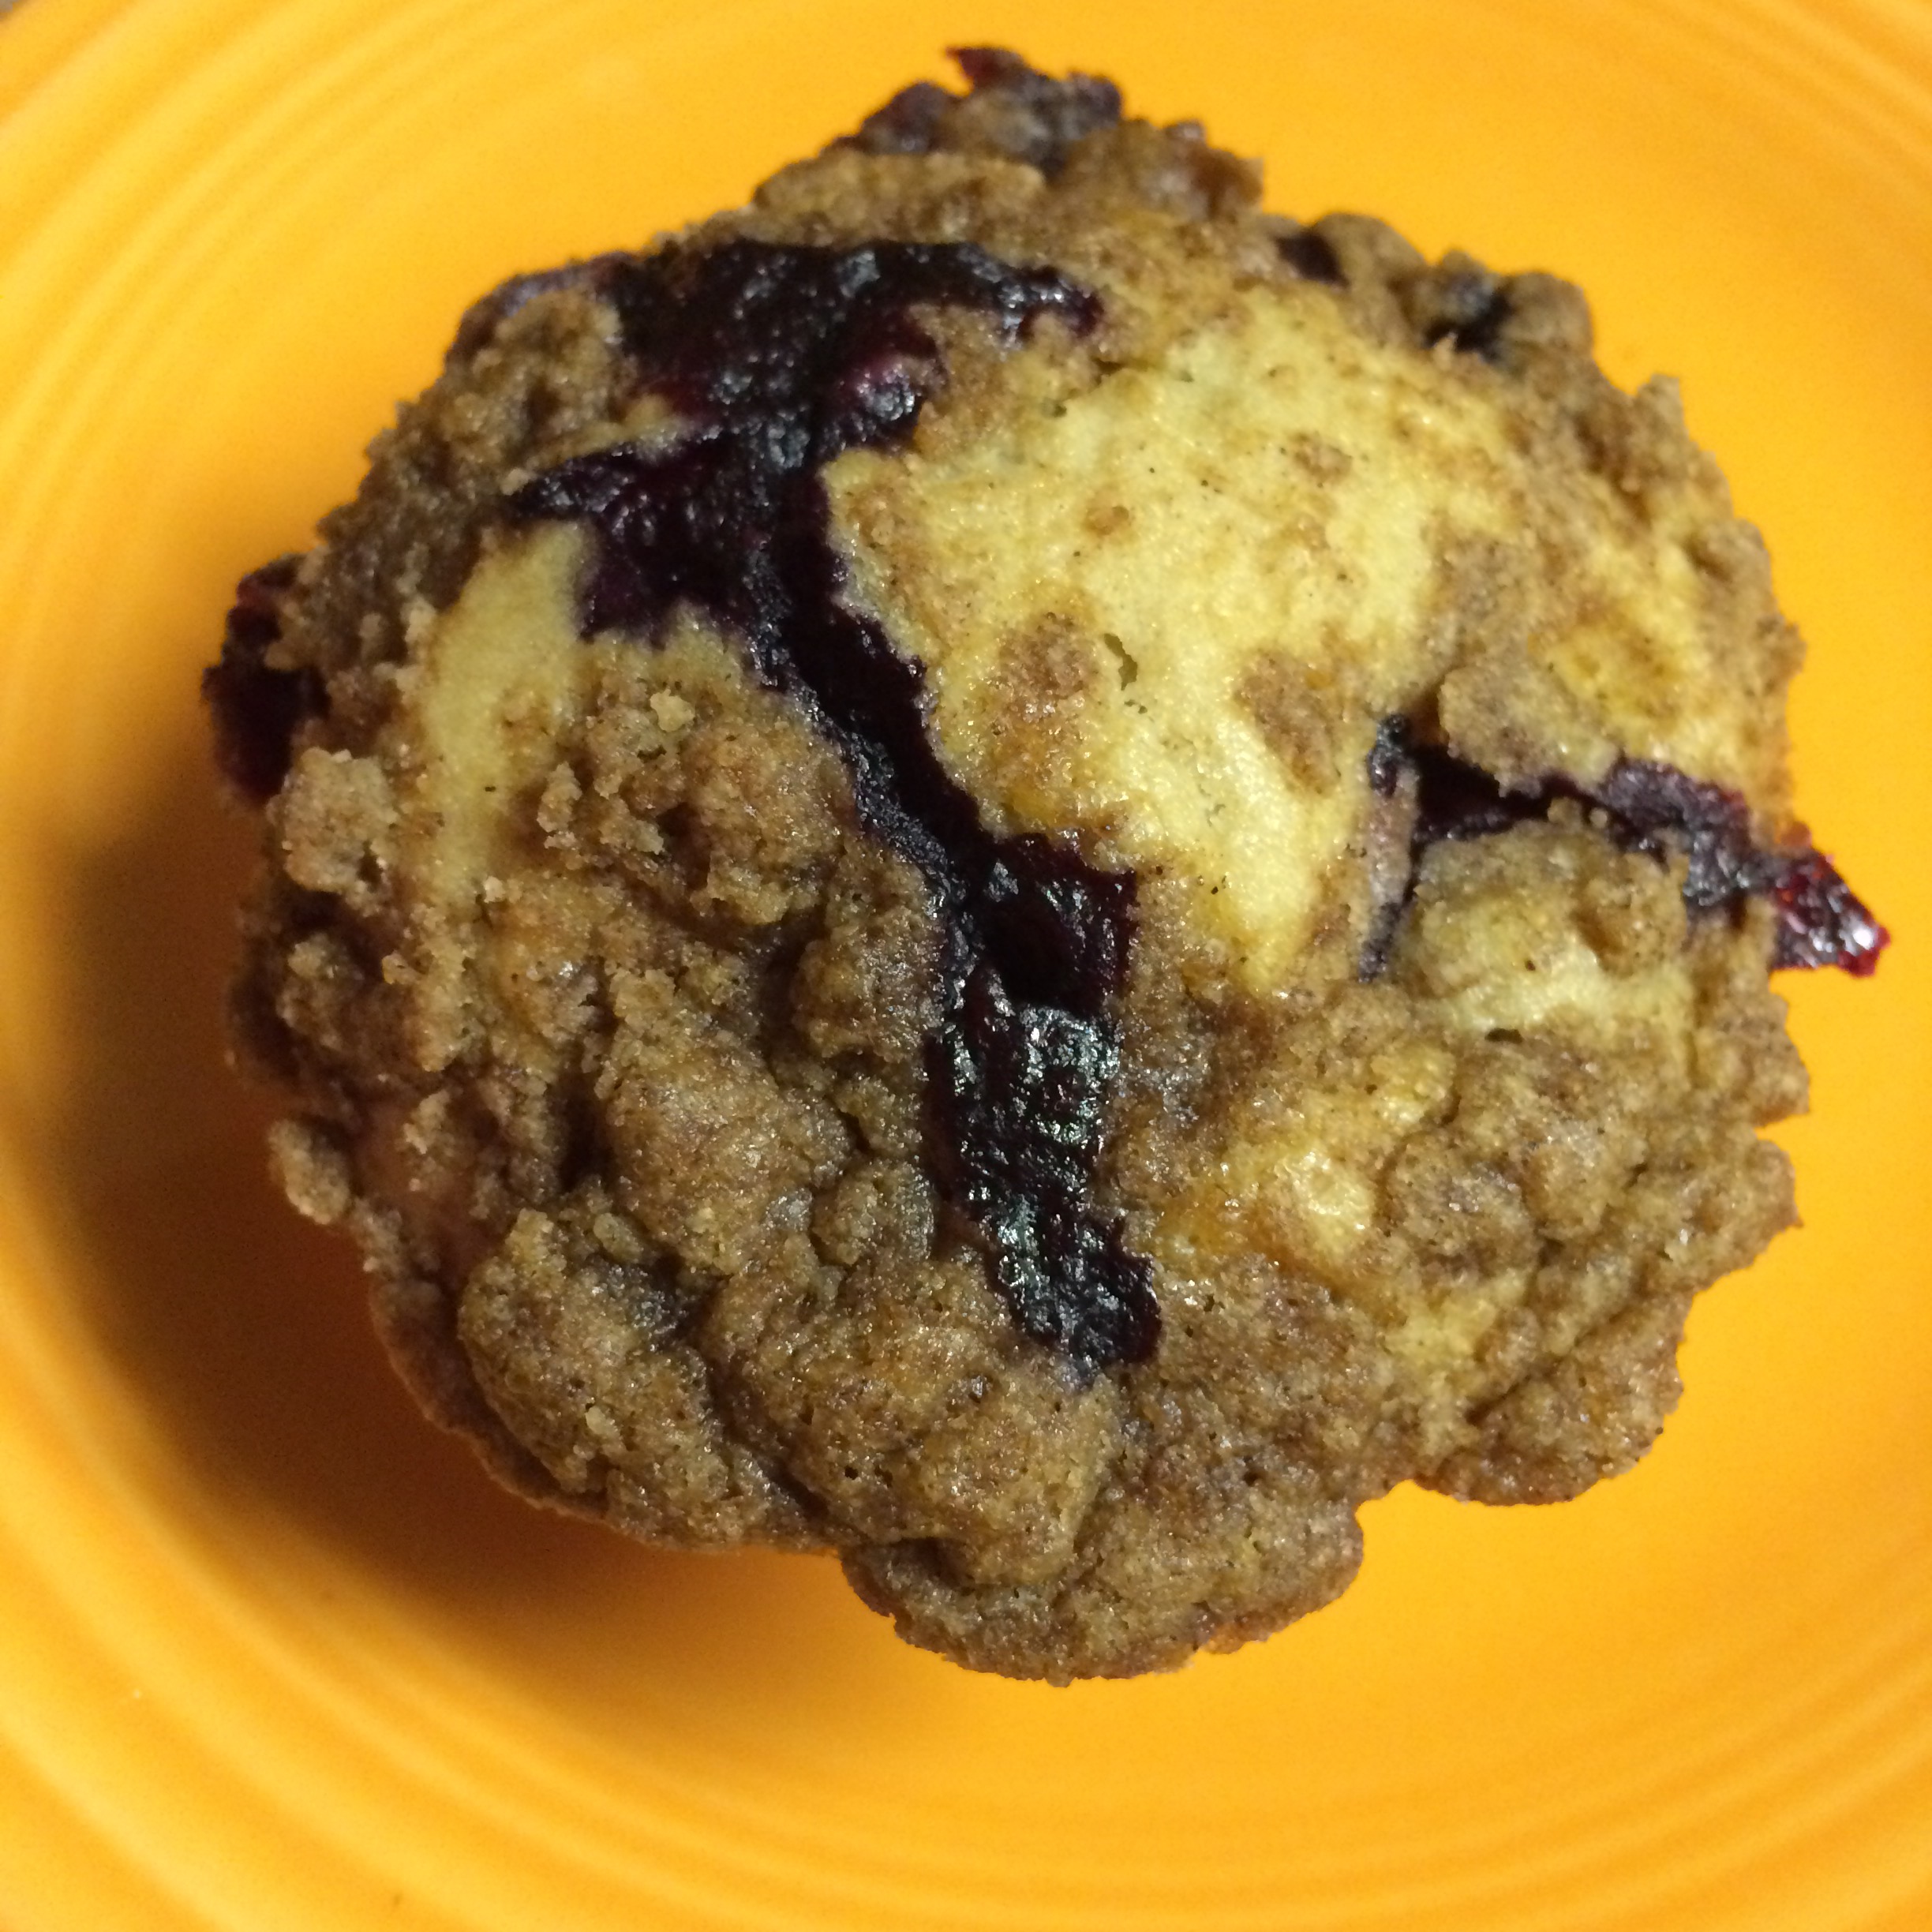
    What better way to start your morning, then these tasty treats. In about 35 mins, you can whip these delicious blueberry muffins up and pack your breakfast full of antioxidants. With a twist of ginger and a crumble topping, no one will leave the table unsatisfied. Try these out with your family, and bring a new delish surprise to the table.

    Blueberry Ginger Muffins

    Prep Time: 15 mins

    Cook Time: 20 mins

    Total Time: 35 mins

    Yield: 12 muffins

    Ingredients:

    2 cups of flour

    1⁄4 cup of sugar

    1 Tbsp of baking powder

    1⁄4 tsp of salt

    1⁄2 cup of brown sugar, packed

    2 tsp of ginger

    1⁄2 cup of butter, melted

    2  eggs

    3⁄4 cup of milk

    1⁄4 tsp of vanilla extract

    1 1/2 cups of blueberries

    Crumble topping

    1⁄2 cup of flour

    1⁄2 cup of brown sugar, packed

    1⁄2 tsp of cinnamon

    5 Tbsp butter, cold

    Directions:

    Preheat oven to 375 degrees F. Line muffin tin with paper muffin cups or spray tin with cooking spray.

    In a large bowl, whisk together the flour, sugar, baking powder, salt, brown sugar, and ginger.
    In medium bowl, whisk the melted butter, eggs, milk, and vanilla together until combined.

    Add the liquid ingredients into the dry, and mix together.  Fold in the blueberries.

    For the topping, mix together flour, brown sugar, and cinnamon in a small bowl. Cut in the cold butter into mixture and use your fingers to rub the butter into the dry ingredients until  mixture is crumbly.

    Pour the batter evenly into the muffin cups, sprinkle some of the topping over each muffin, and then gently press topping into batter.

    Bake for about 20 minutes, or until a toothpick inserted into the center of the muffins comes out clean. Let cool.

    Enjoy! 


  • DIY Valentine’s Kiss Decor

    DIY Valentine’s Kiss Decor

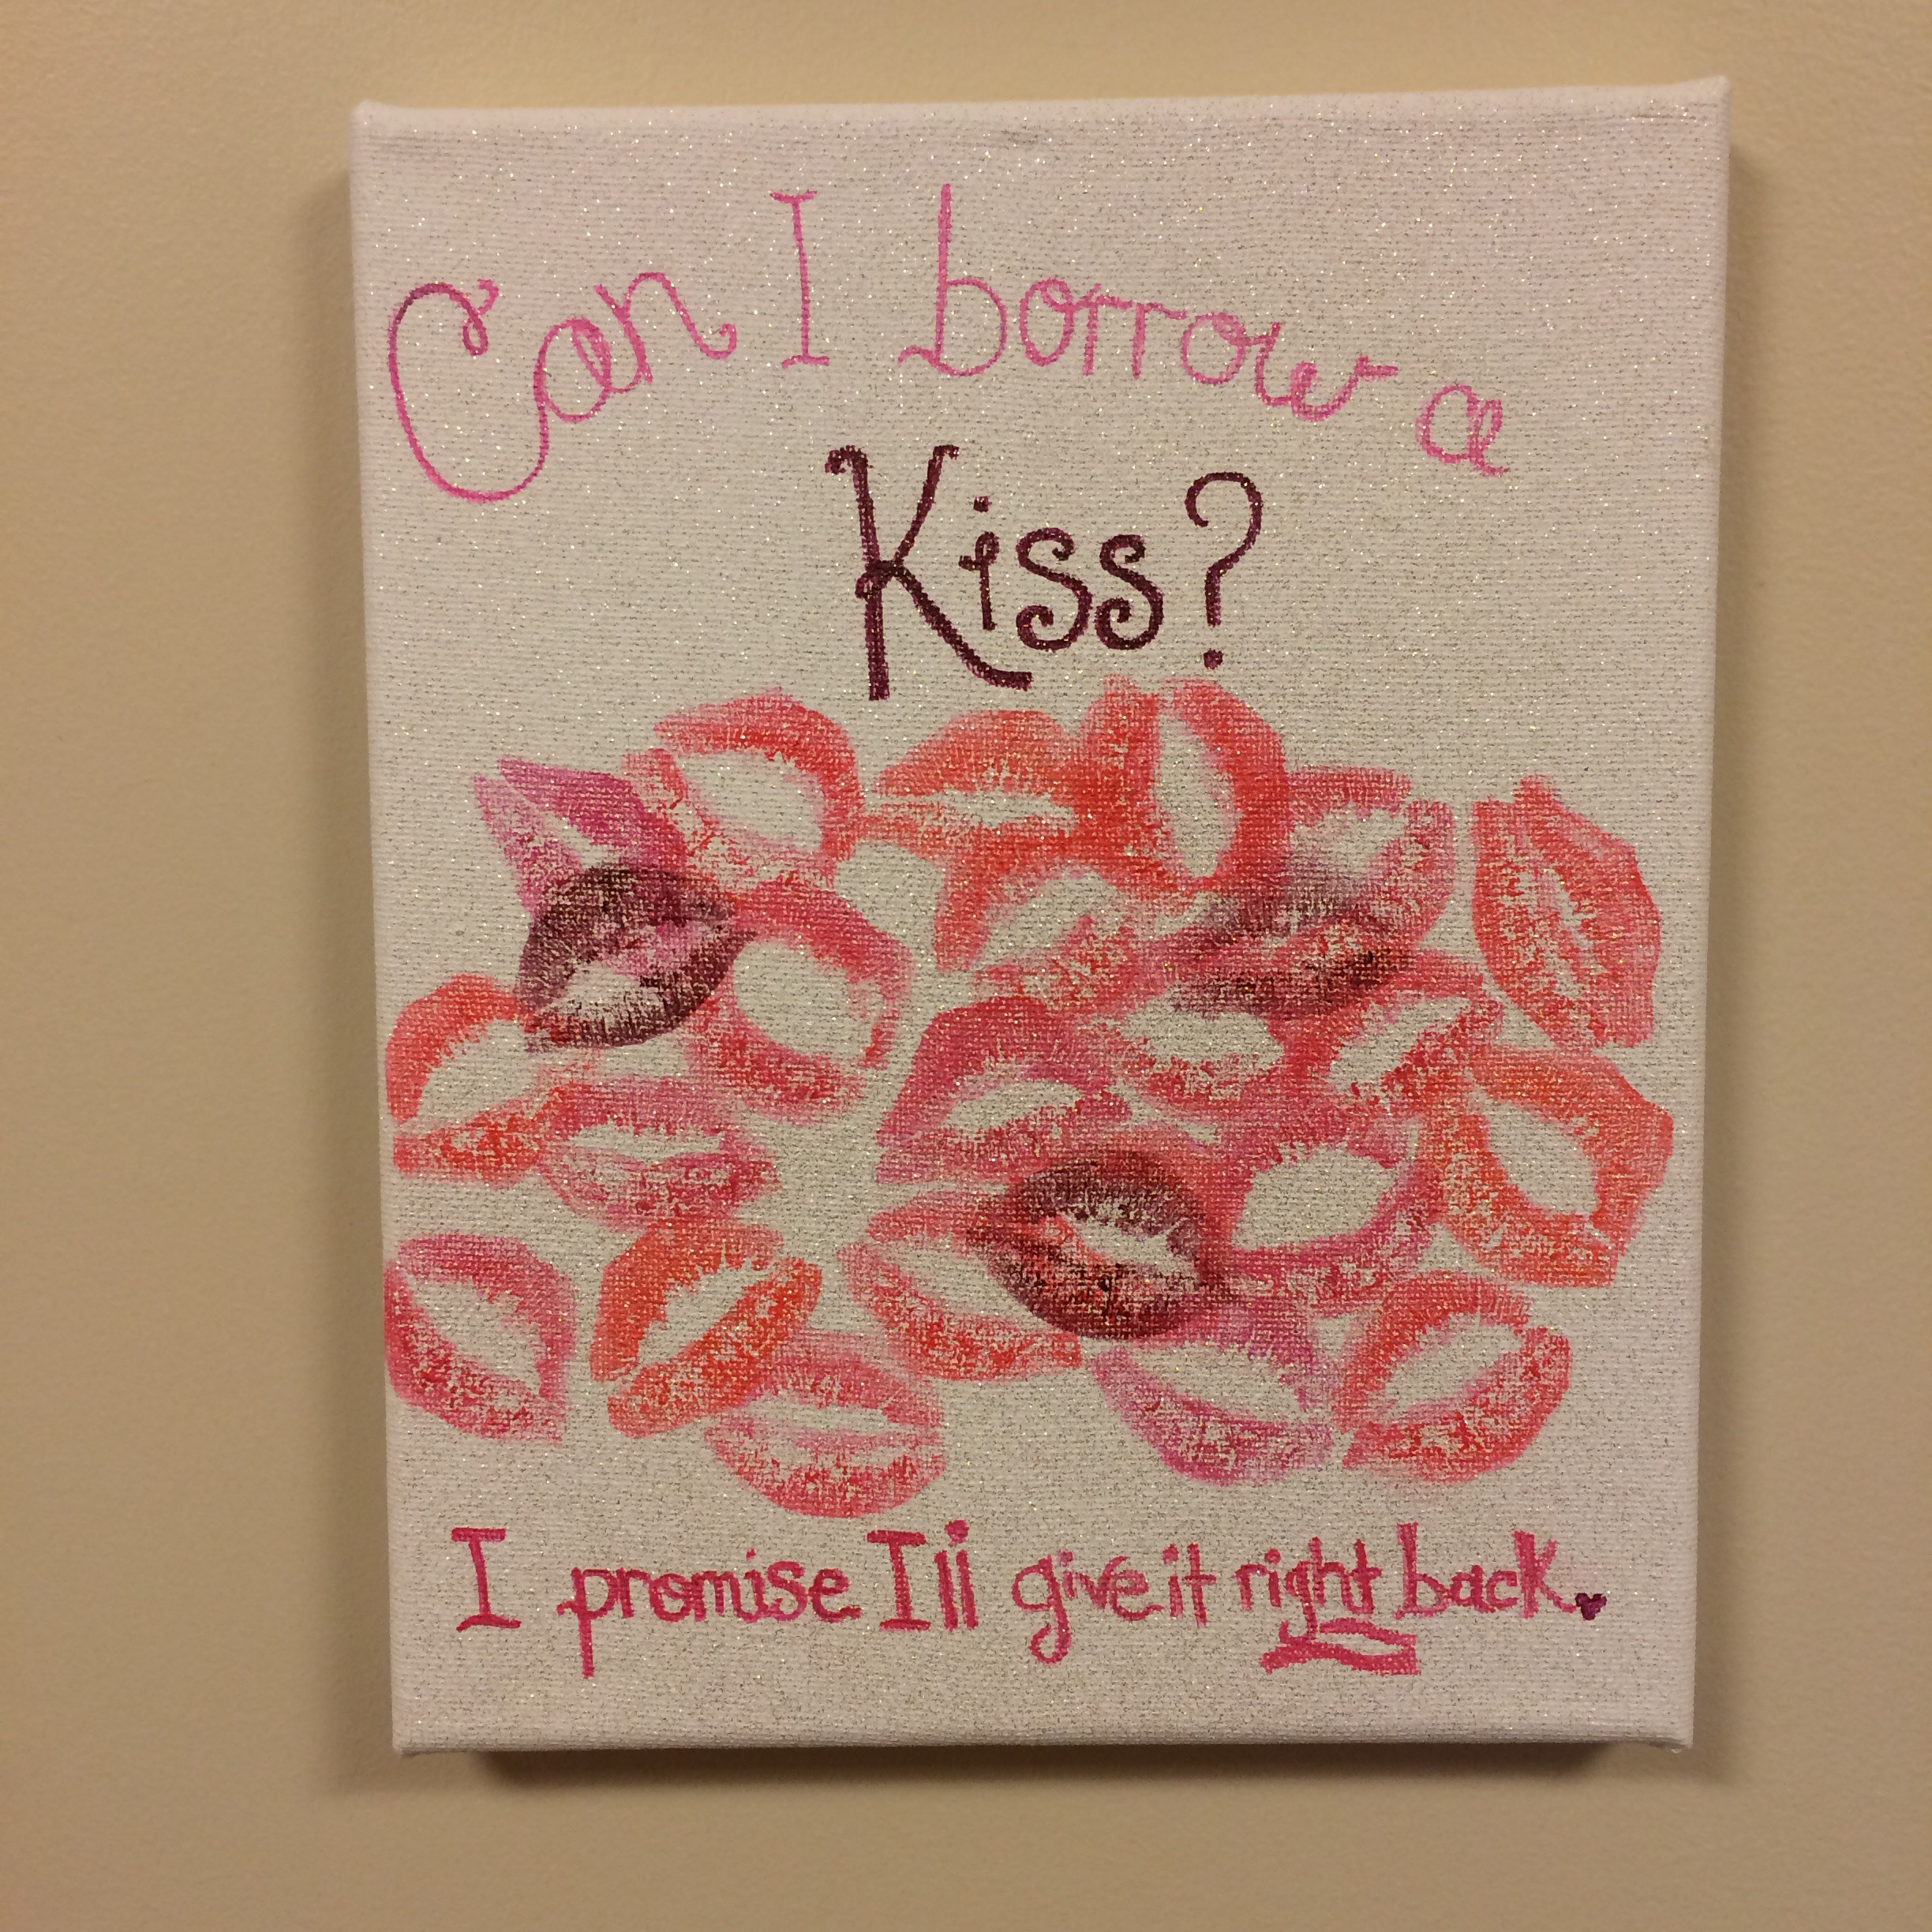
    It’s the first week of February! Valentine’s Day is just around the corner. So to decorate your home with a little of glam and sophistication, check this craft out. It takes about 30 minutes to make and will bring the holiday spirit into your house! You can use any size canvas you choose. I used an 8×10 canvas. To decorate you could add jewels, glitter, and beads. I preferred using only glitter just because it went better with my home decor. Pick any Valentine’s phrases you would like for the canvas or you could just do the kisses by themselves. You can either paint the phrase on the canvas or use permanent markers to write it on. It’s all up to your creativity! I used three different colors of lipstick for the kisses. Have a blast and deck your home out with this kissable artwork.

    You’ll Need:

    A Canvas

    Lipstick

    Tempura paints or Markers

    Spray Glitter

    Mod Podge Spray

    Directions:

    On the canvas, write or paint the Valentine’s phrase of choice. If you paint the phrase, make sure the paint is completely dry before you add the kisses.

    Once you have the phrase complete, use your favorite colors of lipstick and place kisses all over canvas as desired.

    When you have added all of the kisses, spray the glitter onto canvas. Use a light coat. Then once glitter spray has dried, spray the Mod Podge spray onto canvas to seal.

    And Tada! You have a super cute Valentine’s decoration that will give an extra pizazz to any room.

    Happy Valentine’s Day!

    Here are a couple examples:


  • Blueberry Orange Scones

    Blueberry Orange Scones

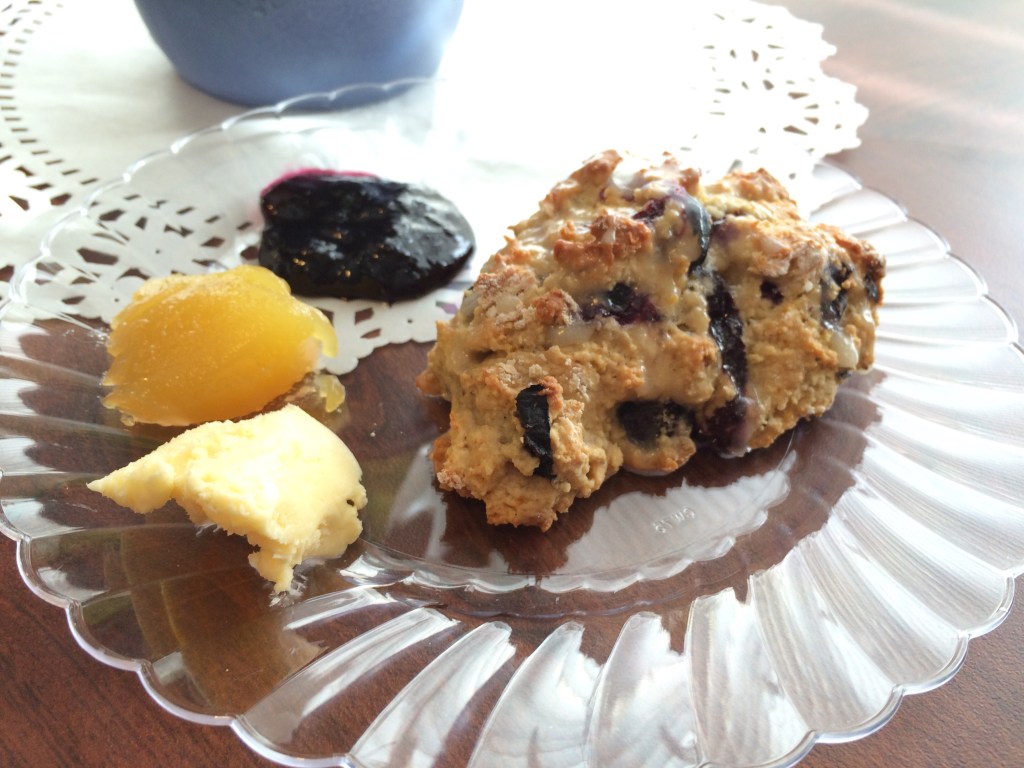
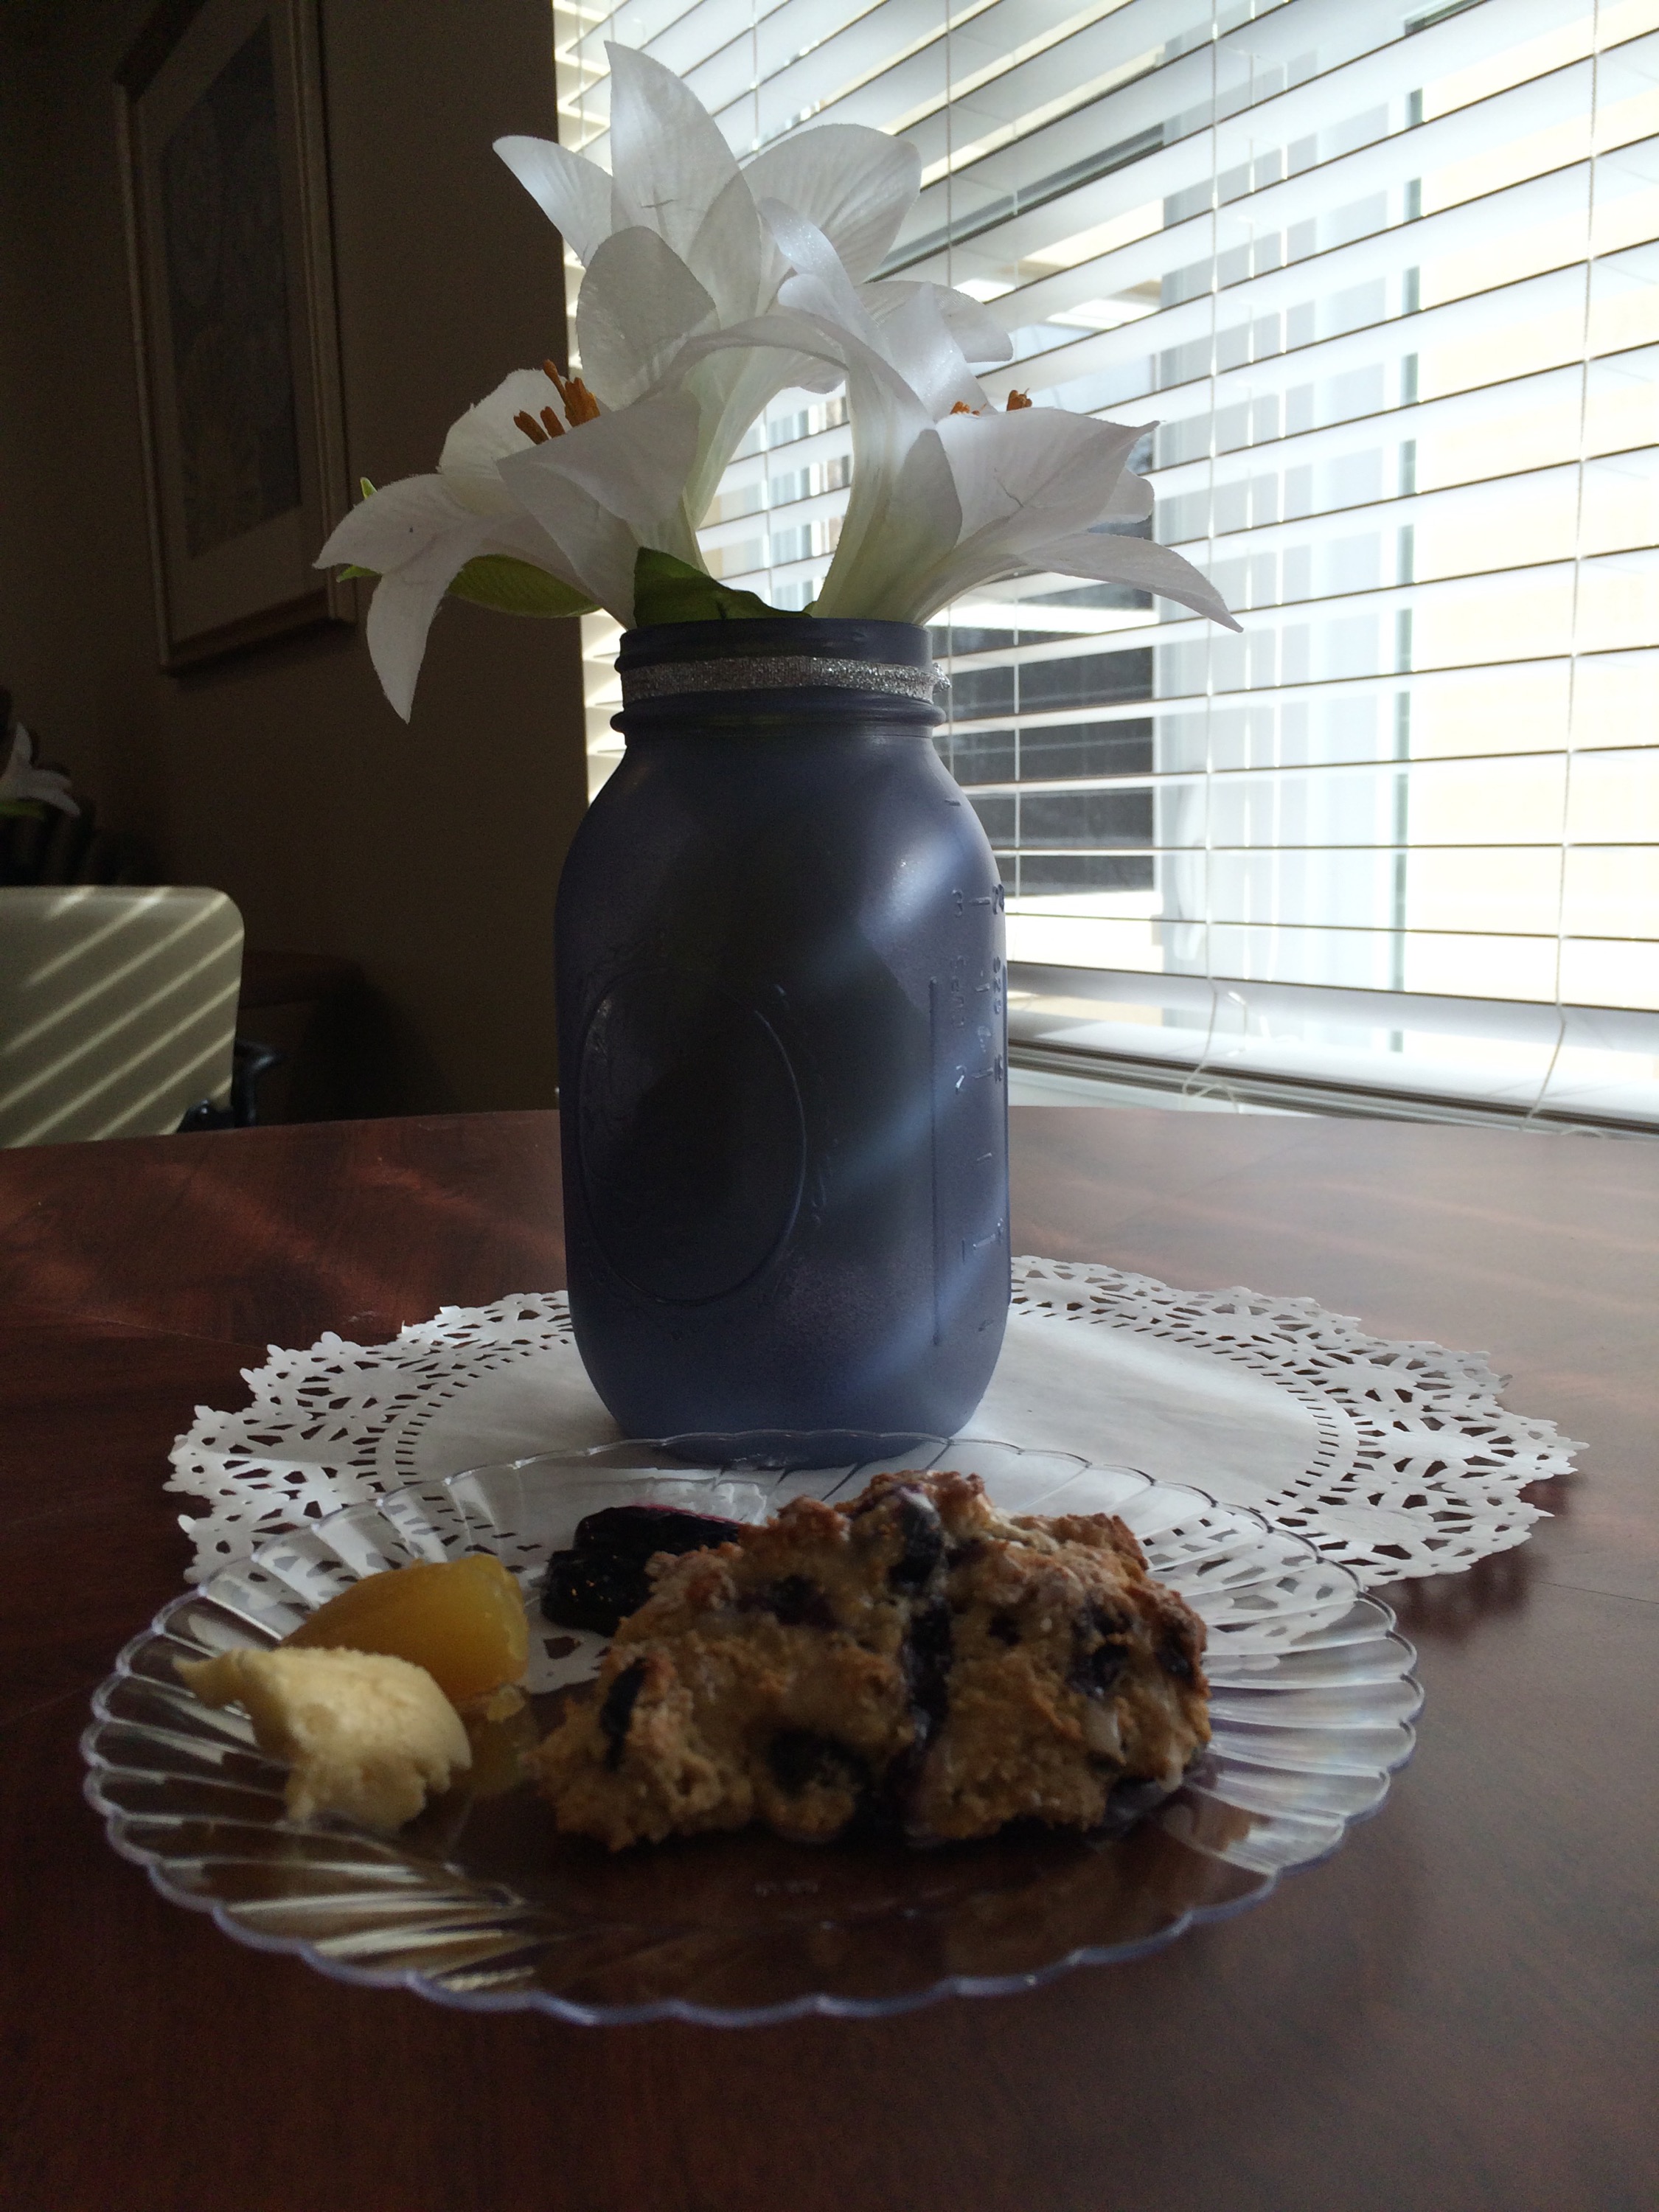
    Throwing together a brunch? Well these are sure to please any crowd. The warm blueberry taste with a zest of orange will bring a delicious compliment to any breakfast or brunch. You don’t have to spend a ton of time in the kitchen either whipping them up. I made a orange vanilla glaze to top the scones with. I also served them with blueberry preserves,lemon curd, and honey butter. This way it gave my guests a variety of choices to enjoy there scone. They are scrumptious by themselves as well. Bring a favorite of mine to your table and impress your guests with your baking skills.

    Blueberry Orange Scones

    Prep Time: 15 mins

    Cook Time: 20 mins

    Total Time: 35 mins

    Yield: 12 scones

    Ingredients:

    2 cups of flour 

    1/4 cup of brown sugar 

    1 Tbsp of baking powder 

    1/4 tsp of ground nutmeg 

    1/4 tsp of salt 

    1/4 cup of butter, chilled

    1 1/2 cups of blueberries

     1/3 cup of sugar 

    1 grated zest of one orange 

    3/4 cup of half-and-half cream

    1 egg

    Glaze:

    2 Tbsp of orange juice

    1 tsp of vanilla

    1 1/2 cups of powdered sugar

    1 Tbsp of milk

    Directions:

    Preheat oven to 375 degrees F. Grease a baking sheet. Set aside.

    In a large bowl, stir together flour, brown sugar, baking powder, nutmeg and salt. Cut in butter until mixture is crumbly.

    In a separate bowl, toss blueberries with sugar. Mix into flour mixture and add orange zest. Mix until combined.

    In a small bowl, beat together cream and egg. Pour into flour mixture. Knead dough until all ingredients are combined. Divide dough in half. Turn out onto lightly floured surface. Shape each half into a 6 inch circle. Cut each circle into 6 wedges. Place scones on baking sheets. Bake for 20 mins.

    In a medium bowl, mix orange juice, vanilla, powdered sugar, and milk, until well combined. Drizzle over scones once out of the oven.

    Enjoy!  

  • Creamy Chicken n’ Vegetable Soup

    Creamy Chicken n’ Vegetable Soup

    January is National Soup Month, so I threw together this recipe just in time before the month ended. It’s packed full of vegetables and with a roux put together at the end adds a creamy taste that will warm any winter chills. It’s super easy and uses a crockpot, which to me is a lifesaver. It’s so nice to go to work and know dinner will be ready when I get home. You can change out the veggies with ones more suitable for your palate or add more meat. I try to have a balance for my family because I love a hearty vegetable soup, where my husband is more of a meat and starch soup lover. Feel free to use any rice of your choice, I prefer Basmati but Wild Rice or Jasmine Rice would work too. This recipe calls for Bay leaves too. One of my family traditions is whoever gets the bay leaf in their bowl is to have good luck for the rest of the week, just a funky superstition to bring some cheer around the table. If you are in more of a time crunch, you could cook it in the crockpot on high. Yet to me, it seems that the vegetables are slightly more crunchy when cooked on high. So give it a whirl, and celebrate National Soup Month with your family with this delicious, wholesome meal.

    Creamy Chicken n’ Vegetable Soup

    Prep Time: 15 mins

    Cook Time: 8 hrs 15 mins

    Total Time: 8 hrs 30 mins

    Serving: 8-10

    Ingredients

    1 cup of basmati rice, uncooked

    2lbs. of chicken breast

    1 cup of onion, diced

    1 cup of carrots, sliced

    1 cup of celery, sliced

    1 cup of green beans, cut

    6 cloves garlic, whole

    2 bay leaves

    5 1/2 cups of chicken broth

    1 1/2 cups of water

    2 tsp  of Italian seasoning

    1 tsp of black pepper

    2 tsp of salt

    6 Tbsp of butter

    1/2 cup of flour

    1 1/2 cups of milk

    Directions

    Rinse rice. In a slow cooker, place rice, chicken breast, onions, carrots, celery, green beans, garlic, bay leaves, chicken broth, water, italian seasoning, salt and pepper. Cover and cook on low for 7-8 hours. Once chicken is cooked, remove from cooker and shred. Place shredded chicken back into slow cooker.

    In a medium sauce pan, melt the butter. Add in flour and cook for one minute. Whisk the mixture while adding the milk. Continue to whisk until mixture thickens and becomes creamy.

    Mix in roux to the slow cooker, stir until well combined. Let soup cook for 5 mins, then serve. 

    Enjoy!

  • DIY Valentine’s Day No Sew Pillows

    DIY Valentine’s Day No Sew Pillows

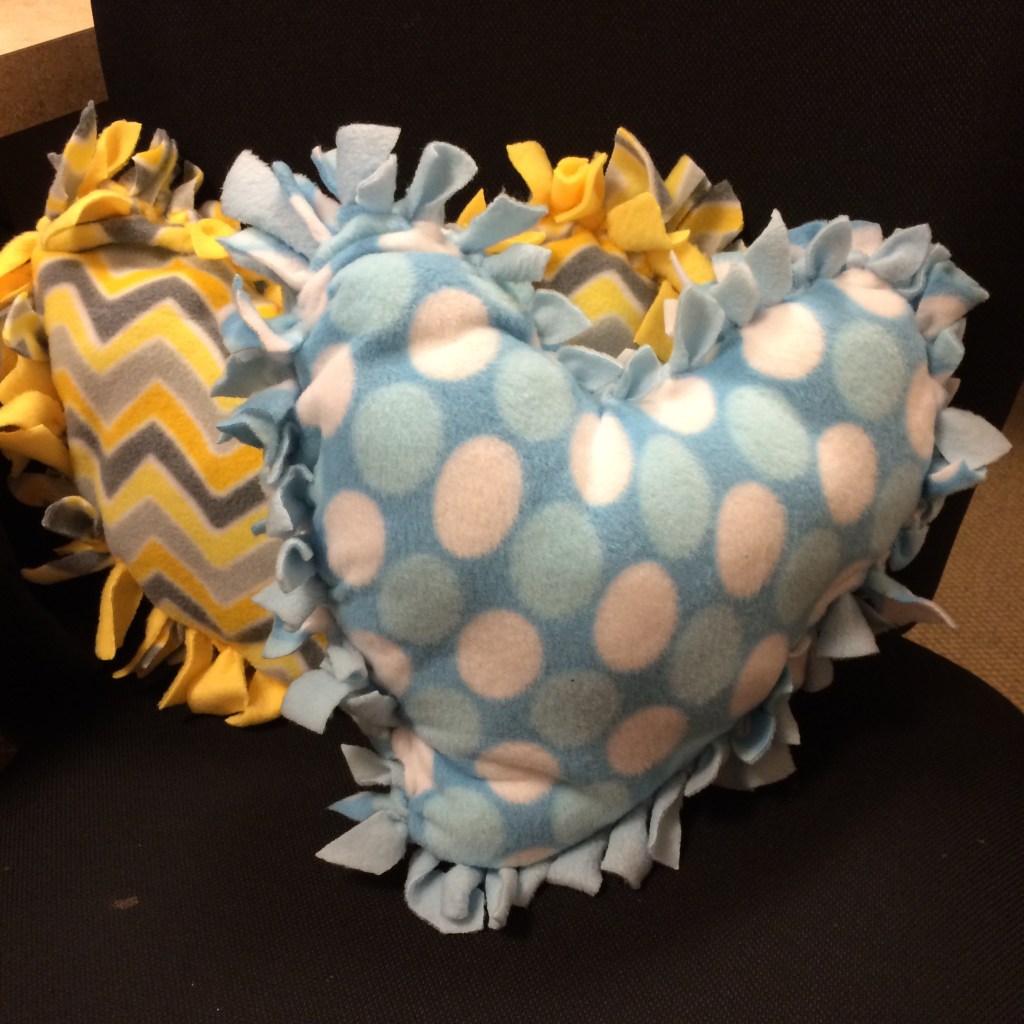
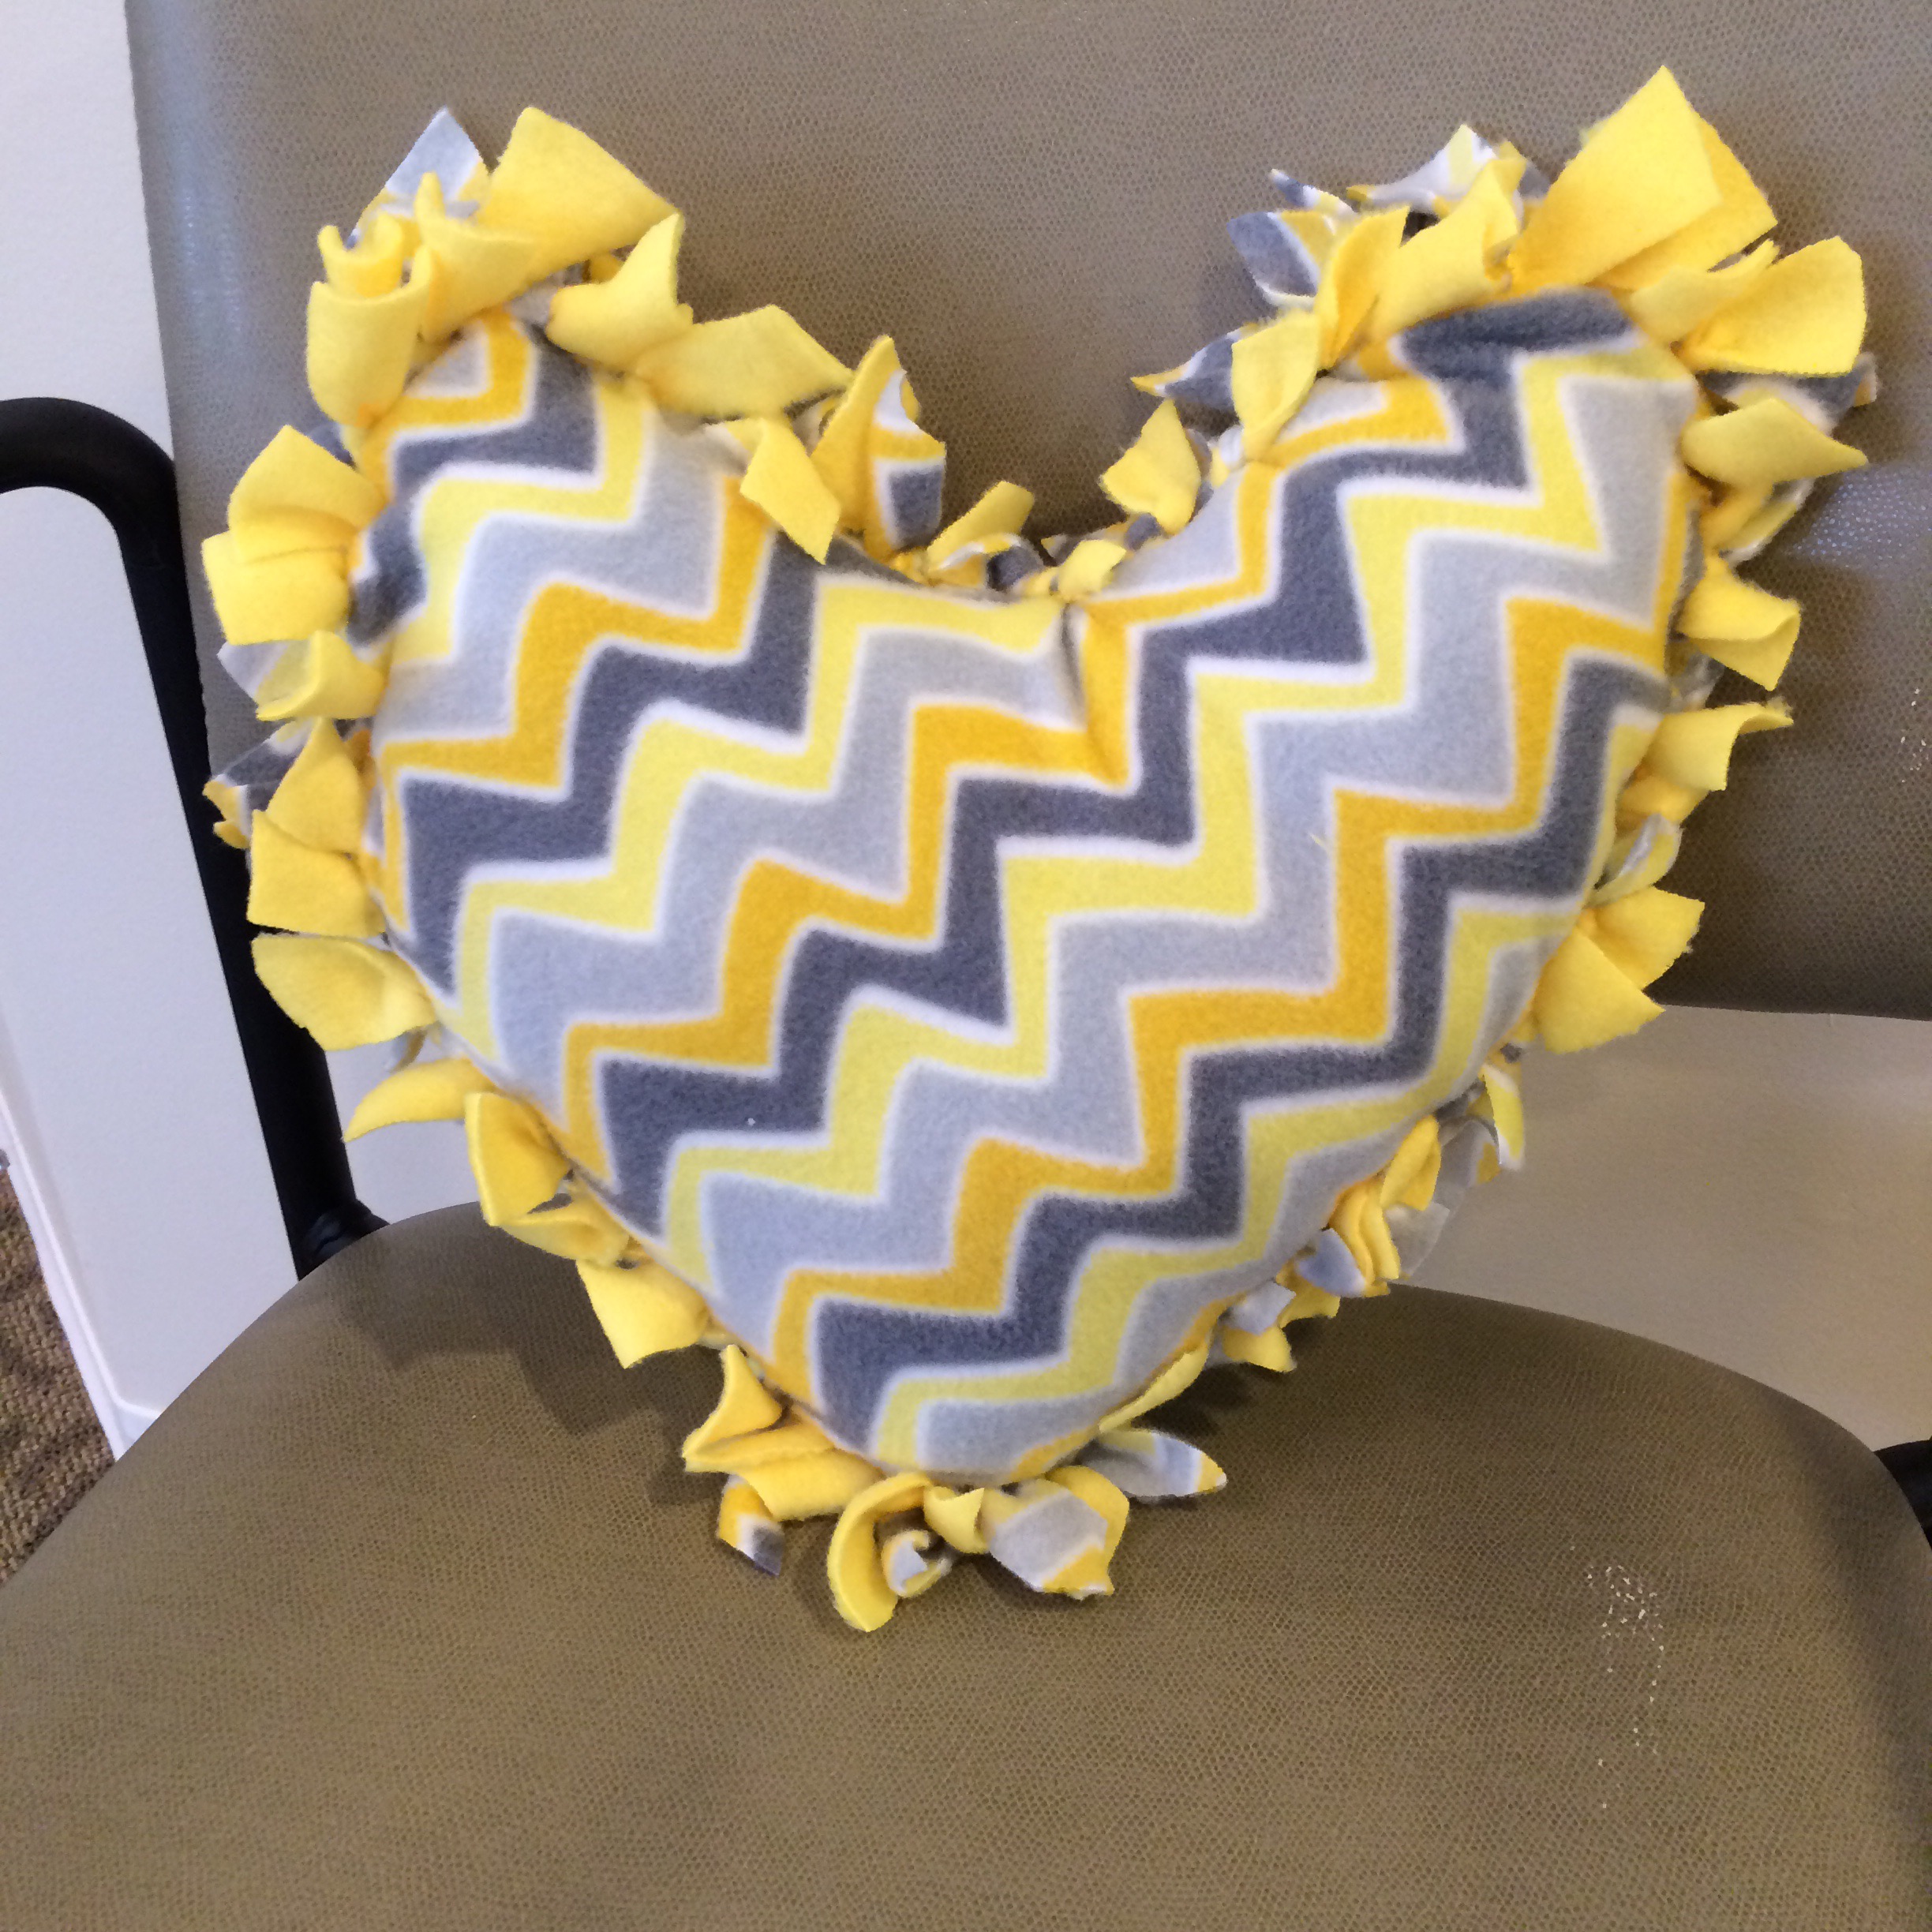
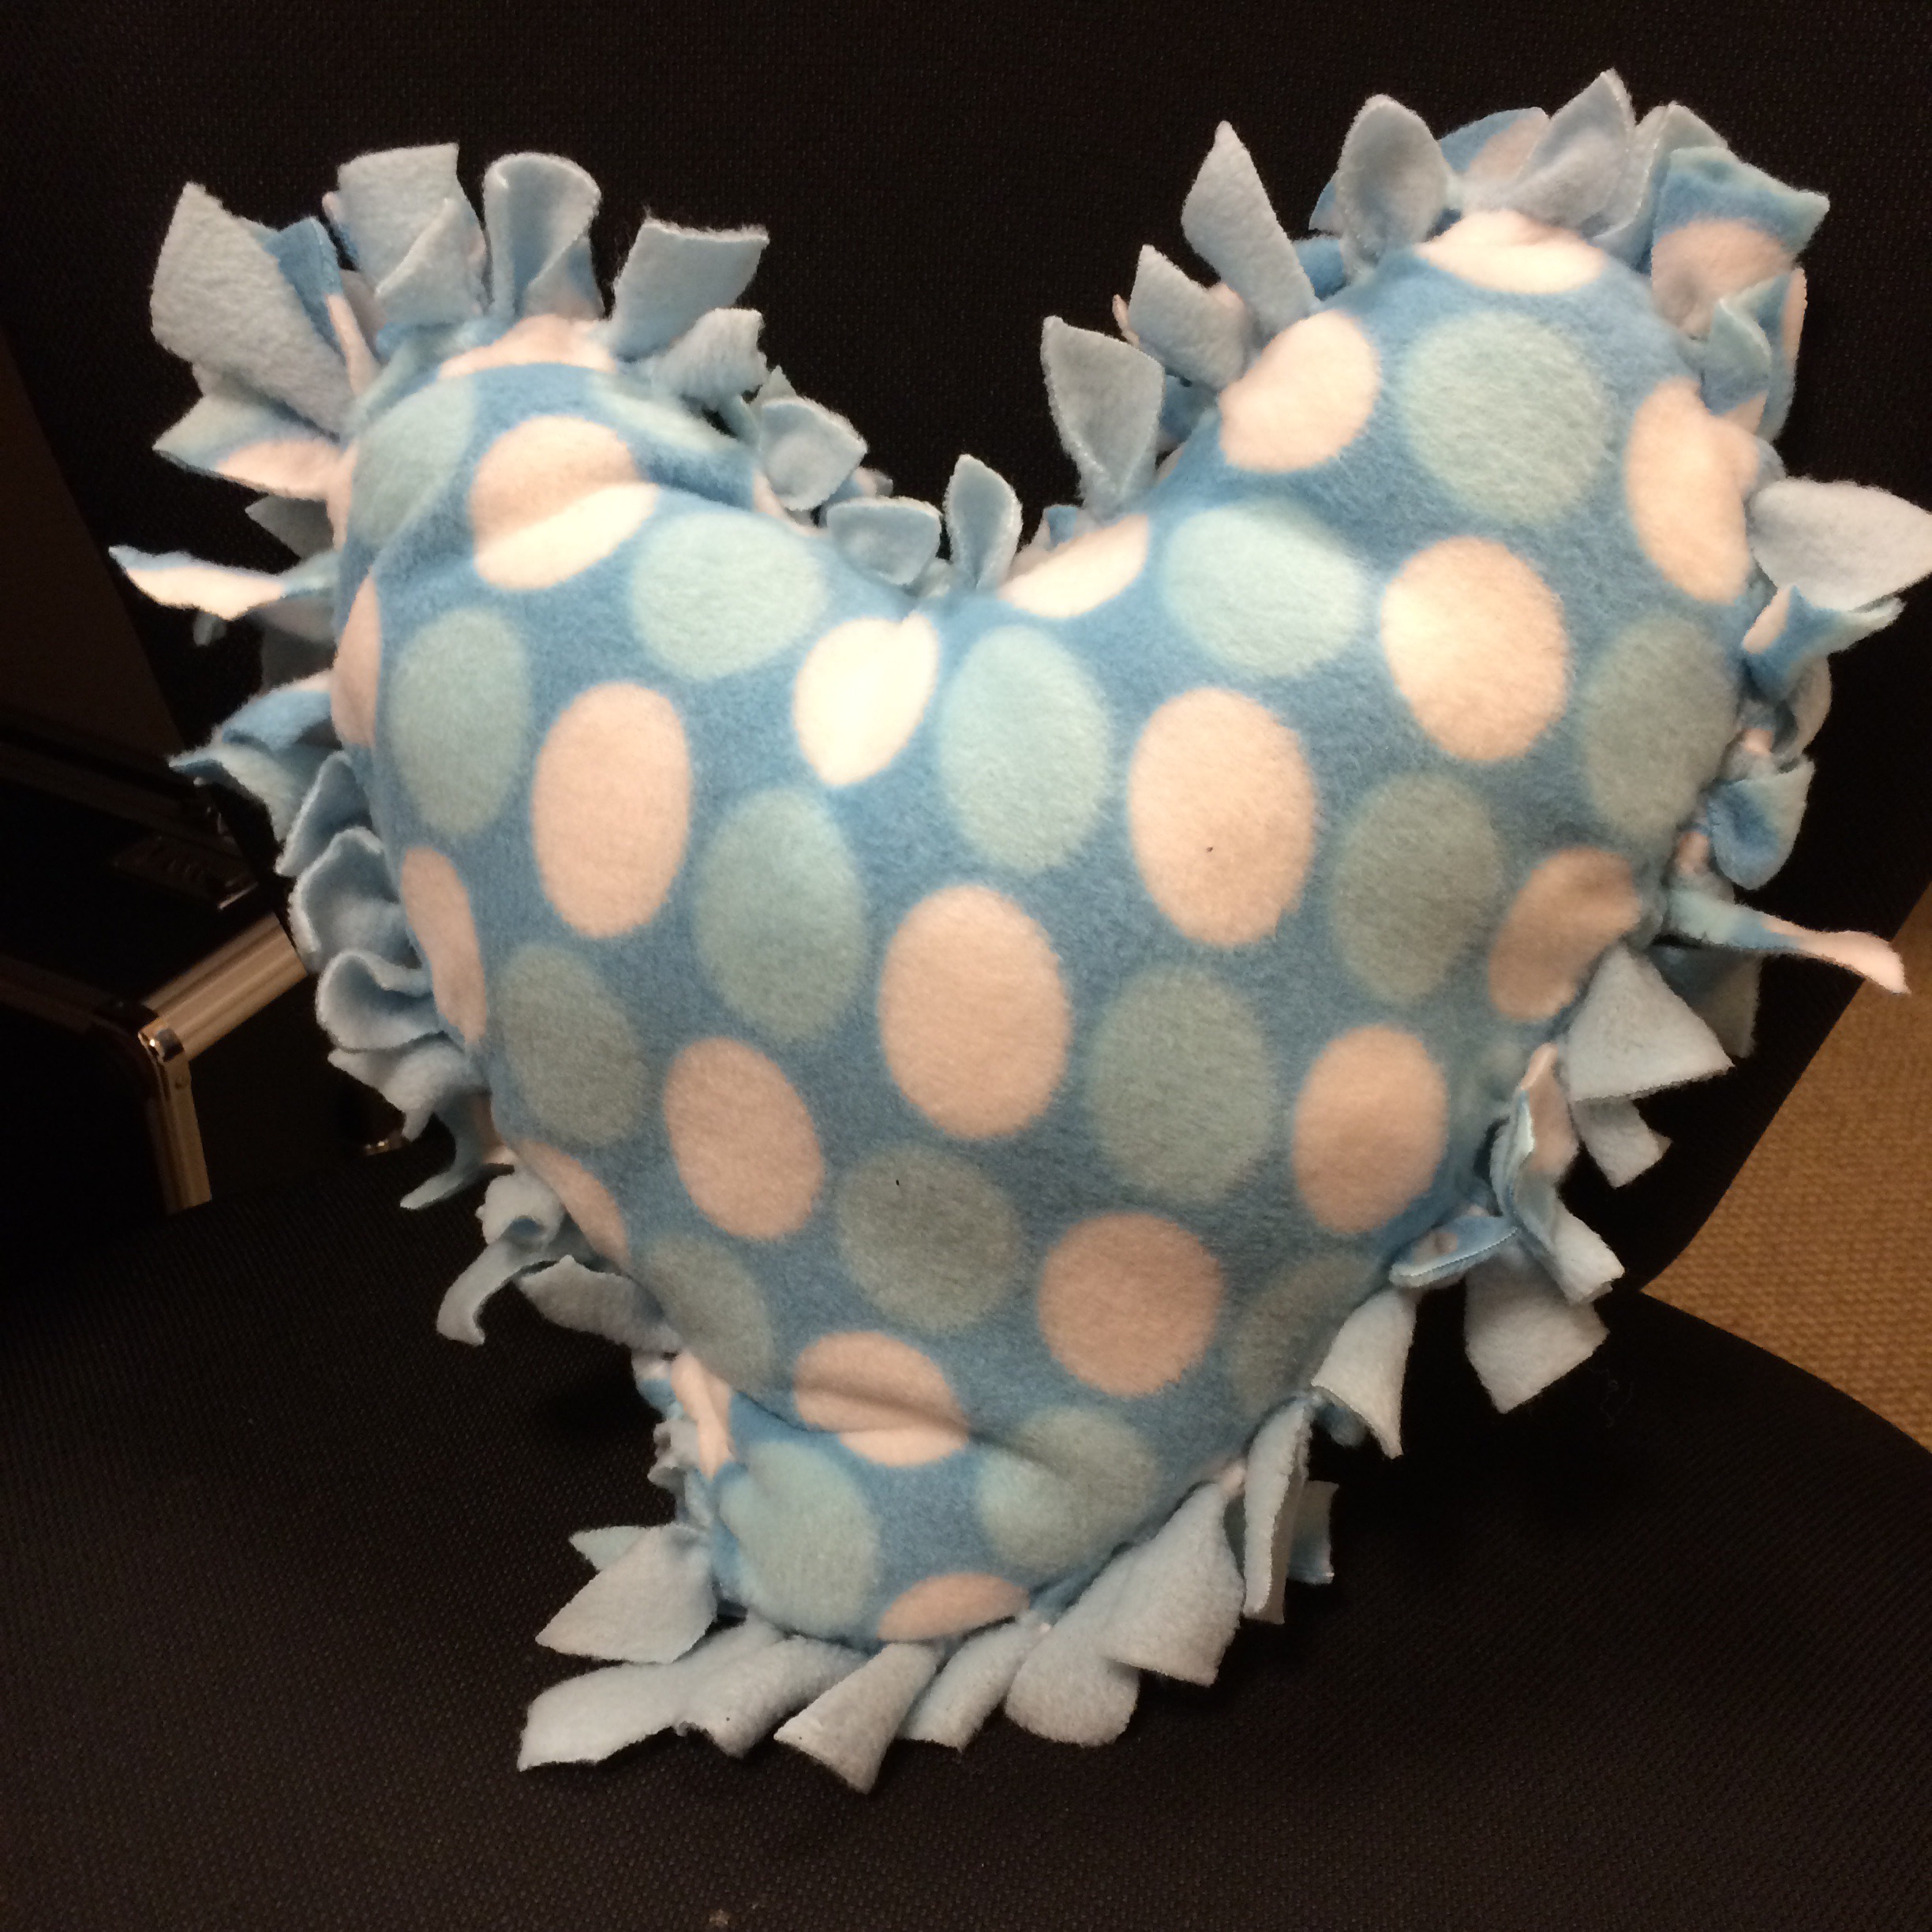
    Valentine’s Day is just around the corner. What better way to spruce up your living room by making one of these cute heart-shaped pillows. Or better yet making one for someone you love! These cute pillows are super easy to make and you can use any color or pattern of fleece to make them your own. I used pale blue and yellow just to be a little different that the norm colors of red and pink for Valentine’s. You can make them big or small depending on the size you prefer. I made mine about the size of a couch pillow. 

    Valentine’s Day No Sew Pillows

    You’ll need:

    1 yard of Fleece, with a pattern

    1 yard of Fleece, solid color

    Polyester Stuffing

    Directions:

    Lay out both pieces of fleece on top of one another. Cut out a heart pattern. Remember to cut the heart out bigger than desired finished size to give room for the 2 in slits to be cut.

    Once heart shape is cut out, go around the entire heart and cut 2 in long slits about 1/2 to 3/4 in thick. 

    Once slits are cut, begin to tie the bottom piece of fleece with the top piece of fleece. Remember to tie the matching bottom and top slit together. Continue around pillow leaving four strips undone to leave an opening to be able to stuff pillow. 

    Fill pillow with desired amount of polyester stuffing. I prefer my pillows very fluffy so I used a lot of stuffing.

    Once your pillow is filled with desired amount of stuffing, tie the last four slits together as before tying the matching bottom piece of fleece with the top piece of fleece. After tying, mold stuffing to complete project and relax!

    Happy Valentine’s Day!

    Here are a couple of examples:


  • PB & J Bars

    PB & J Bars

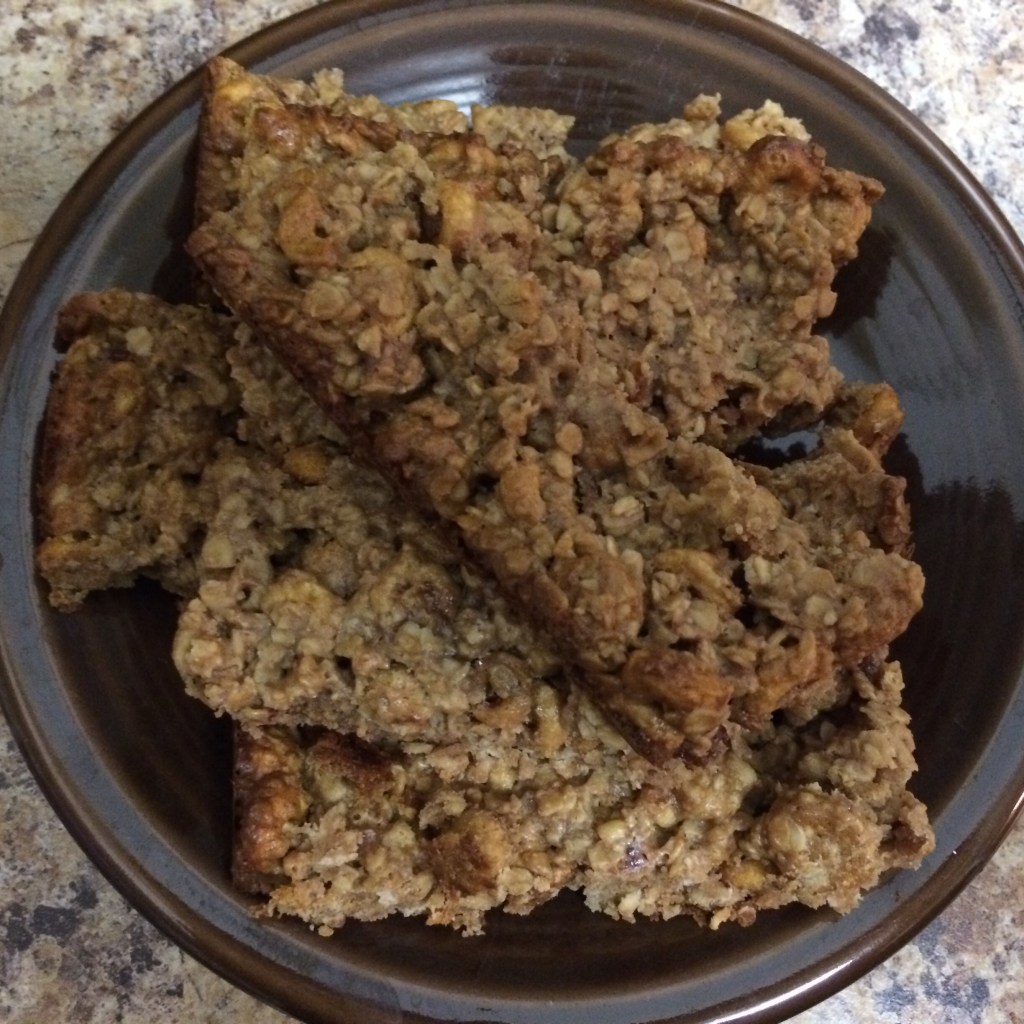
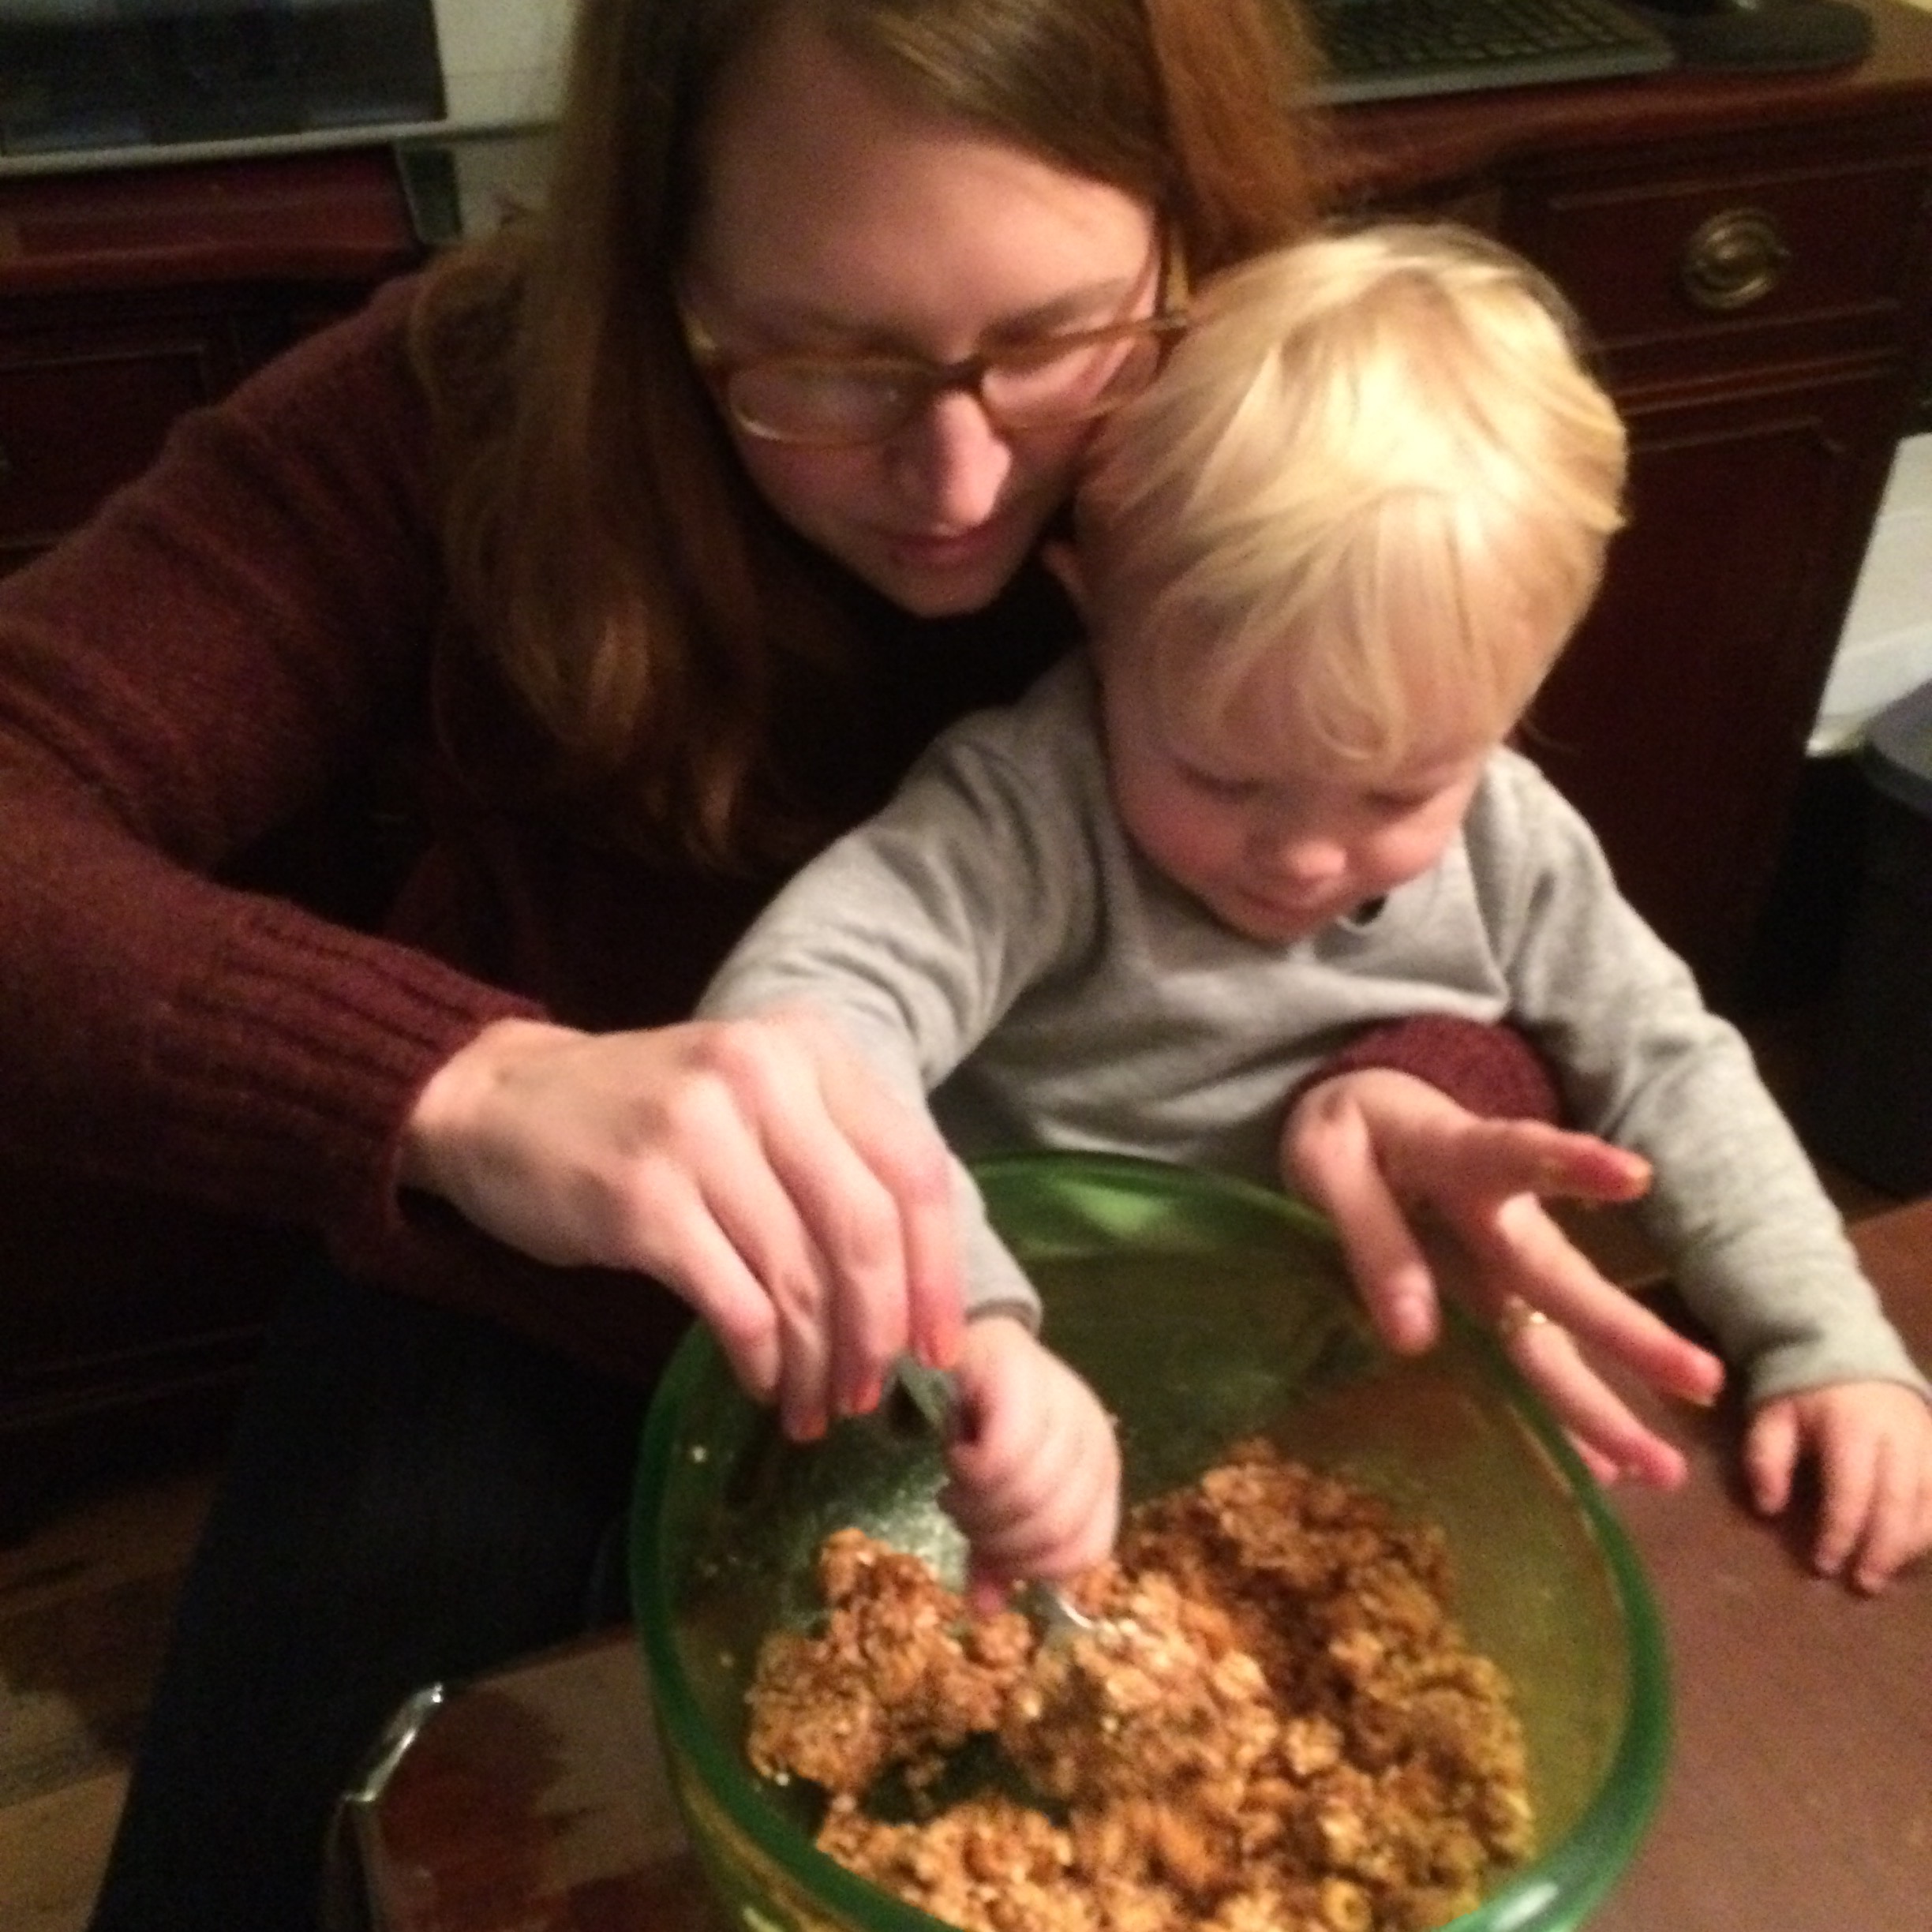
    Having a toddler, it’s hard to find the foods that they enjoy. Let’s face it, they are as picky as they come. If your toddler isn’t picky, you are one lucky parent. Finding a healthy snack that isn’t packed full of high fructose corn syrup isn’t easy either. My son loves peanut butter and jelly sandwiches, so I whipped up this concoction and they were a hit! They take no time to put together and my son loves to help me make them as well. Also, this recipe doesn’t contain any eggs, so I don’t have to worry about him sneaking bites of the batter before I pop them into the oven. It’s a healthier option for me to get him to eat his daily grains as well as protein in his diet. We used Strawberry Jelly because that’s my sons favorite but you can use any of  your toddler’s favorite flavors of jelly. Try them with your kids and I bet they will be a success! 

    PB & J Bars

    Prep Time: 10 mins

    Cook Time: 25 mins

    Total Time: 35 mins

    Yield: 10 snack bars

    Ingredients

    1 cup of rolled oats

    1 cup of multigrain Cheerios

    1/2 cup of peanut butter

    1/2 of jelly

    Directions:

    Preheat oven to 350 degrees F. Grease an 8×8 metal pan.

    In a large mixing bowl, stir together oats, Cheerios, peanut butter, and jelly. Once well combined, flatten mixture into your greased pan.

    Bake for 25 mins. Let cool and slice into bars.

    Enjoy!