Blog

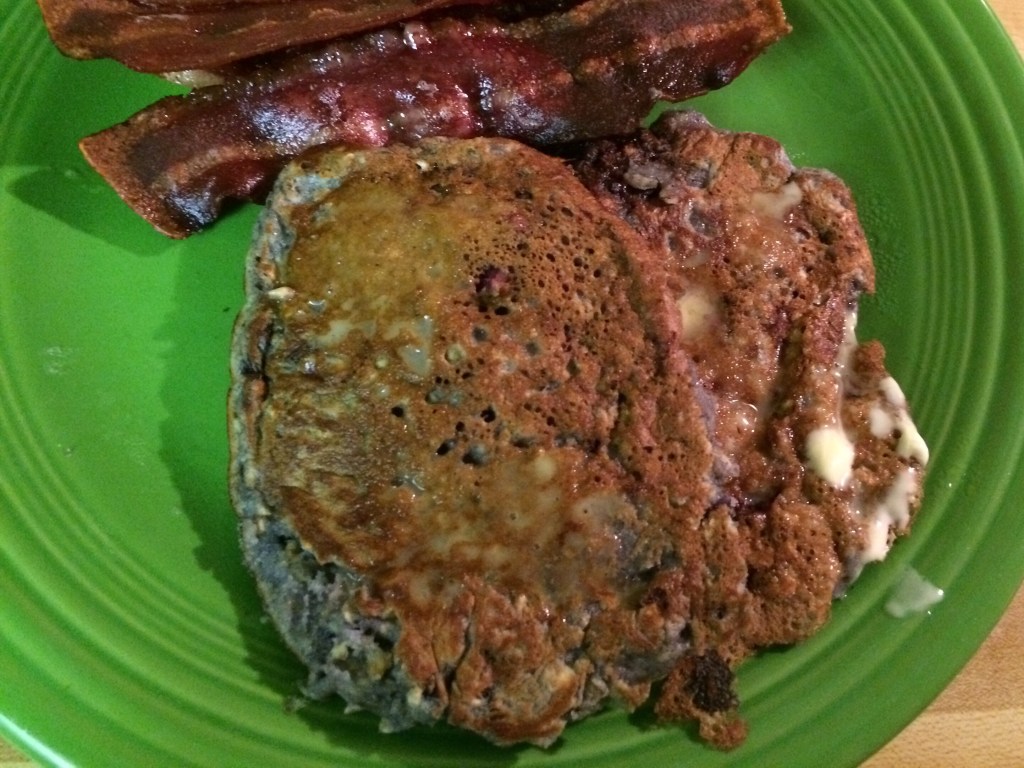
  • Blackberry Oatmeal Pancakes

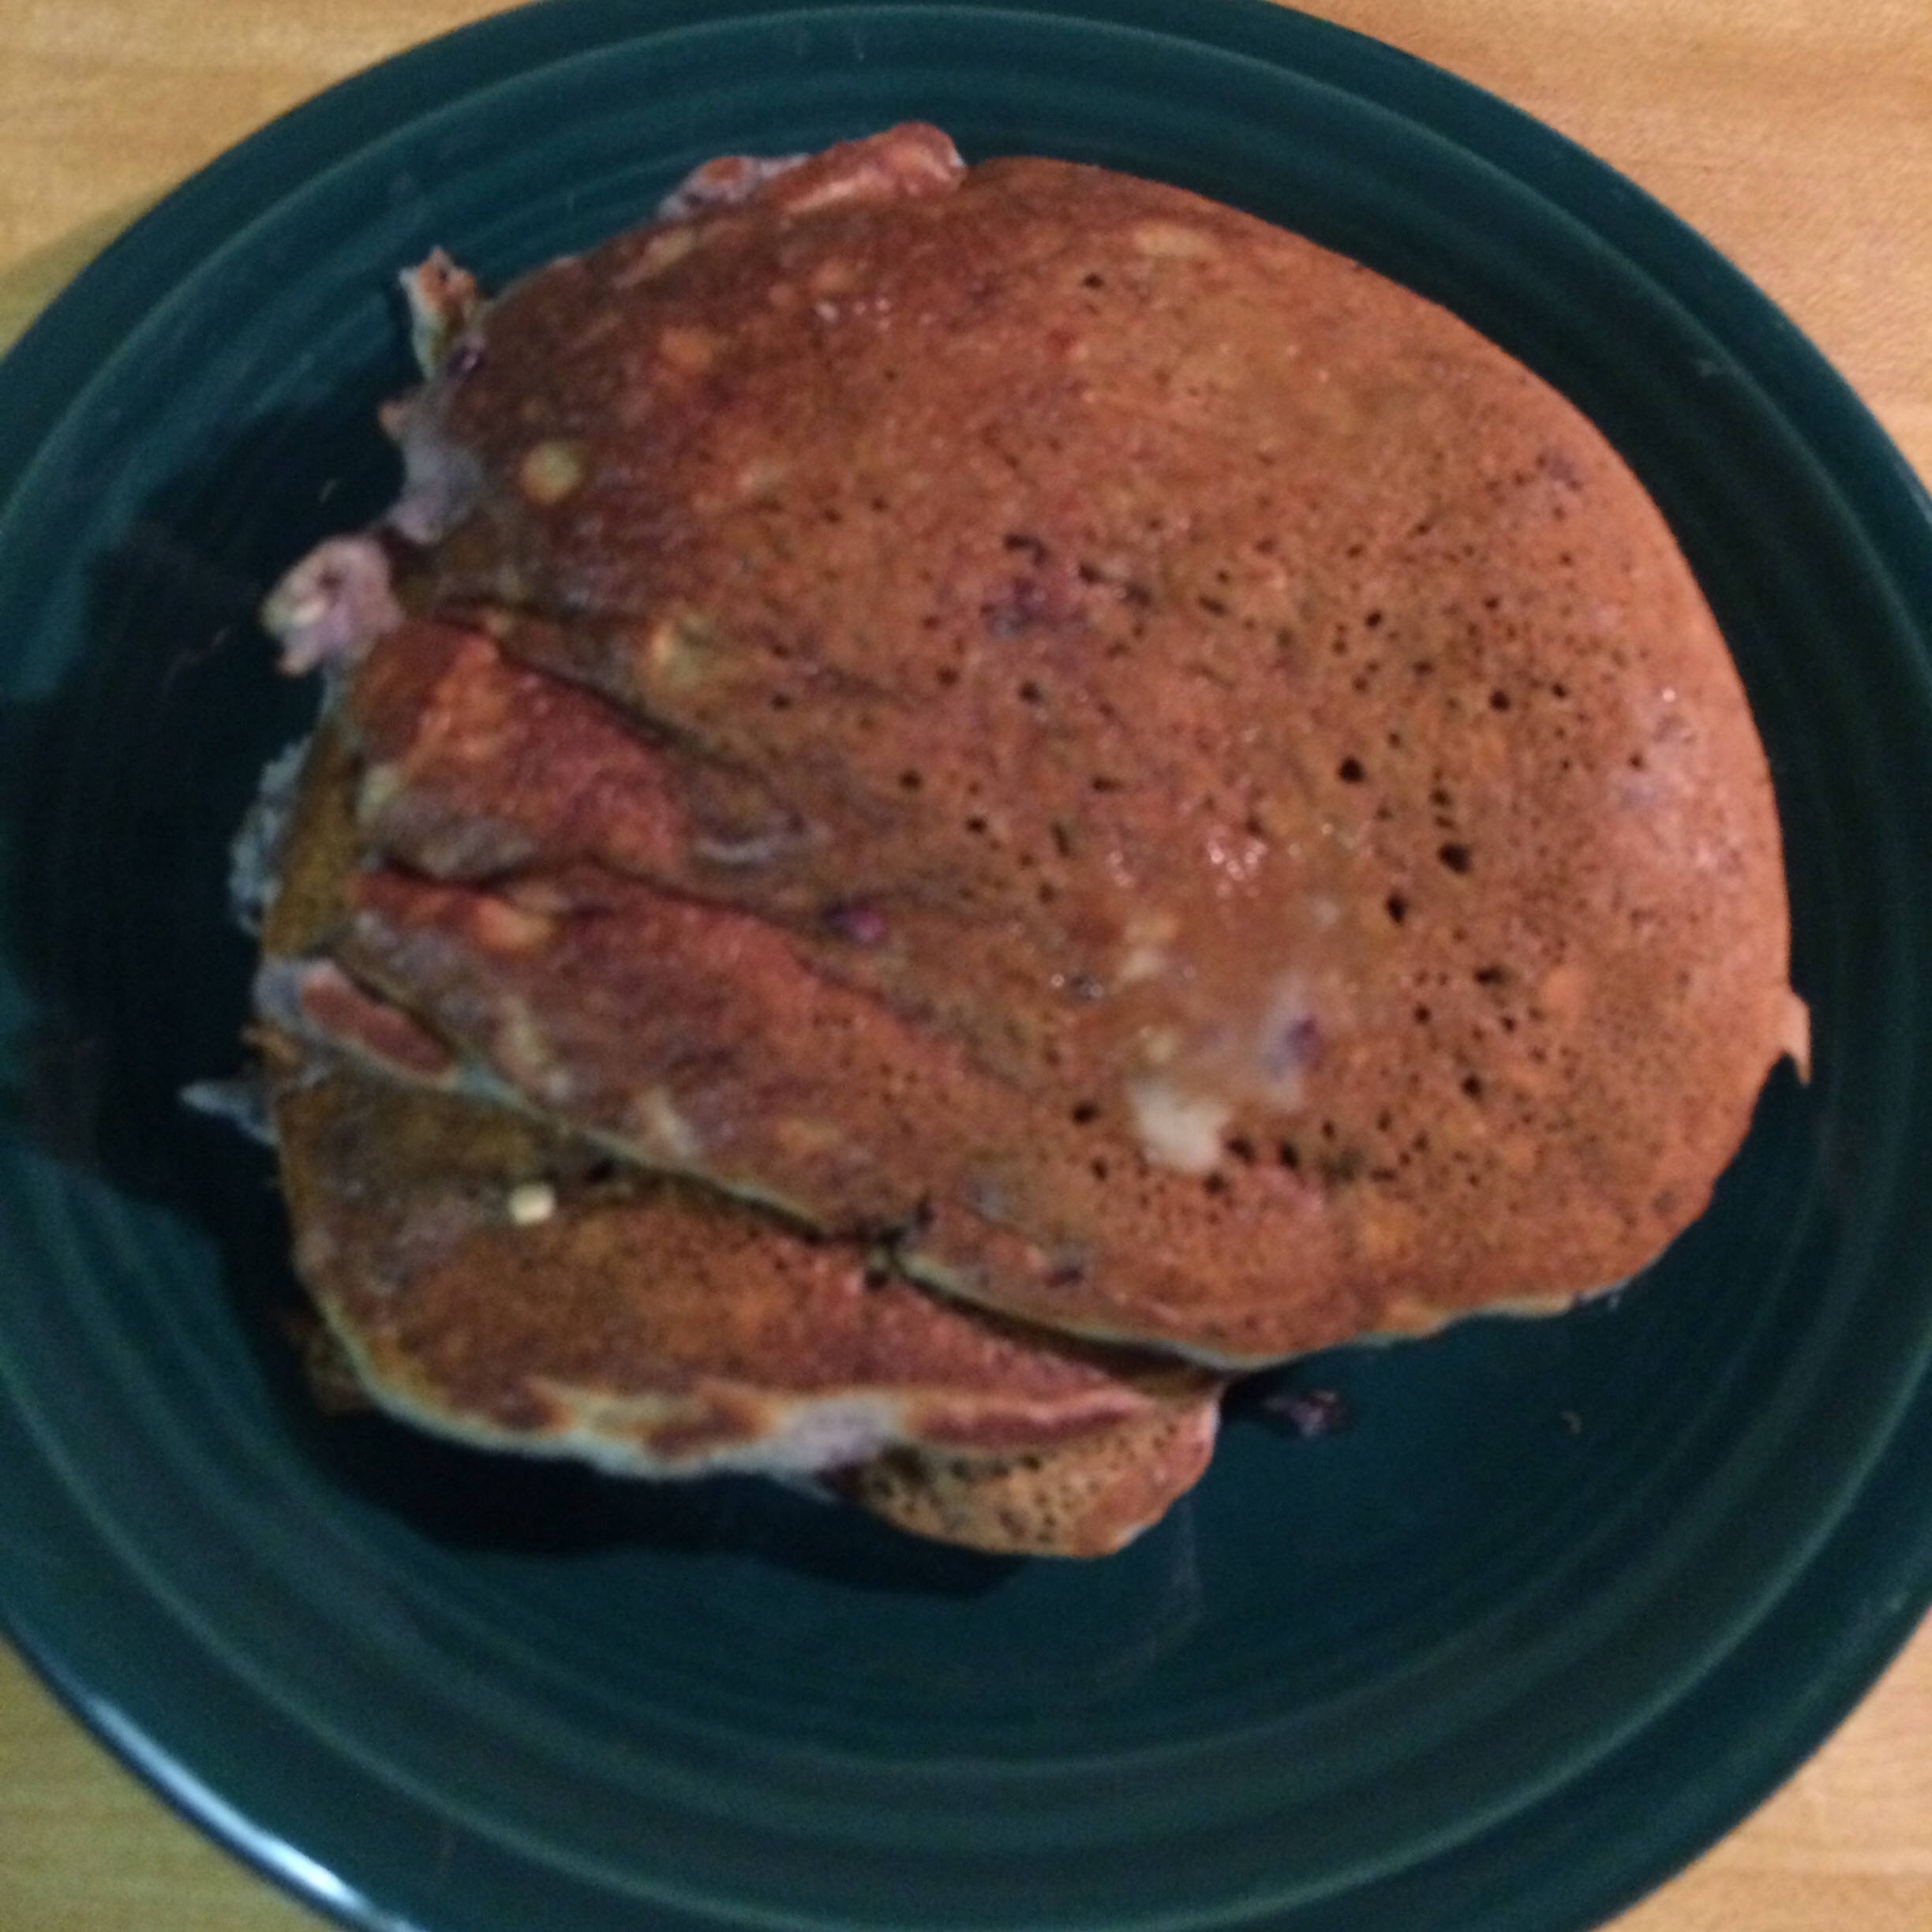
    Blackberry Oatmeal Pancakes

    Want to start your mornings off with a yummy treat that doesn’t take a ton of time to make? These pancakes are sure to start your day off right and take less than 20 mins to make.

    Blackberry Oatmeal Pancakes

    Prep Time: 10 mins

    Cook Time: 10 mins

    Total Time: 20 mins

    Yield: 10 pancakes

    Ingredients:

    1/2 cups of flour

    1/2 of cup quick cooking oats

    1 Tbsp of sugar

    1 tsp of baking powder

    1/2 tsp of baking soda

    1/2 tsp of salt

    1/2 tsp of cinnamon

    3/4 cup of butermilk

    1 tsp of vanilla

    2 Tsbp of vegetable oil

    1 egg

    1/2 cup of blackberries, chopped

    Directions:

    Mix flour, oats, sugar, baking powder, baking soda, salt, buttermilk, vanilla, cinnamon, oil, and egg together. Once combined add in the blackberries.

    Heat a lightly oiled frying pan over medium high heat. Pour the batter onto the pan, a 1/4 cup of batter per pancake. Brown on both sides and serve hot. Top with apple butter or syrup.

    Enjoy!  

  • Making Keepsakes: Homemade Clay

    Making Keepsakes: Homemade Clay

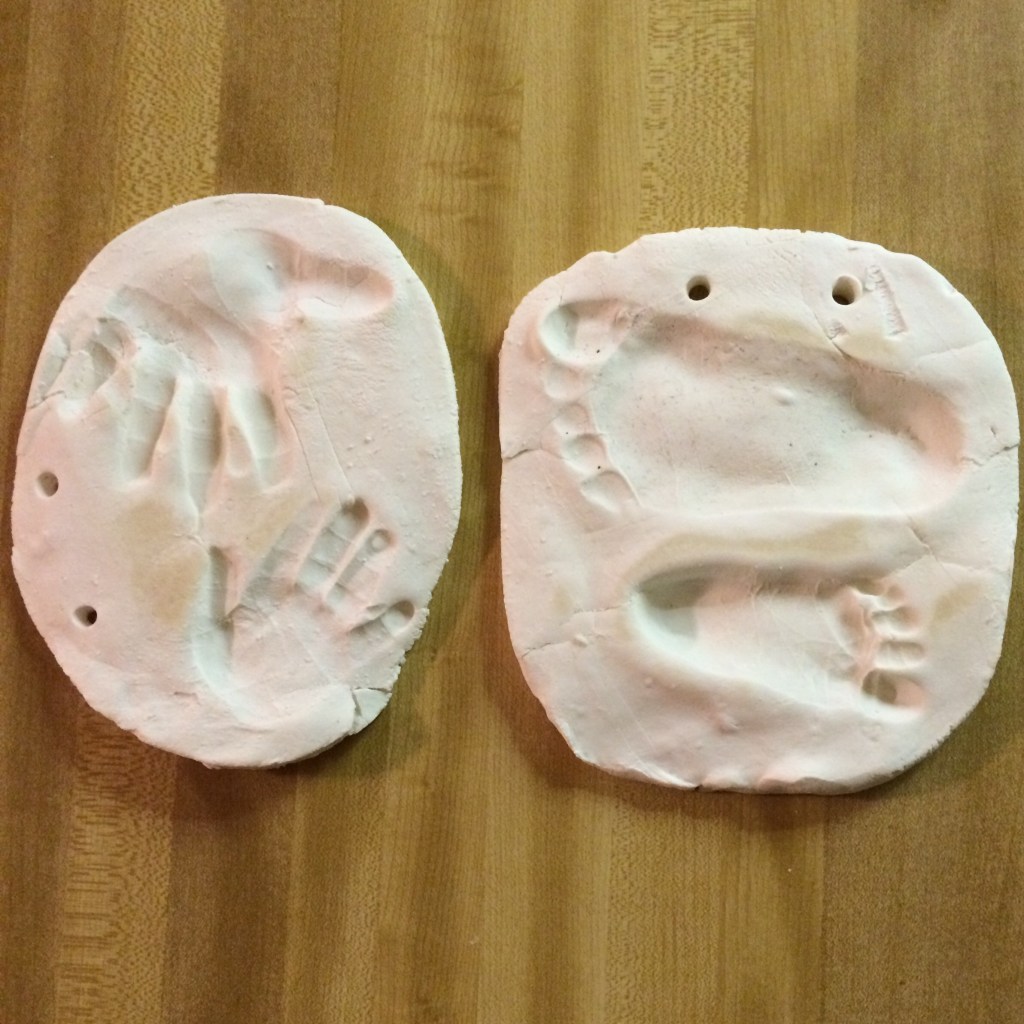
    My toddler and I love to do arts and craft projects together. He’s growing up so fast, so I try to soak up every moment I can with him. Especially now, with the new baby here, both of them seem like they grow up over night. So, we decided to do a keepsake project so I could capture a little piece of them being so tiny and be able to keep for a long time.  We made homemade  clay for my sweet peas to stamp their feet and hands in. This way I can preserve how precious their little hands and feet were.

    Homemade Clay

    2 cups of baking soda

    1 cup of cornstarch

    1 1/4 cups of water

    In a medium saucepan, mix baking soda, cornstarch, and water. Put over medium heat and continuously stir until mixtures turns to a consistency of mashed potatoes. Remove from heat, place clay in a bowl to cool with a damp cloth over the clay. Once cooled, knead clay. If the clay is too sticky, add a little more cornstarch. Roll out clay on parchment paper or counter dusted with cornstarch. Press little ones feet or hands in clay. Use a straw to punch holes in clay for easy way to tie ribbon through for hanging. Preheat oven to 250 degrees F. Heat clay on a cookie sheet lined with parchment paper for 45-60 mins. Flip clay keepsake in oven after 25-30 mins.

    After the keepsake cools you could paint it to add extra color or bring a new zest. And now you have a lovely treasure to keep for years or give as gifts to family.

  • Mad About Pumpkin: Pumpkin Chocolate Chip Cookies

    Mad About Pumpkin: Pumpkin Chocolate Chip Cookies

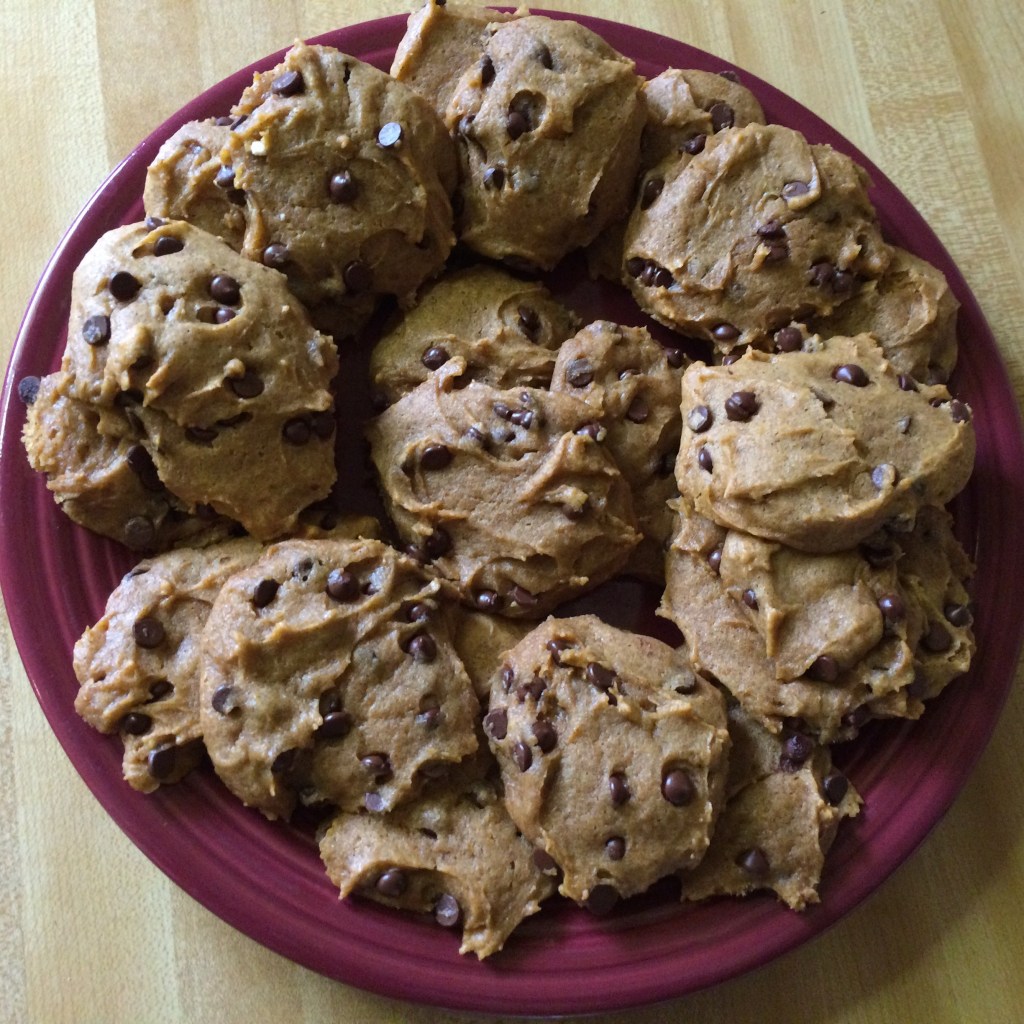
    Who doesn’t love a good chocolate chip cookie? My family sure does and since it’s fall I thought I would add a twist to our chocolate chip cookies by adding a bit of pumpkin. These cookies take hardly anytime to make and they will satisfy anyone’s sweet tooth.  

    Pumpkin Chocolate Chip Cookies

    Prep Time: 10 mins

    Cook Time: 15 mins

    Total Time: 25 mins

    Yield: 2 Dozen

    Ingredients:

    1/2 cup of butter, melted

    1/4 cup of dark brown sugar

    1/2 cup of sugar

    1 tsp of vanilla extract

    6 Tbsp of pumpkin purée

    1 1/2 cups of flour

    1/4 tsp of salt

    1/4 tsp of baking powder

    1/4 tsp of baking soda

    2 tsp of cinnamon

    1/2 tsp of ginger

    1/2 cup of semi-sweet chocolate chips

    Directions:

    Preheat oven to 325 degrees F. In a bowl, whisk the melted butter, brown sugar, and sugar together until combined well. Whisk in the vanilla and pumpkin until smooth. Set aside.
    In a large bowl, mix together the flour, salt, baking powder, baking soda, cinnamon, and ginger. Pour the wet ingredients into the dry ingredients and mix together with a rubber spatula. The dough will be very soft. Fold in 1/2 cup semi-sweet chocolate chips.

    Roll the dough into balls, and place on a greased baking sheet. Slightly flatten cookie dough on baking sheet. Bake cookies for 12-15 mins. Let cool for 10 mins.

    Enjoy!

  • Making Bath Time Fun!

    Making Bath Time Fun!

    Little boys love to get dirty. So to get them to take bath, you’ve got to make it fun. Here’s a few ideas to make bath time more interesting:

    1. Music

    This is perfect to make a calm atmosphere for your little one. You can either make a playlist or use Pandora. My little one loves the Creedence Clearwater Revival or Old Crow Medicine Show station the best.

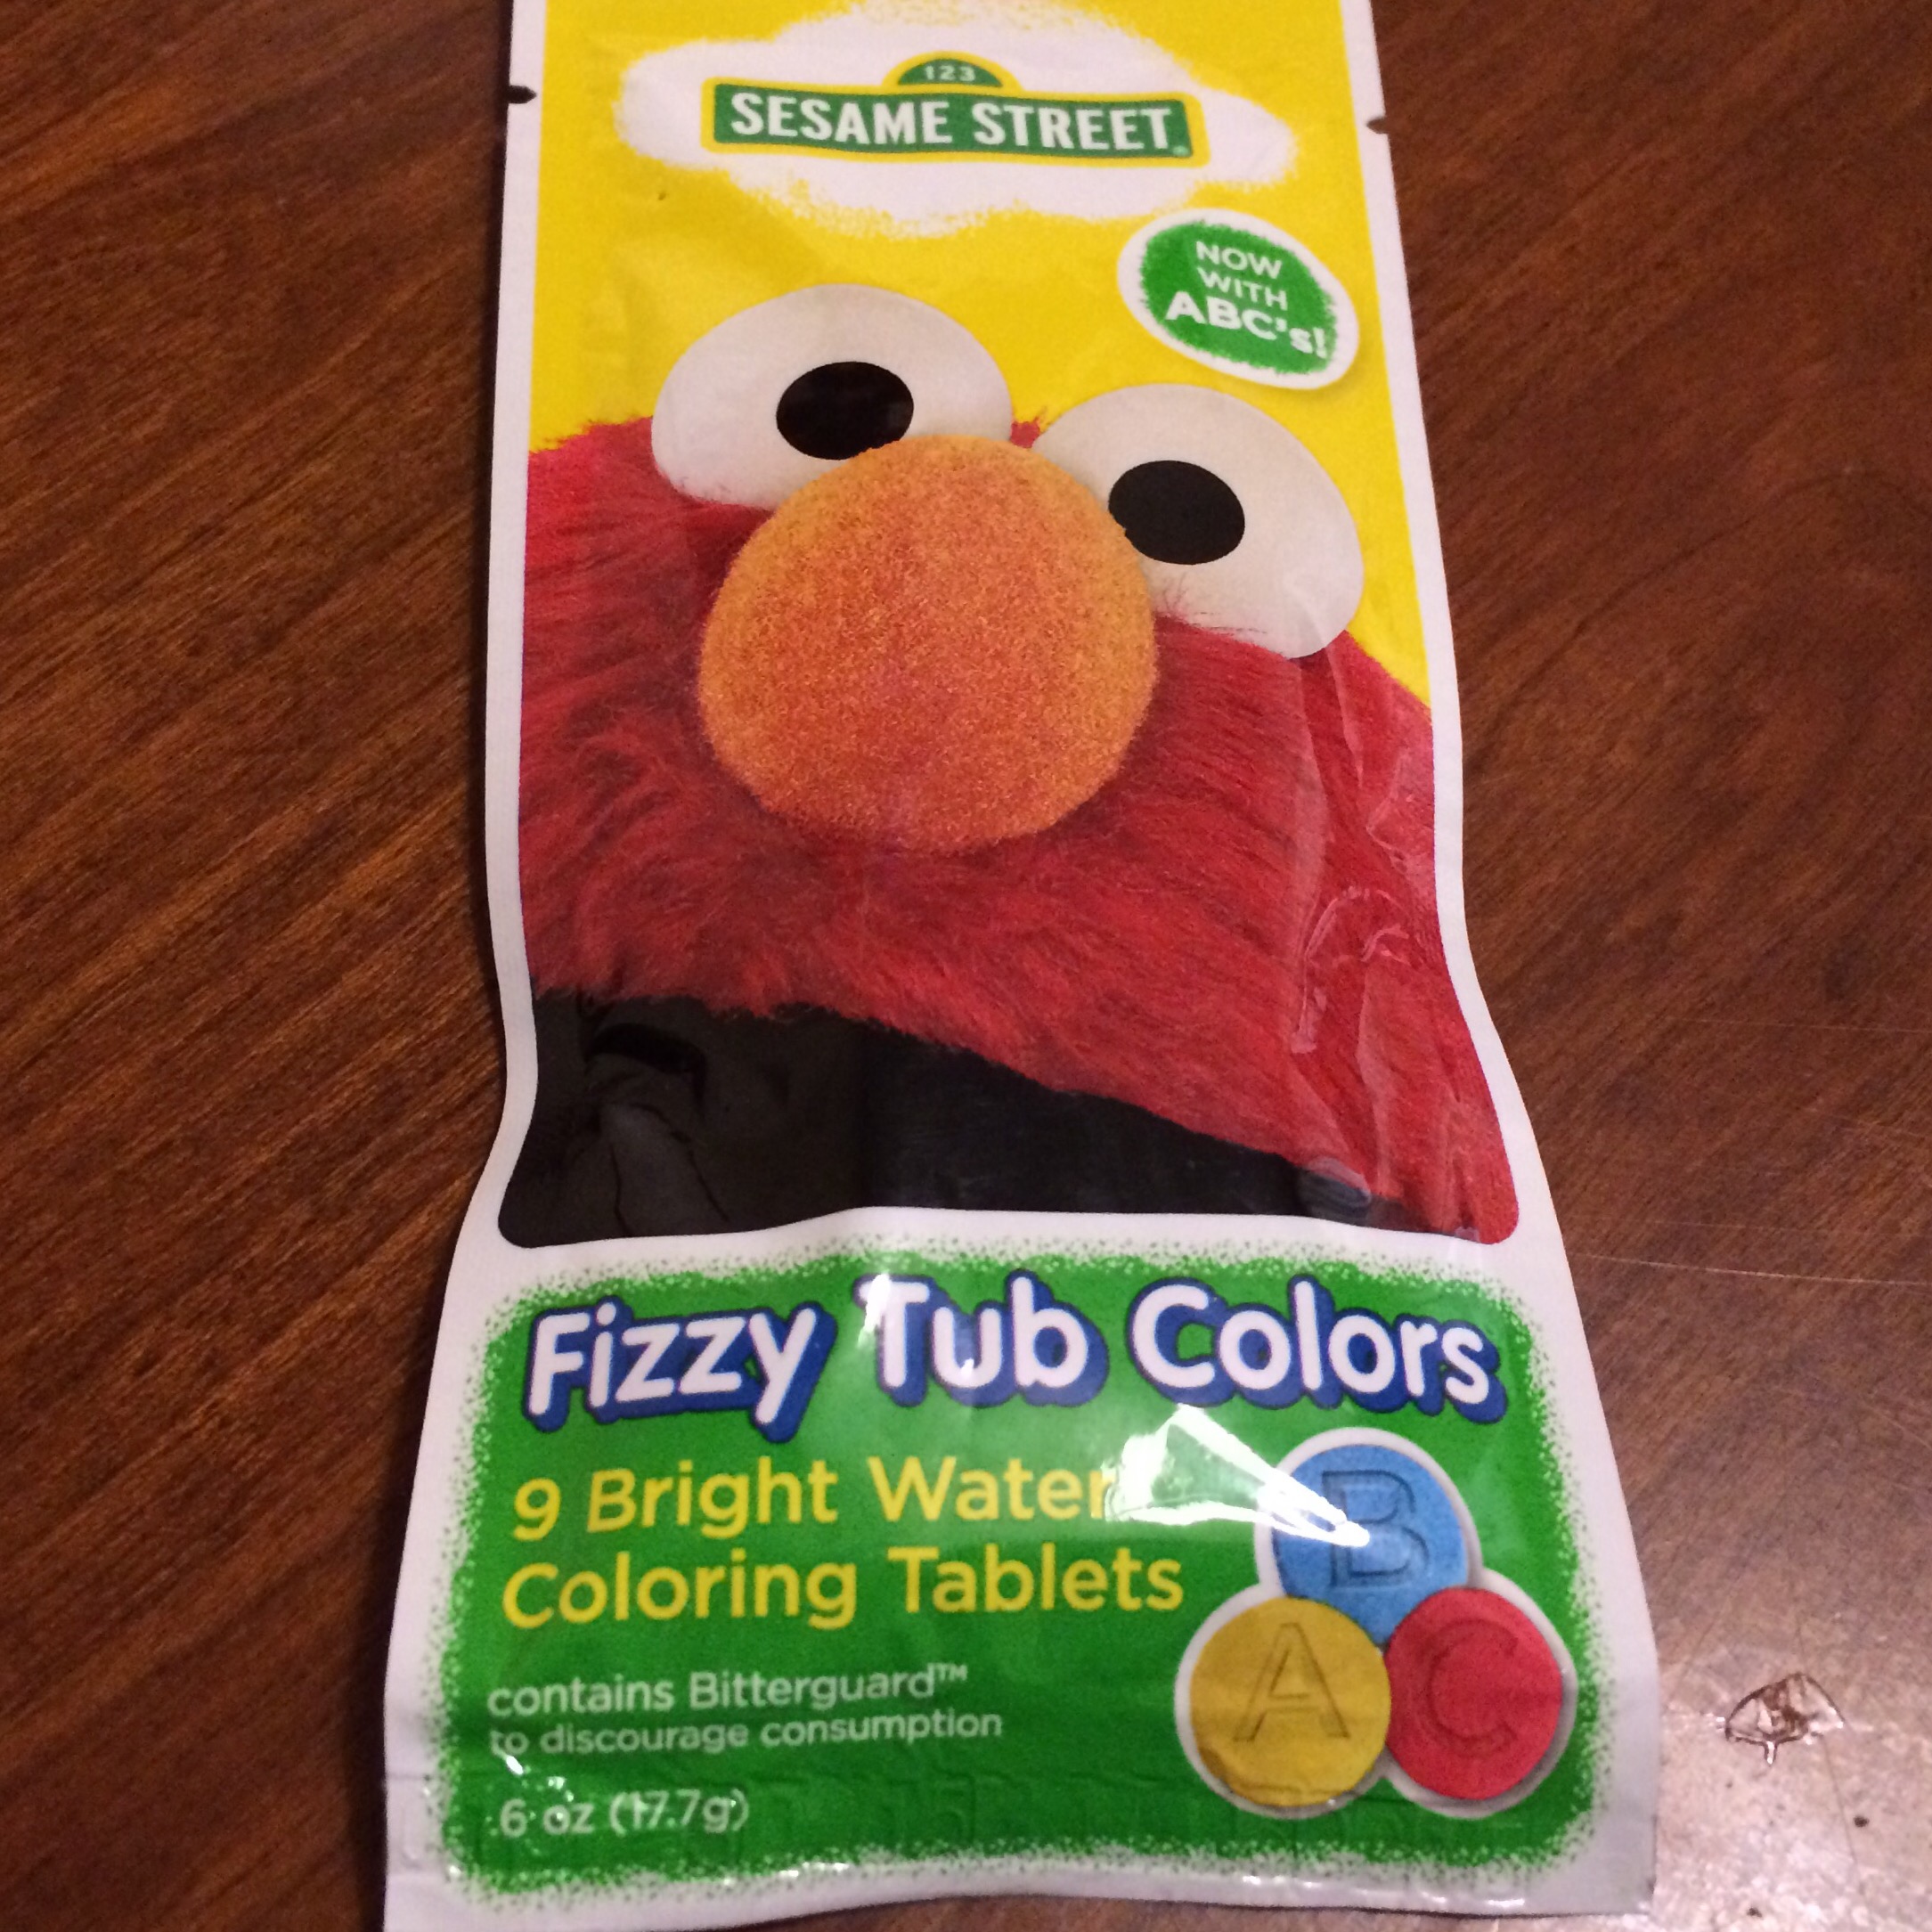
    2. Fizzy Bath Tablets  These are awesome! Not only does it help teach my toddler his colors, but it’s fun to watch them fizz in the water. They don’t stain the tub either.

    3. Bath toys

    So you can buy bath toys or just give your toddler some cups or buckets. My little one enjoys the cups and buckets more than the actual bath toys most of the time.

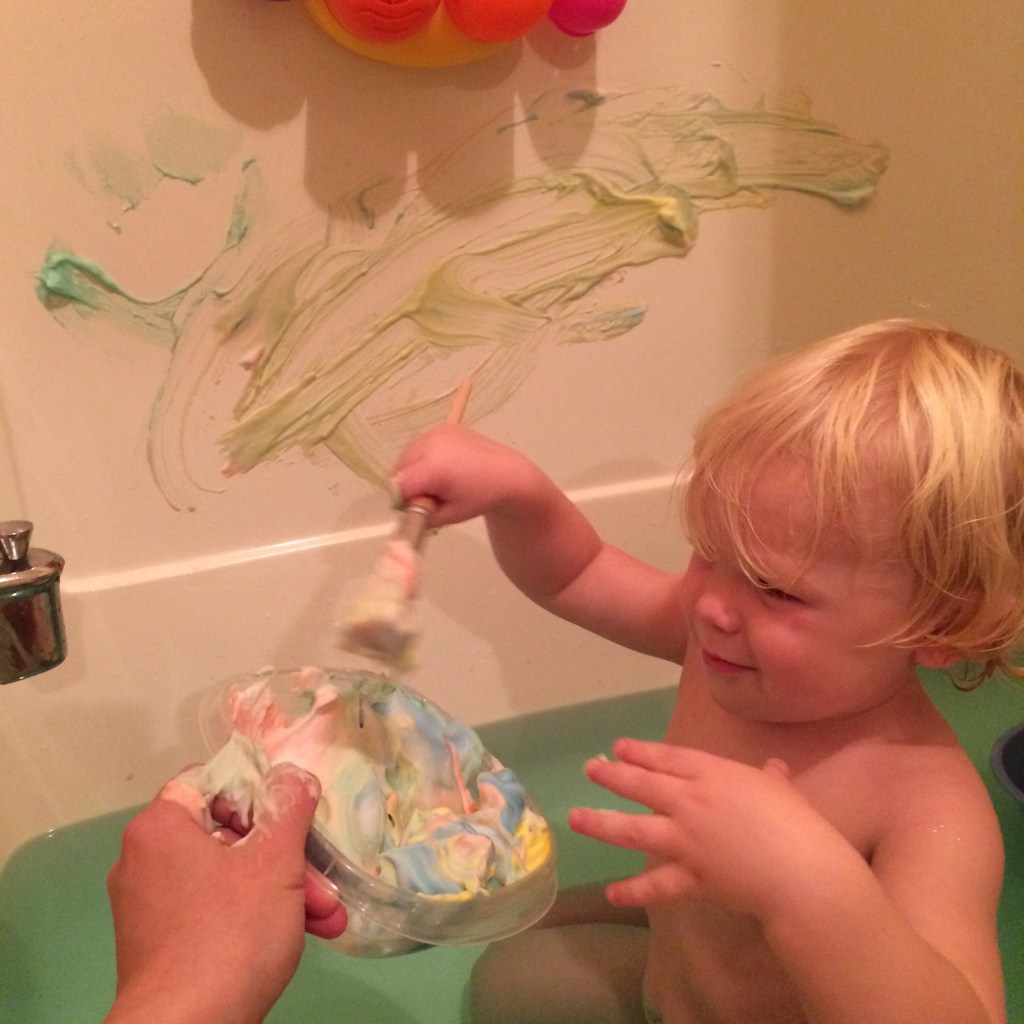
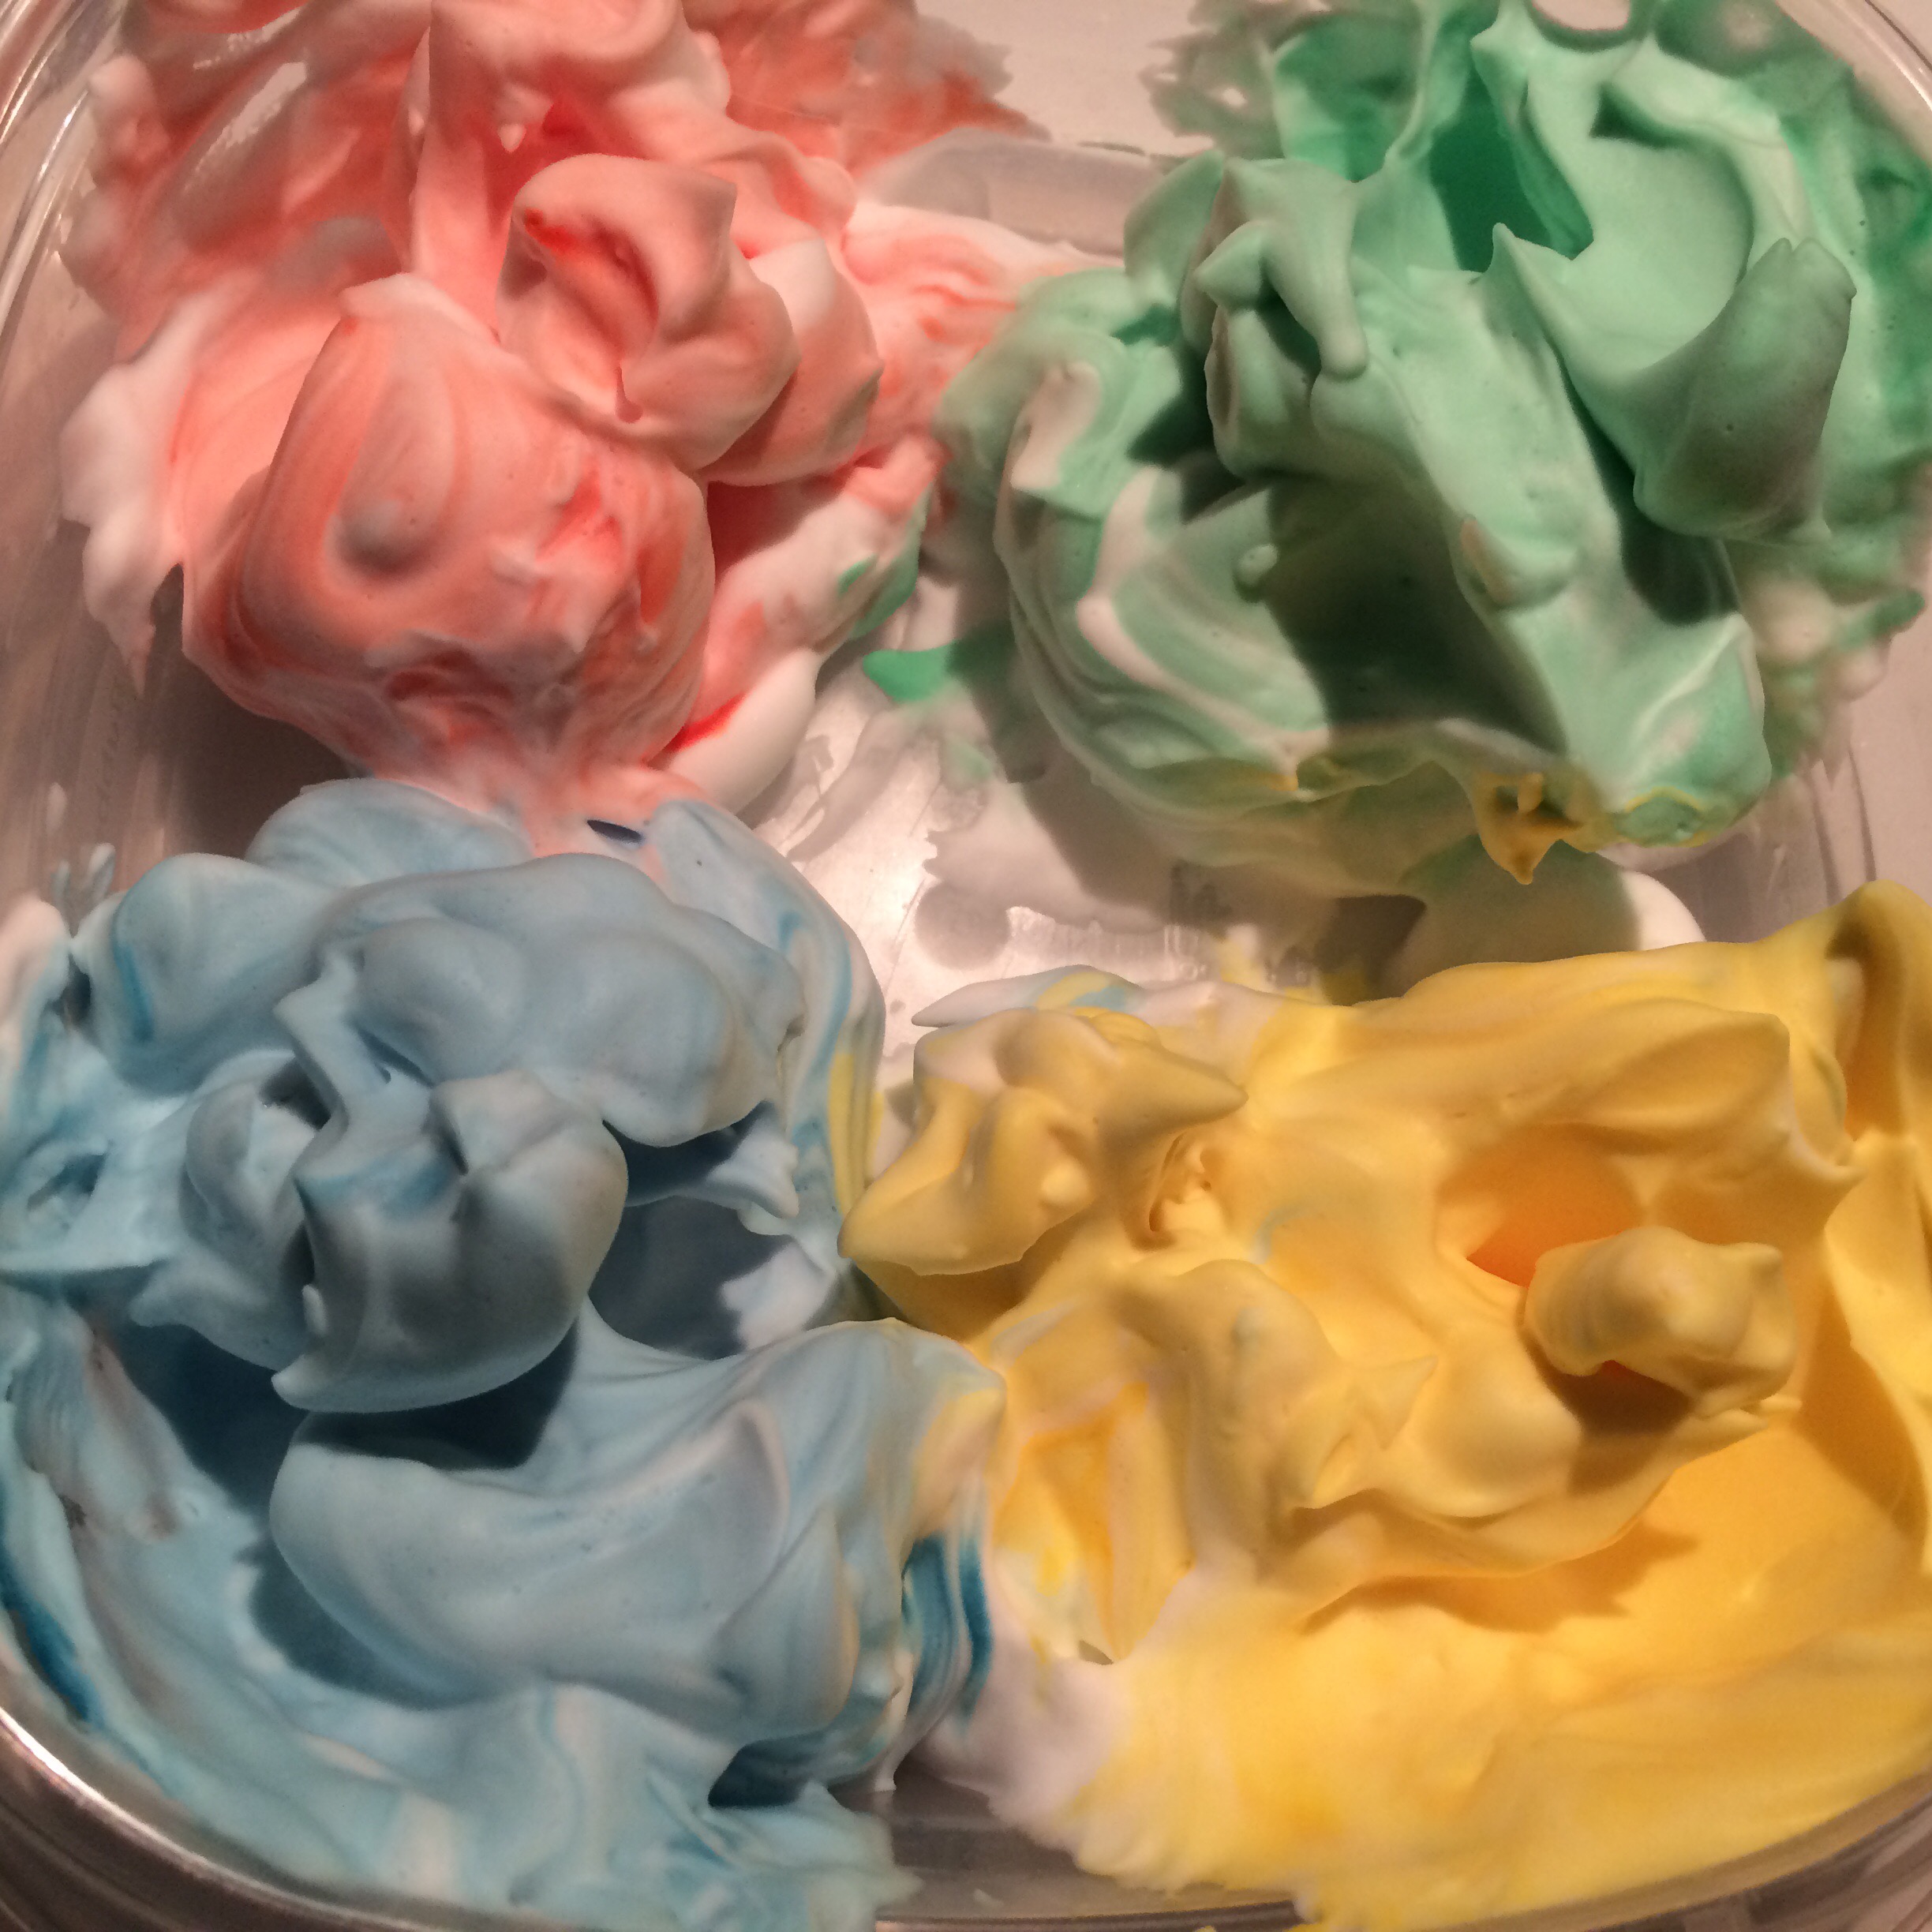
    4. Bath Paint   No need to buy bath paint when you can easily make it at home. All you need is shaving cream and food coloring. You can give your toddler a paintbrush to use or have them fingerpaint. This also helps your tot learn their colors too!

    Hope these ideas help make bath time a little more fun! If you have any other ideas to help make bath time more fun, please comment! And always enjoy every moment with your little one!

  • Keeping Your Toddler Busy this Fall Season

    Keeping Your Toddler Busy this Fall Season

    Fall is here! Cool weather, leaves changing, crisp air, the baking itch begins, and holidays! In the summer, you kept your toddler busy with tons of outdoor activities but now that the weather is changing its hard to sometimes keep your toddler busy indoors. Here are a few ideas to occupy your little one, expand their creativity, and make life a little more fun!

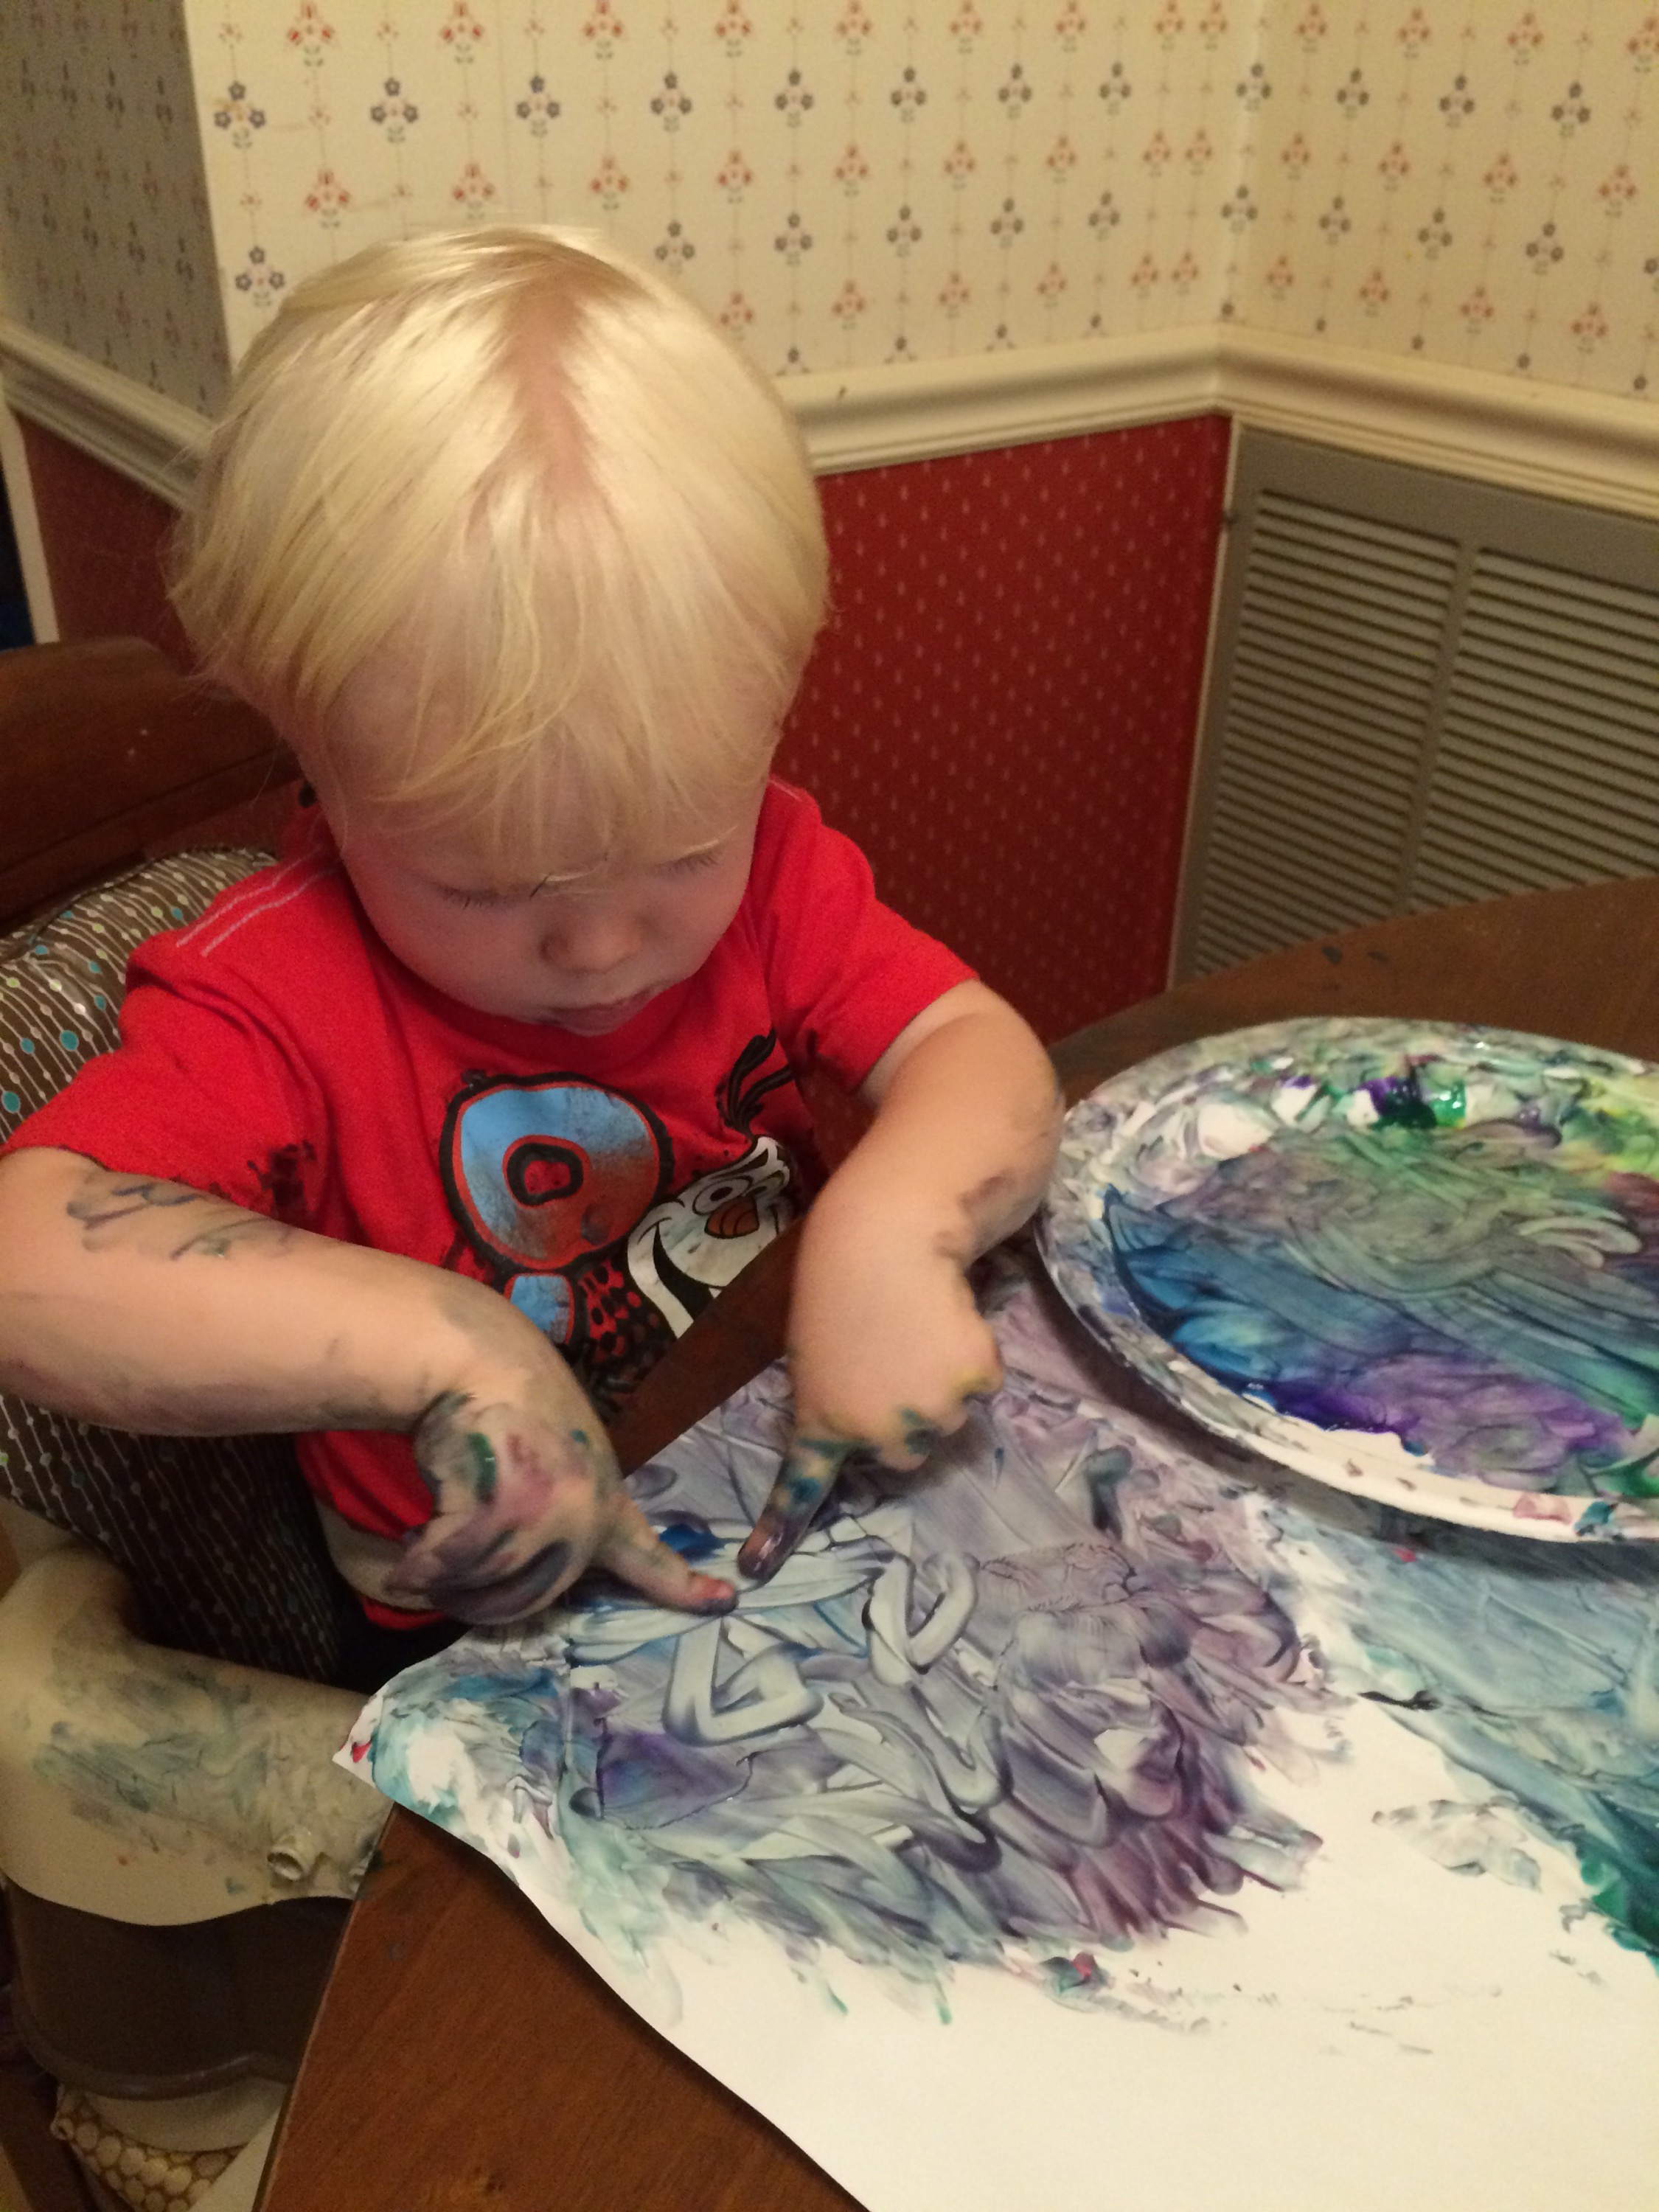
    1. Fingerpainting It’s messy but your little one will have a ball! My sweet pea will paint for the longest time. Then he eventually paints himself, the table, and sometimes even my hands. It’s super easy to clean up though. I just have a bucket of water and wash clothes ready for when he is finished to wipe down him and his activity area. Then, I normally take him to bath time right after. If you don’t have fingerpaints on hand, here’s a super easy recipe to make your own:
    Fingerpaints

    3 tbsp of Sugar

    1/2 tsp of Salt

    1/2 cup of Cornstarch

    2 cups of Water

    Directions:

    Combine in a small saucepan and warm until mixture thickens. Cool and pour into containers (baby food jars work the best). Add food coloring to make desired colors.

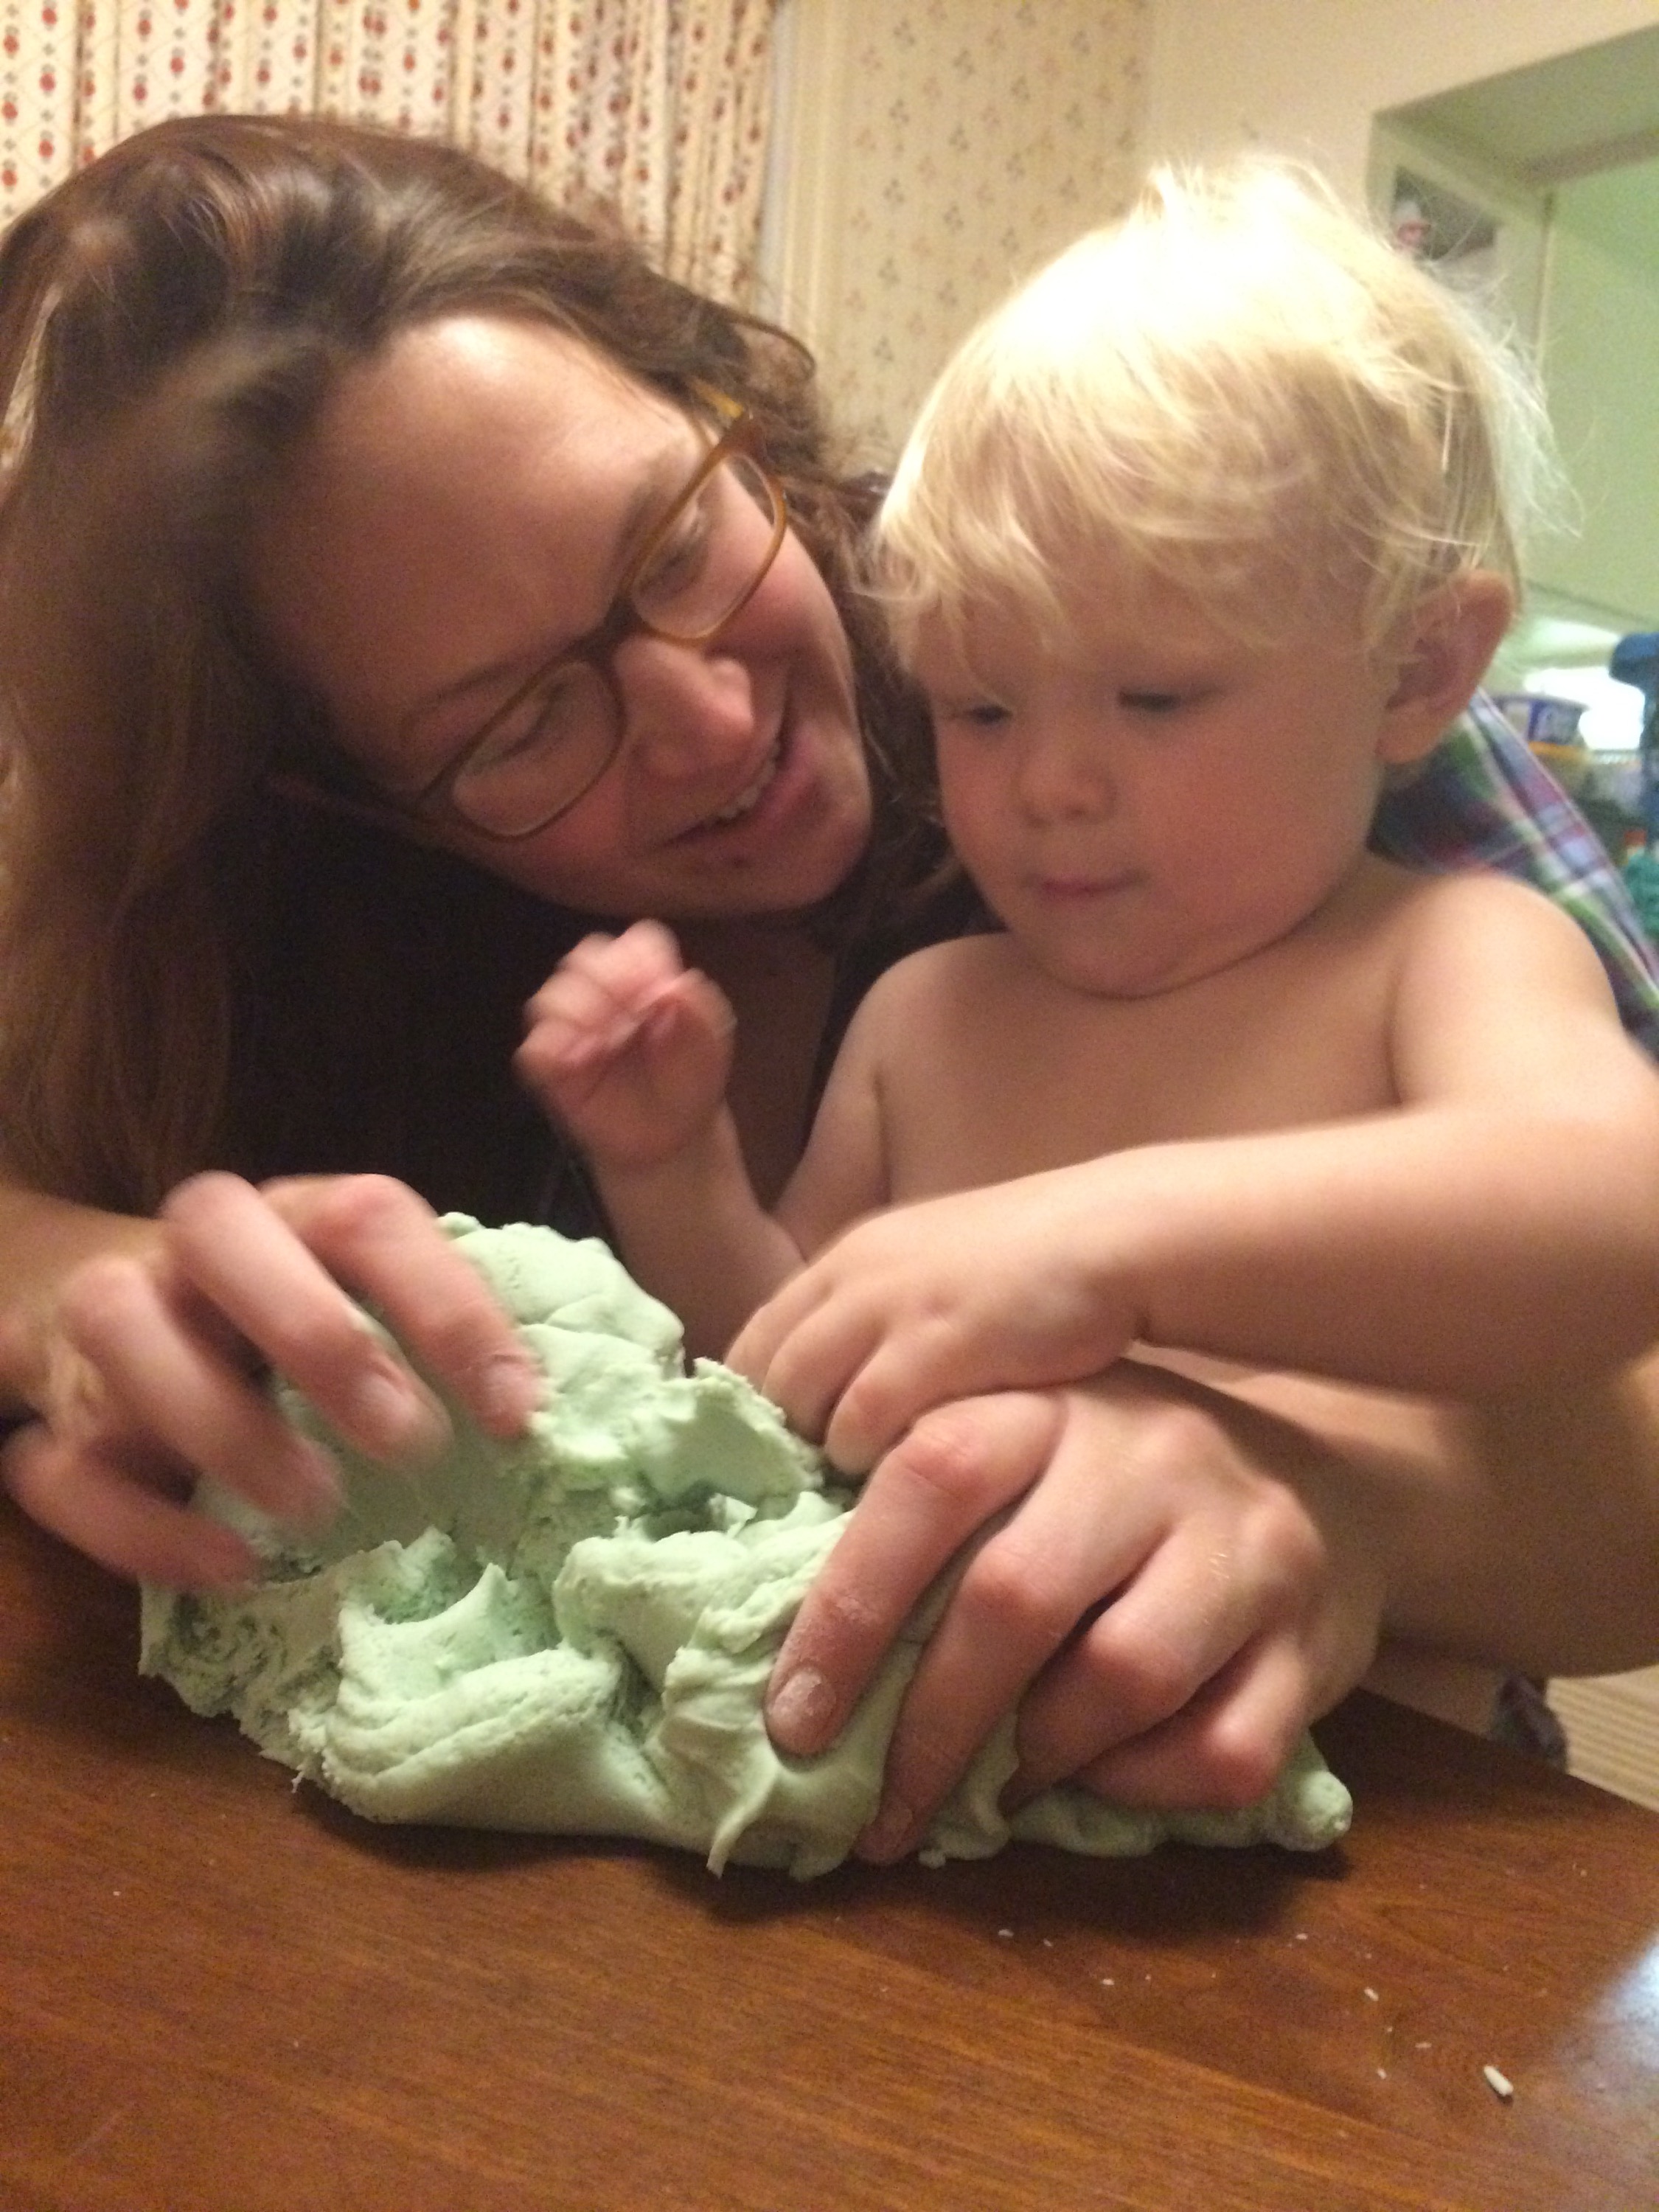
    2. Playdough Who doesn’t love Playdough? It’s a fun a molding activity, stress reliever, and brings a spunky creative side out of your little one. And it’s as fun to make as it is to play with. If your toddler is anything like mine, he loves to cook as well as play. This playdough recipe takes about 10-15 minutes to make and the dough last for about 3 months in an air tight container. 
    Playdough

    2 cups of Flour

    2 tbsp of Vegetable Oil

    1/2 cup of Salt

    2 tbsp of Cream of Tartar

    1 1/4 cups of Boiling Water (adding in increments)

    Food Coloring

    Directions:

    Mix the flour, salt, cream of tartar and oil in a mixing bowl. Add food colouring to the boiling water then into the dry ingredients.

    Stir continuously until it becomes a sticky, combined dough.

    Allow it to cool down then take it out of the bowl and knead it vigorously for a couple of minutes until all of the stickiness has gone. If it remains a little sticky then add a touch more of flour until just right.

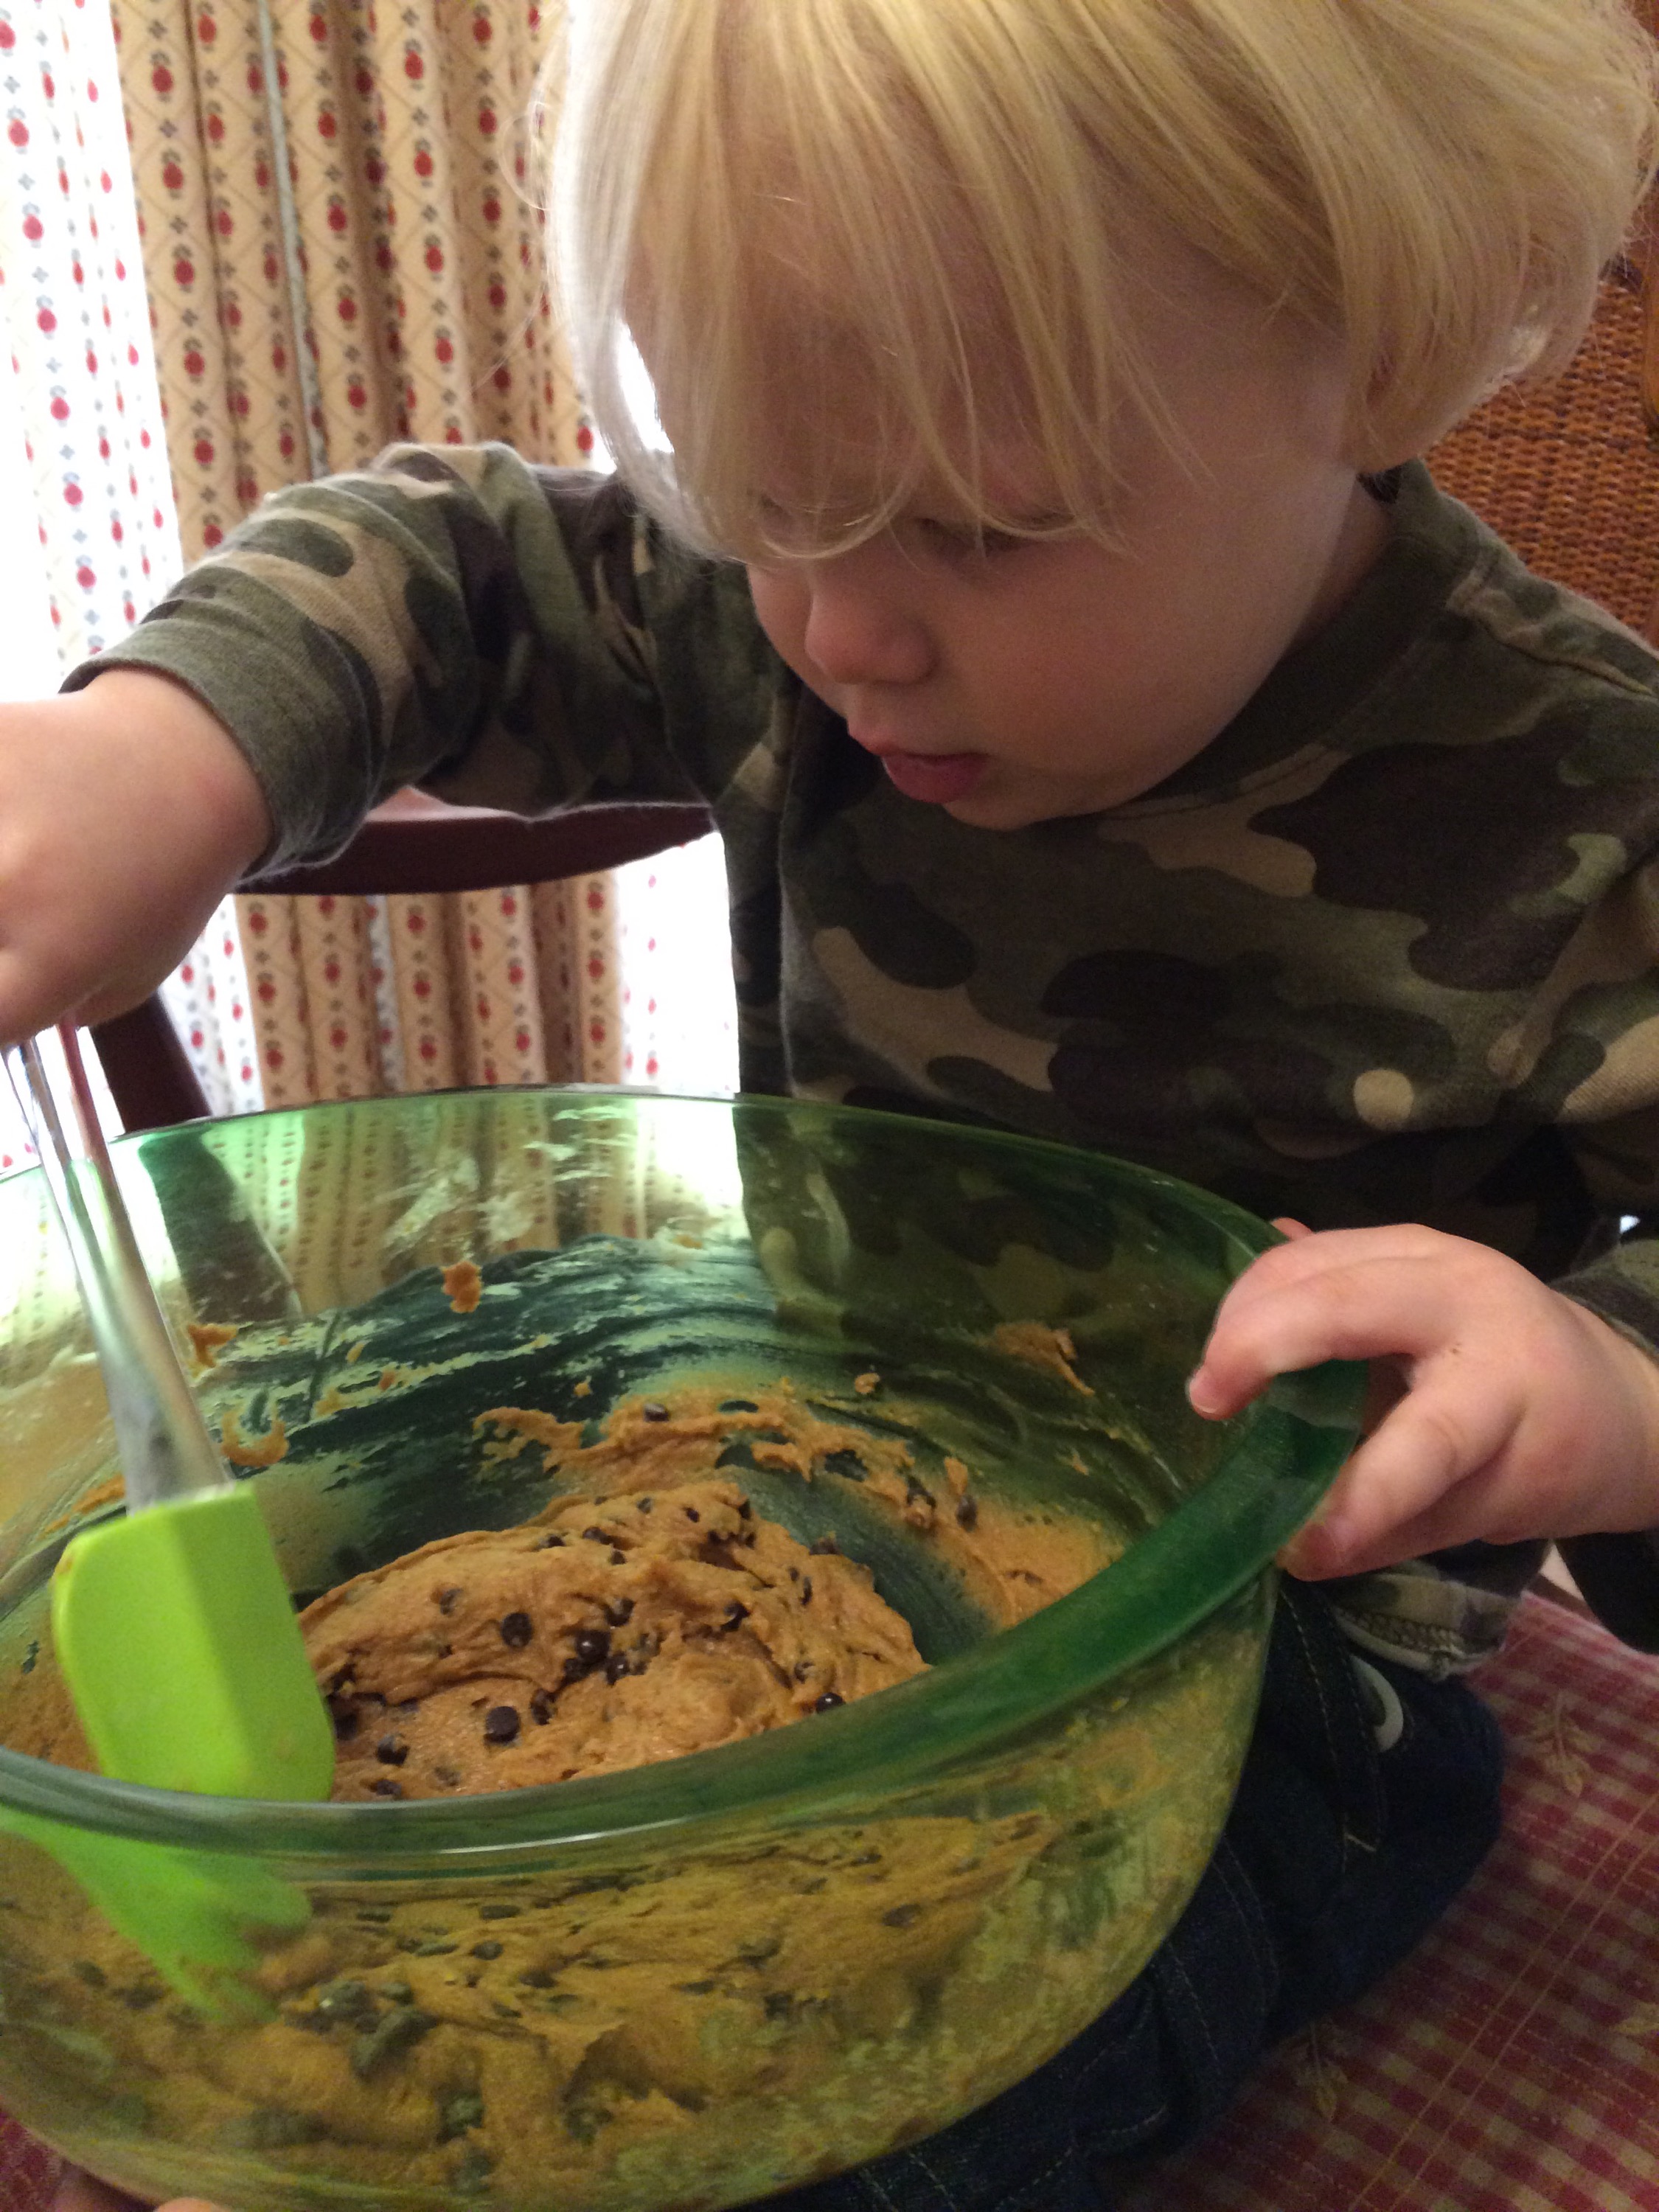
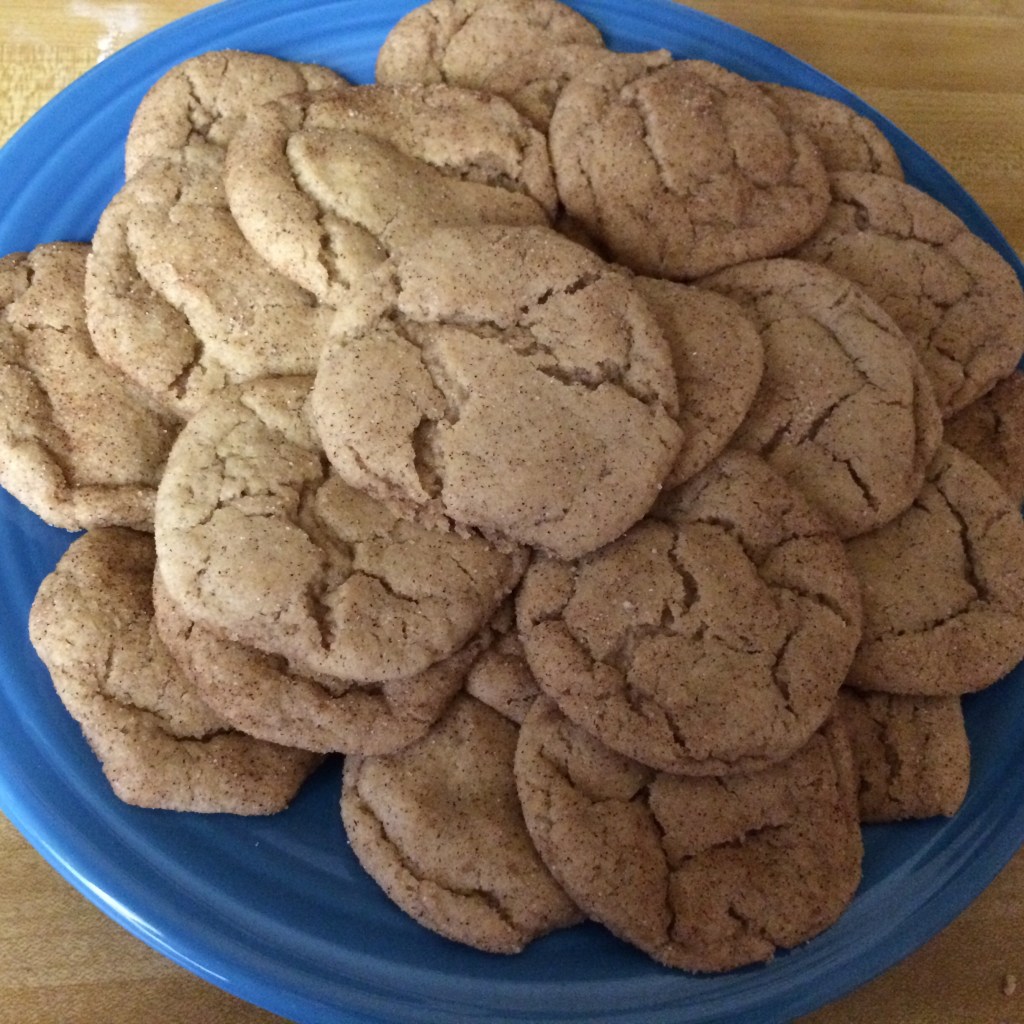
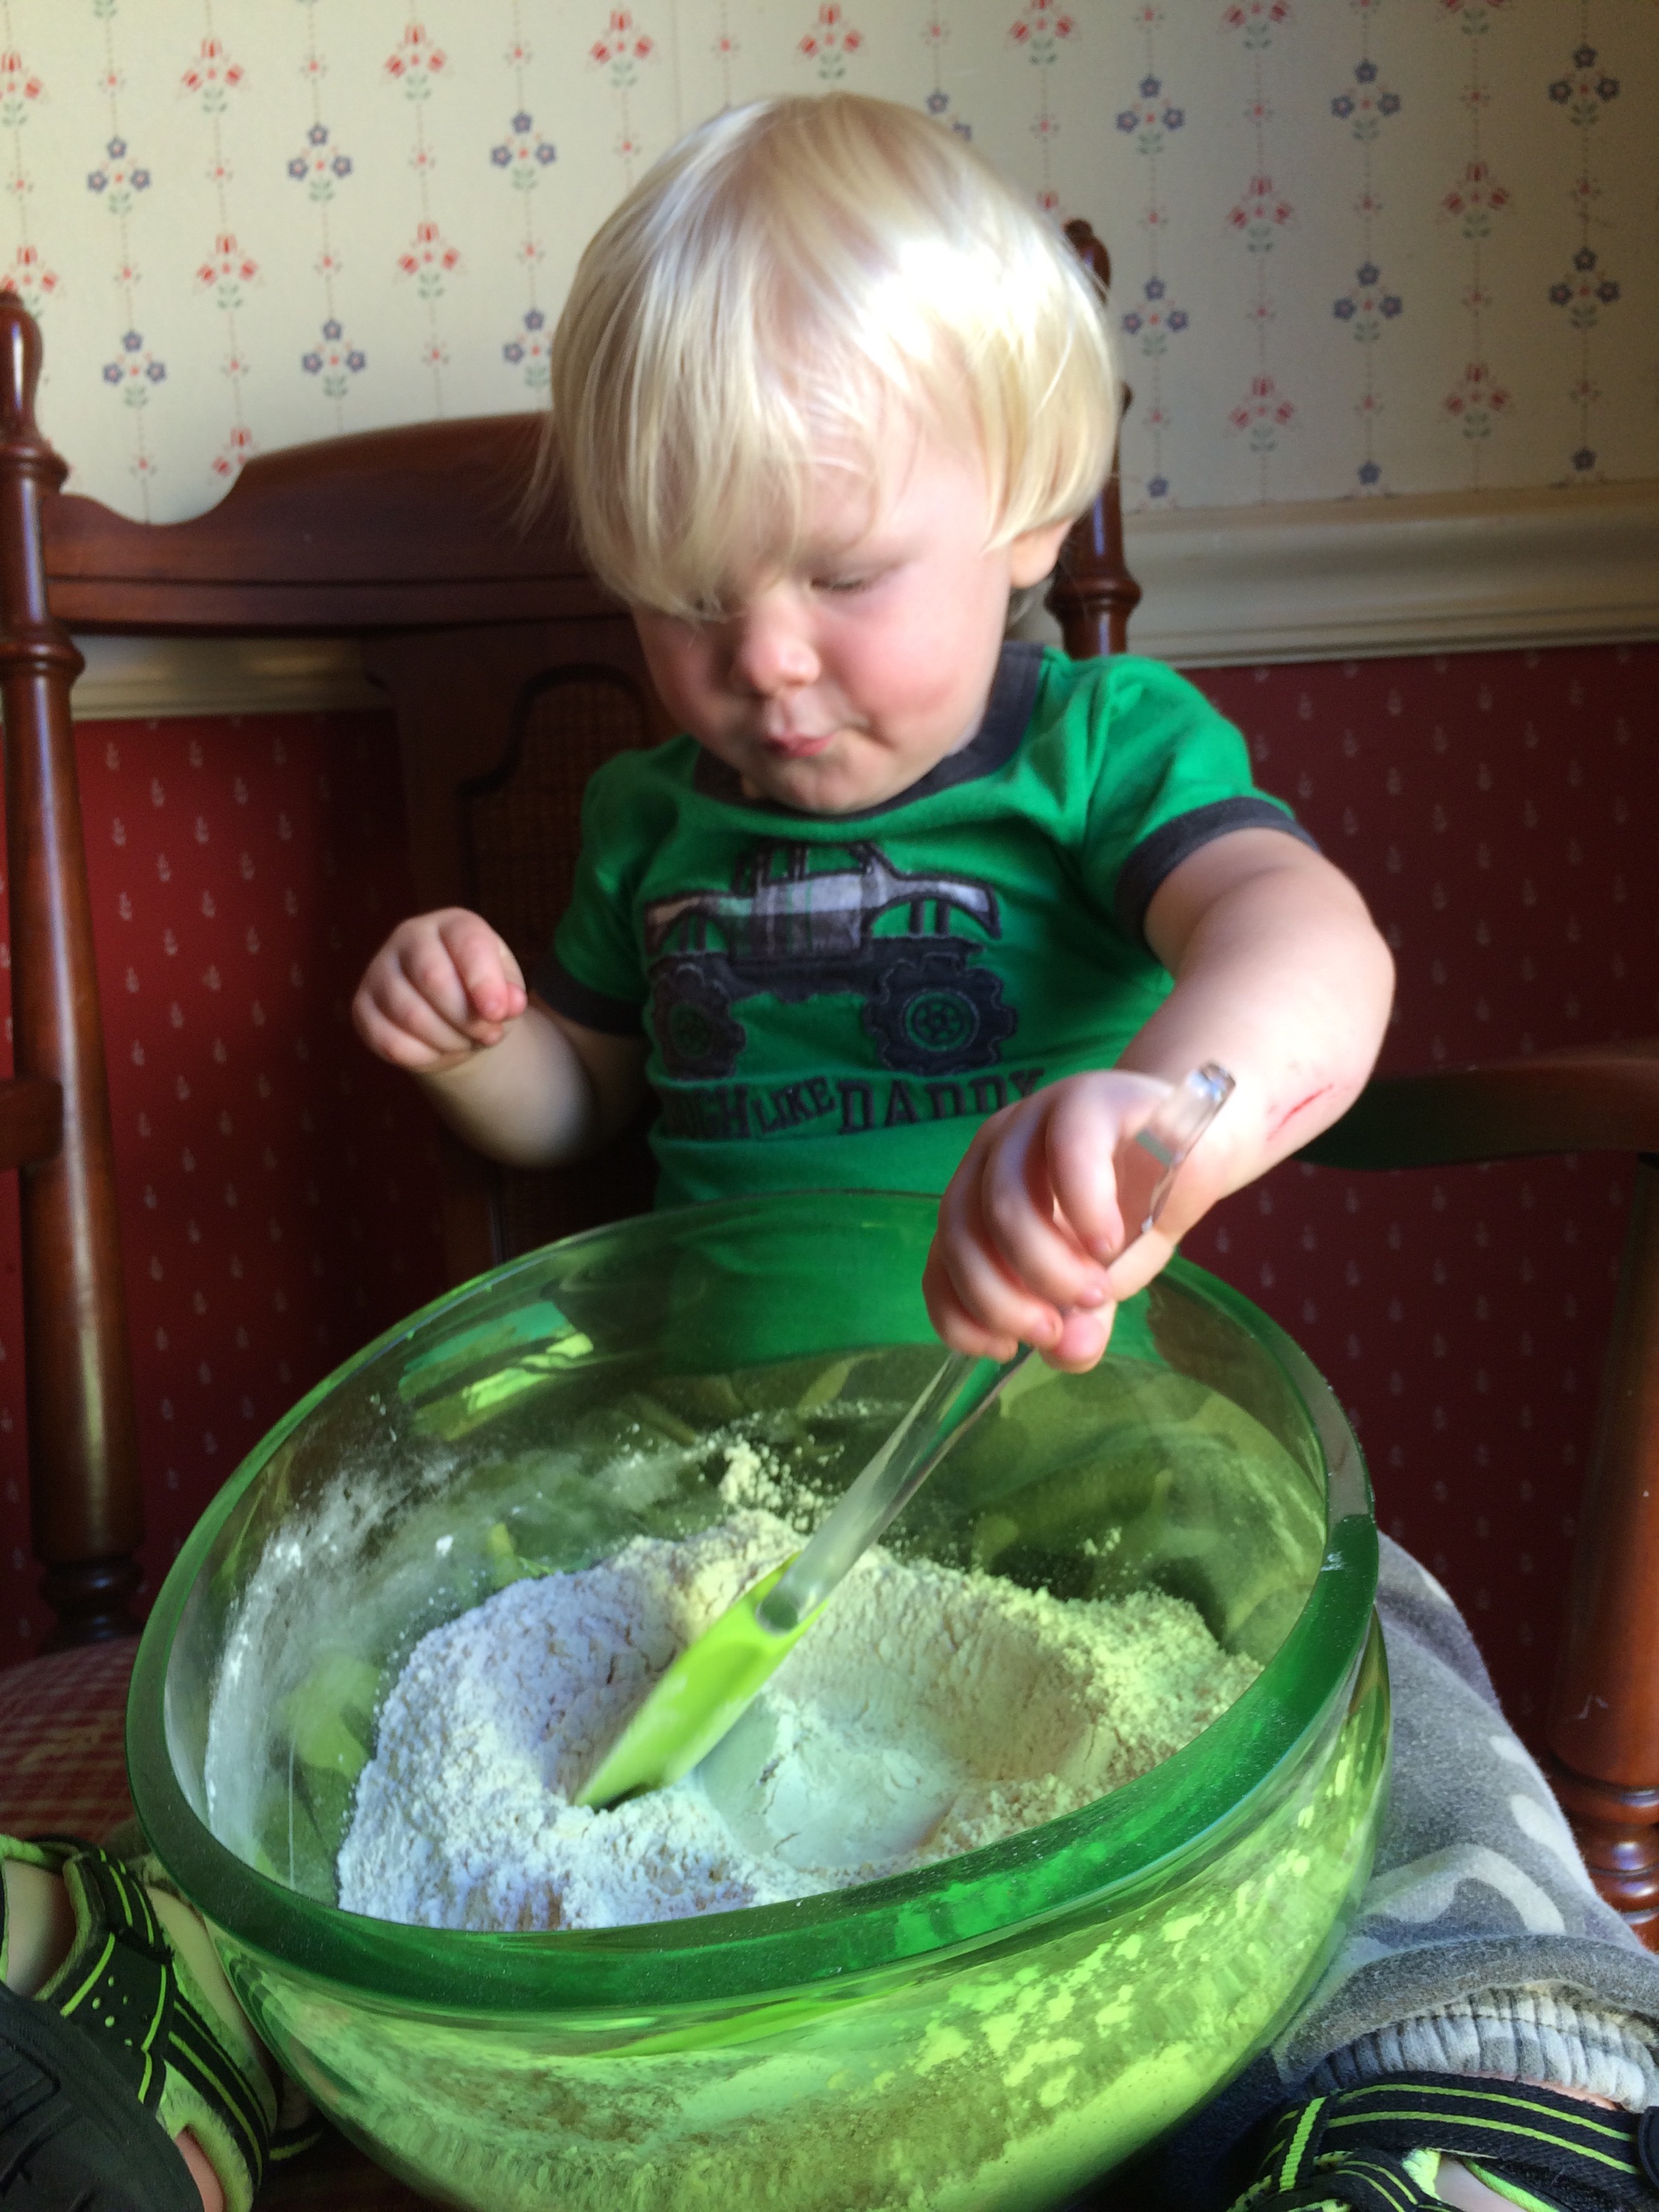
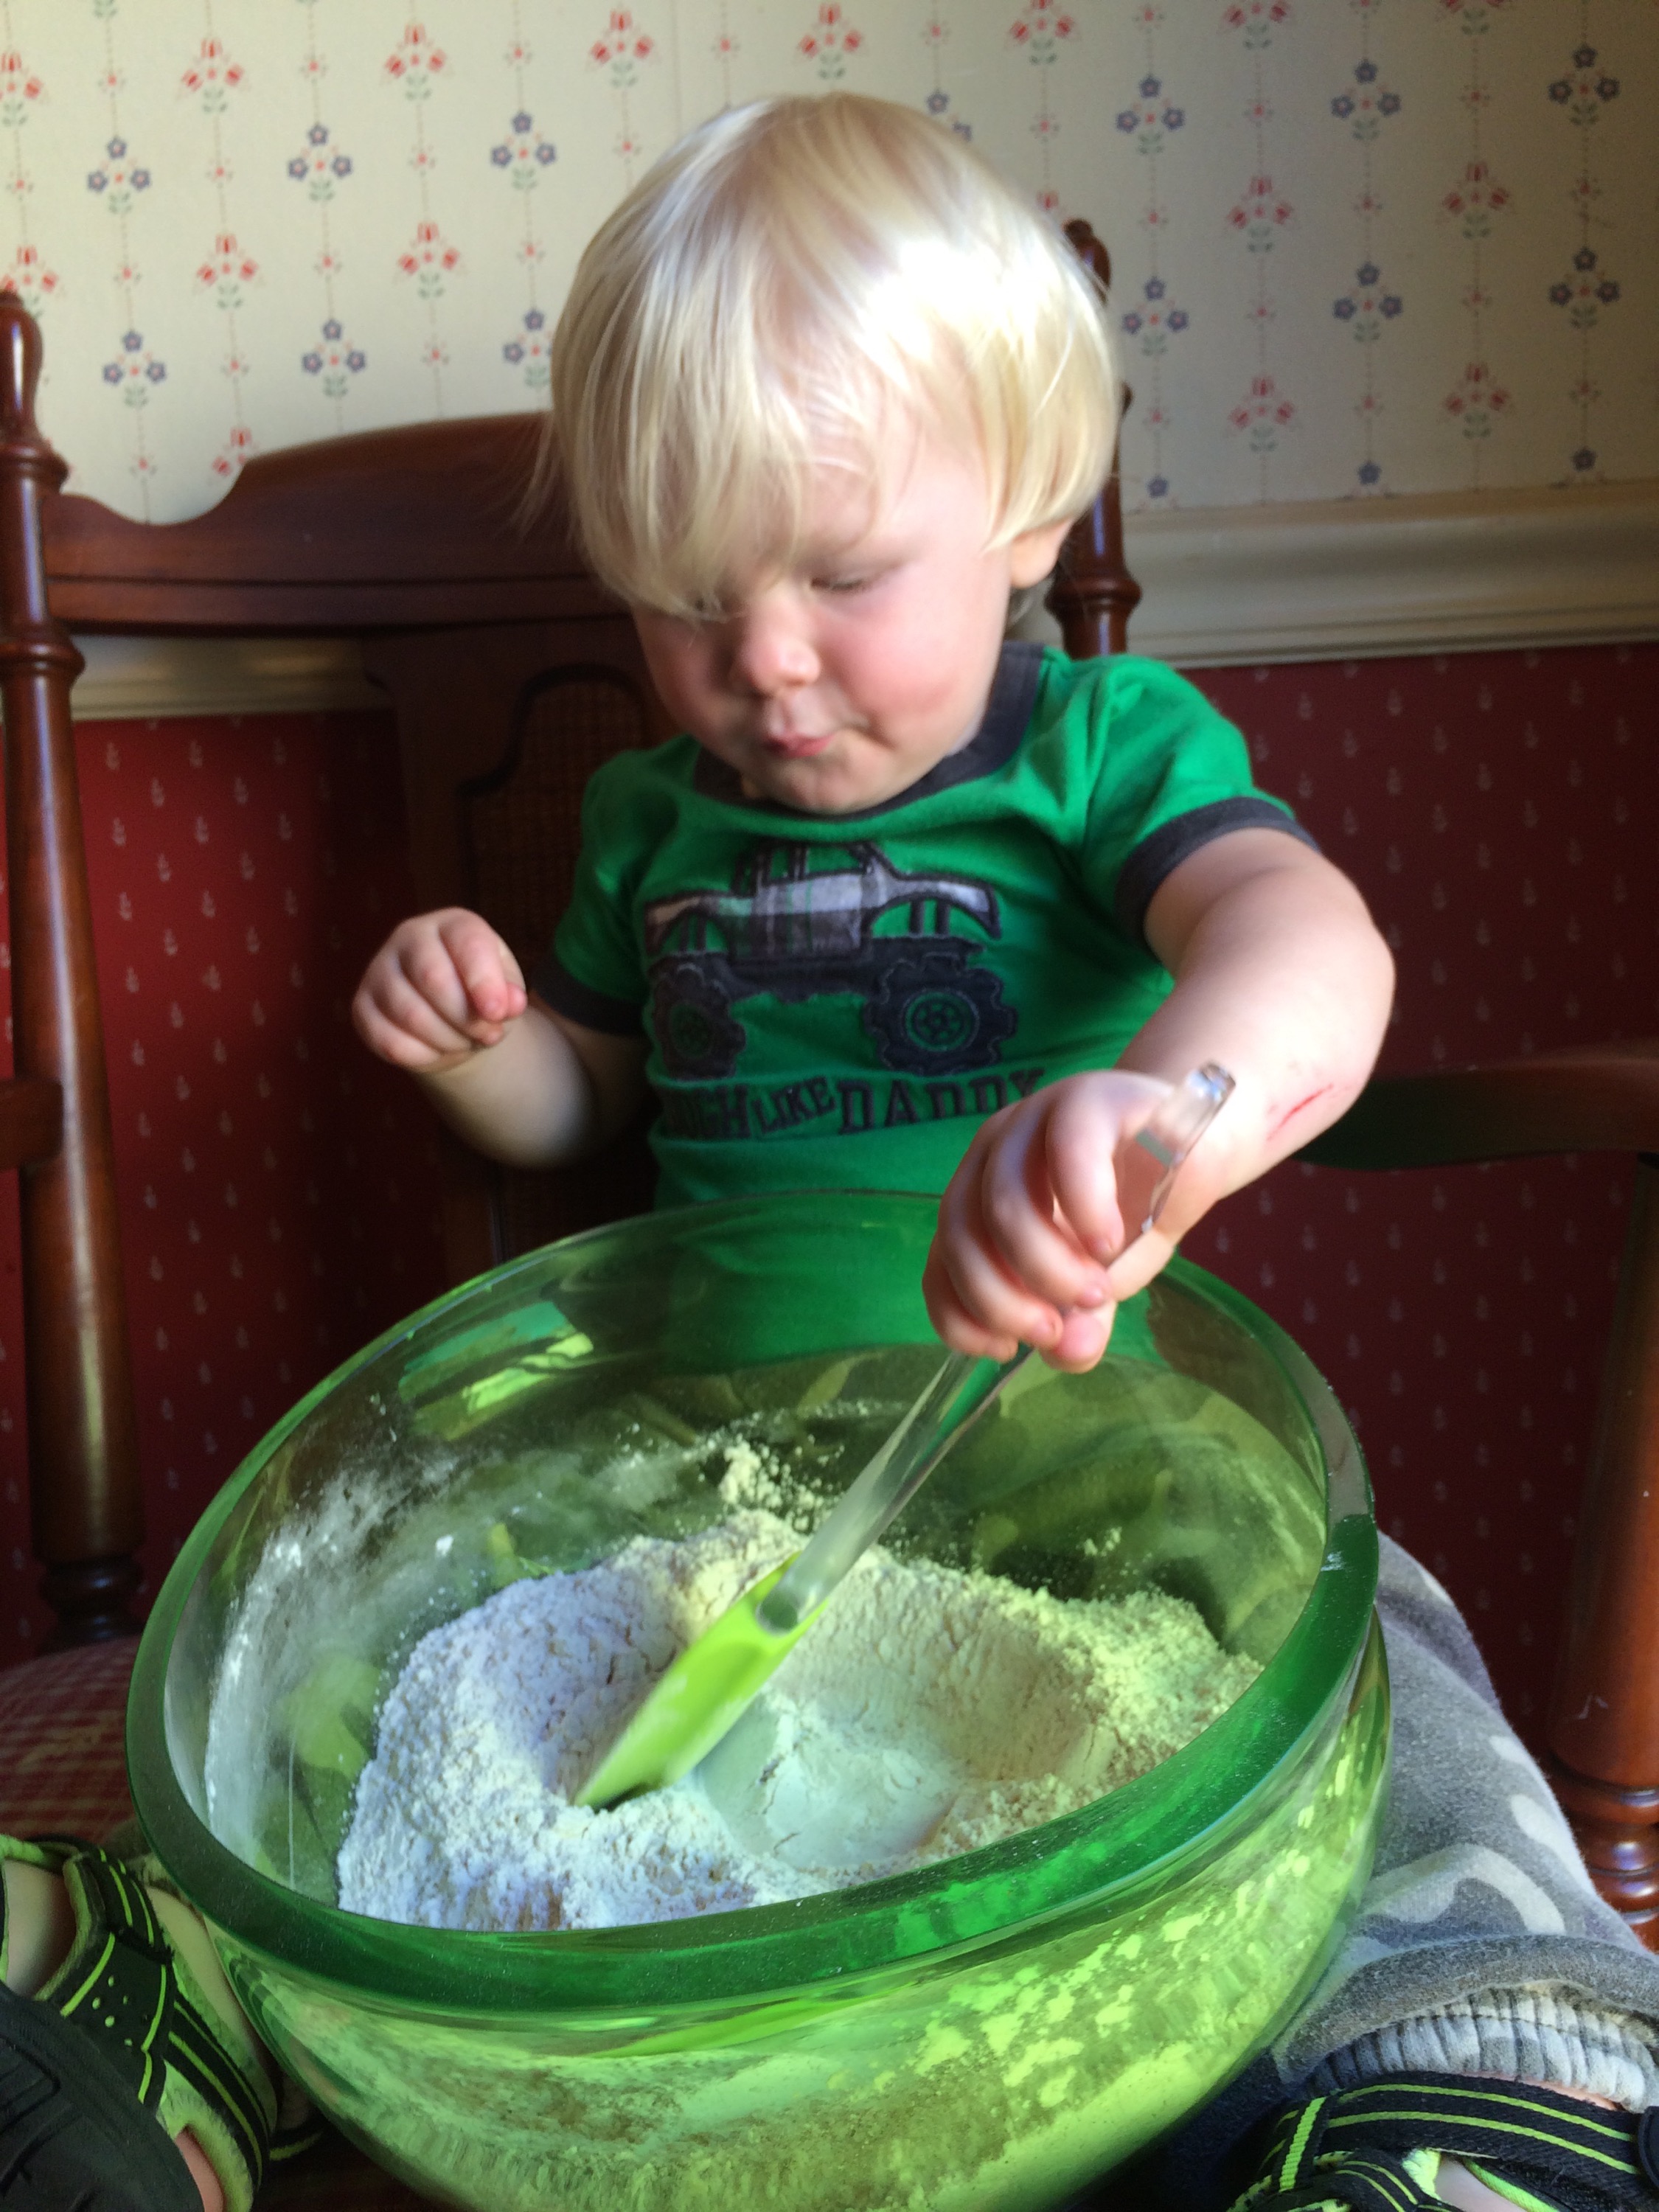
    3. Baking  My little one loves to cook, so I always try to find easy recipes for him to help me with. One of our favorites to make is Snickerdoodles. Here’s a link to our recipe: Sweet Treat: Snickerdoodles
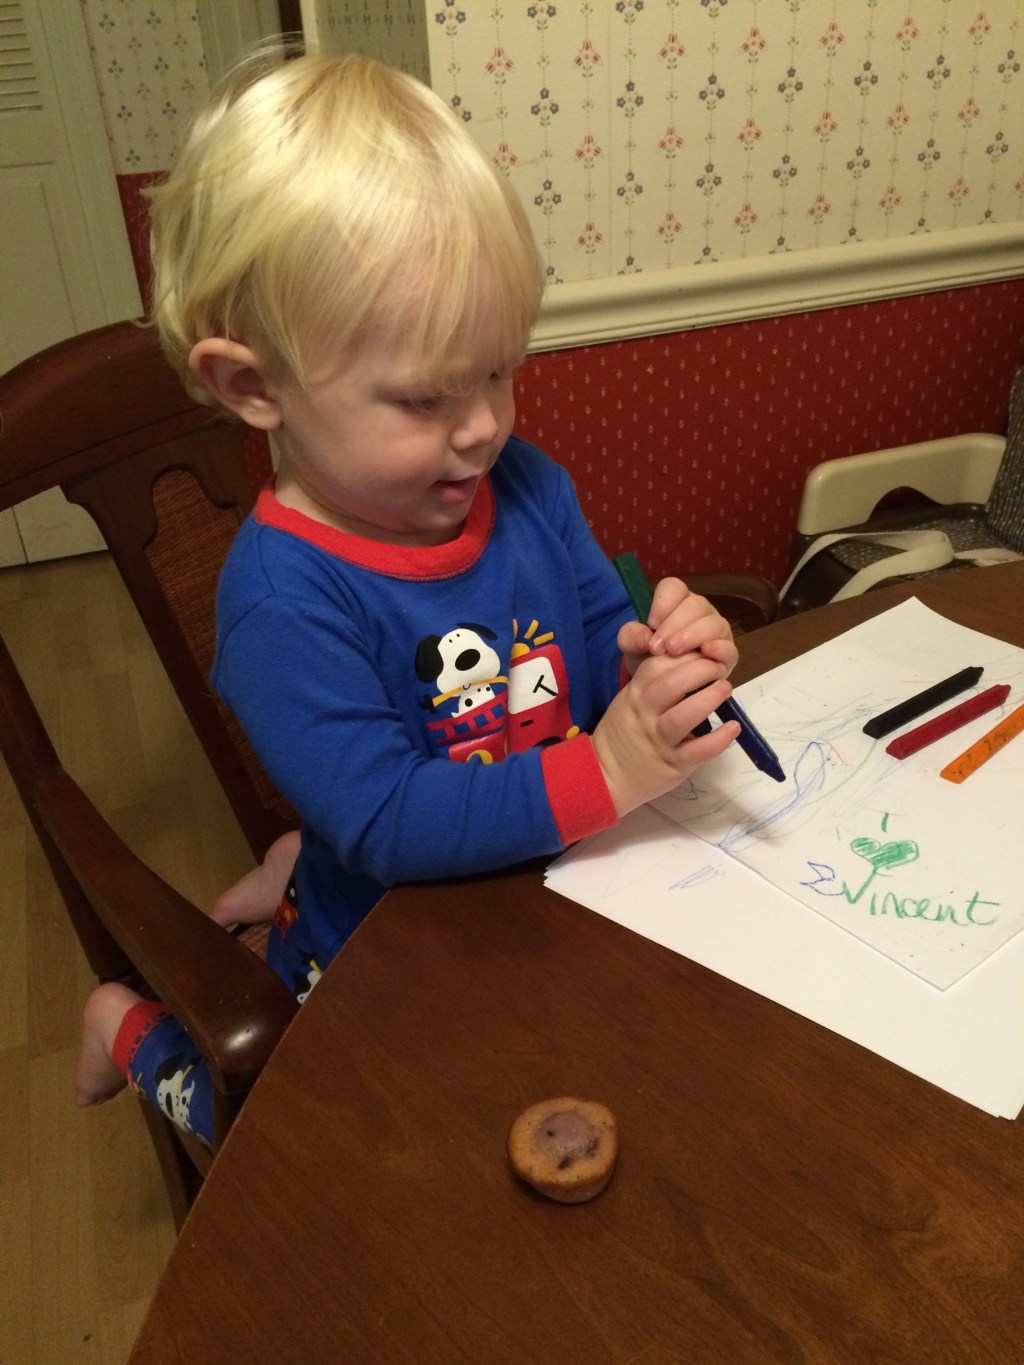
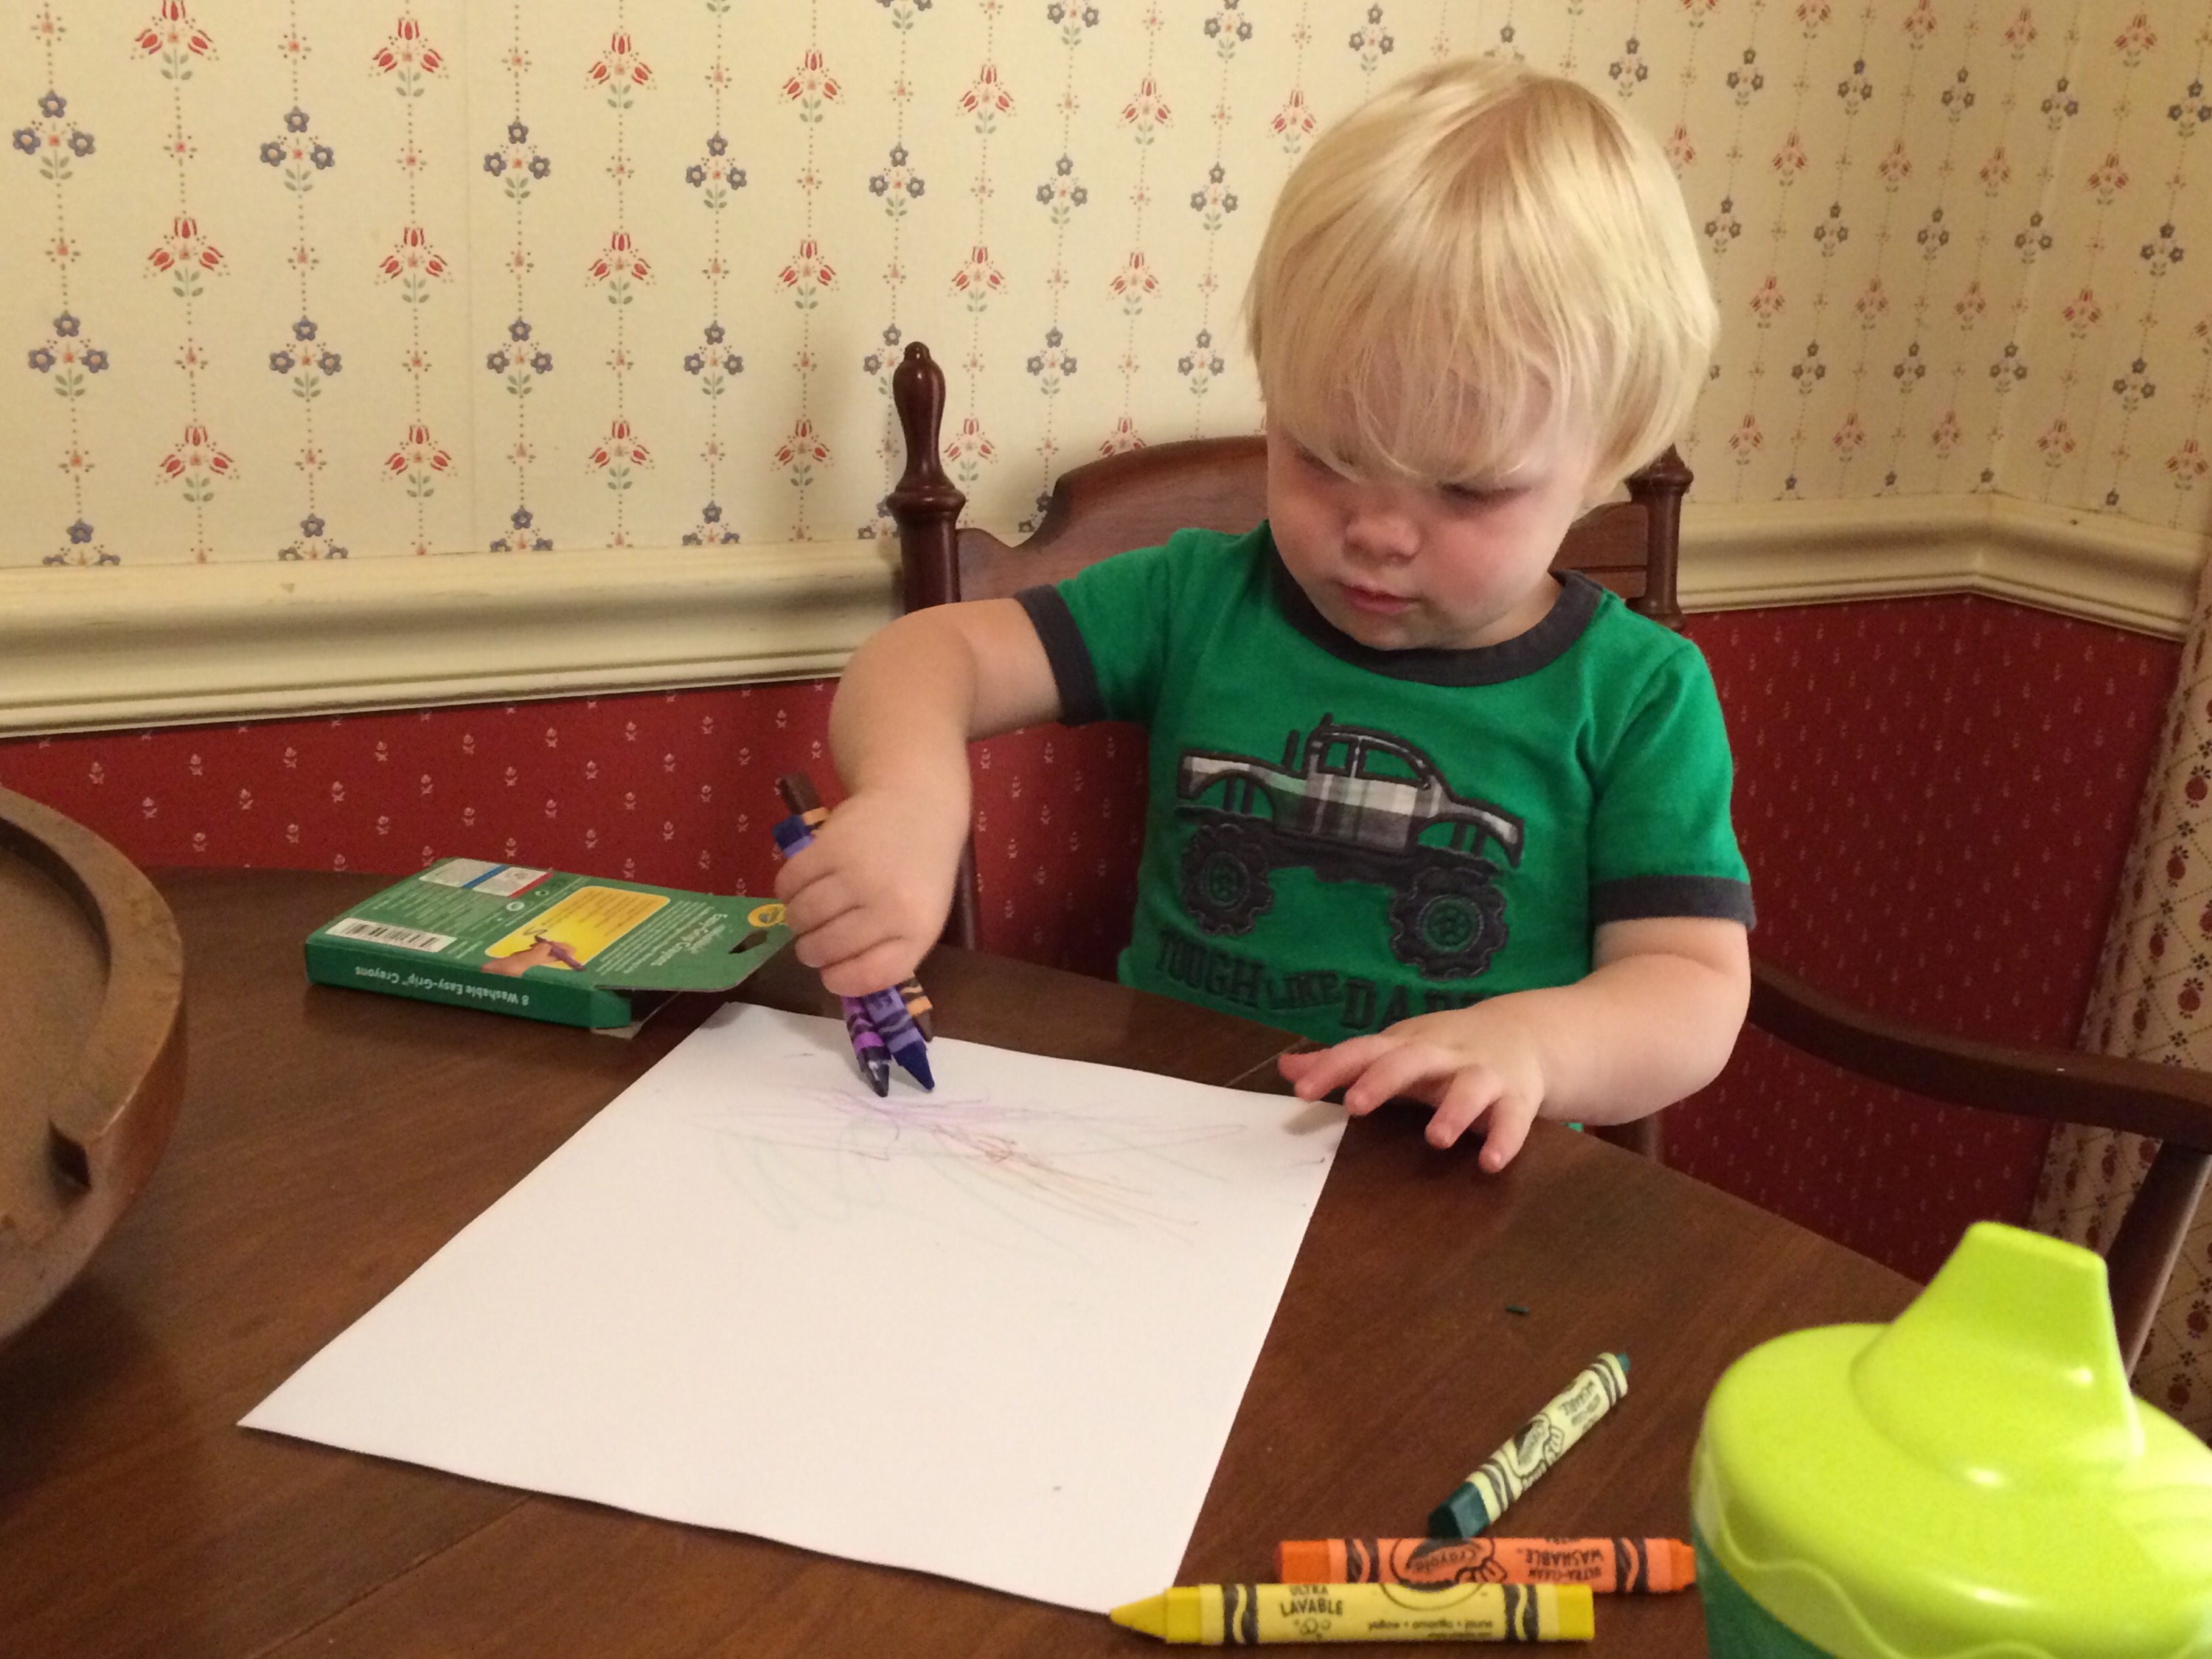
    4. Coloring  If you have crayons and paper on hand, this is one the simplest activities for your toddler to do. Coloring books are great too!
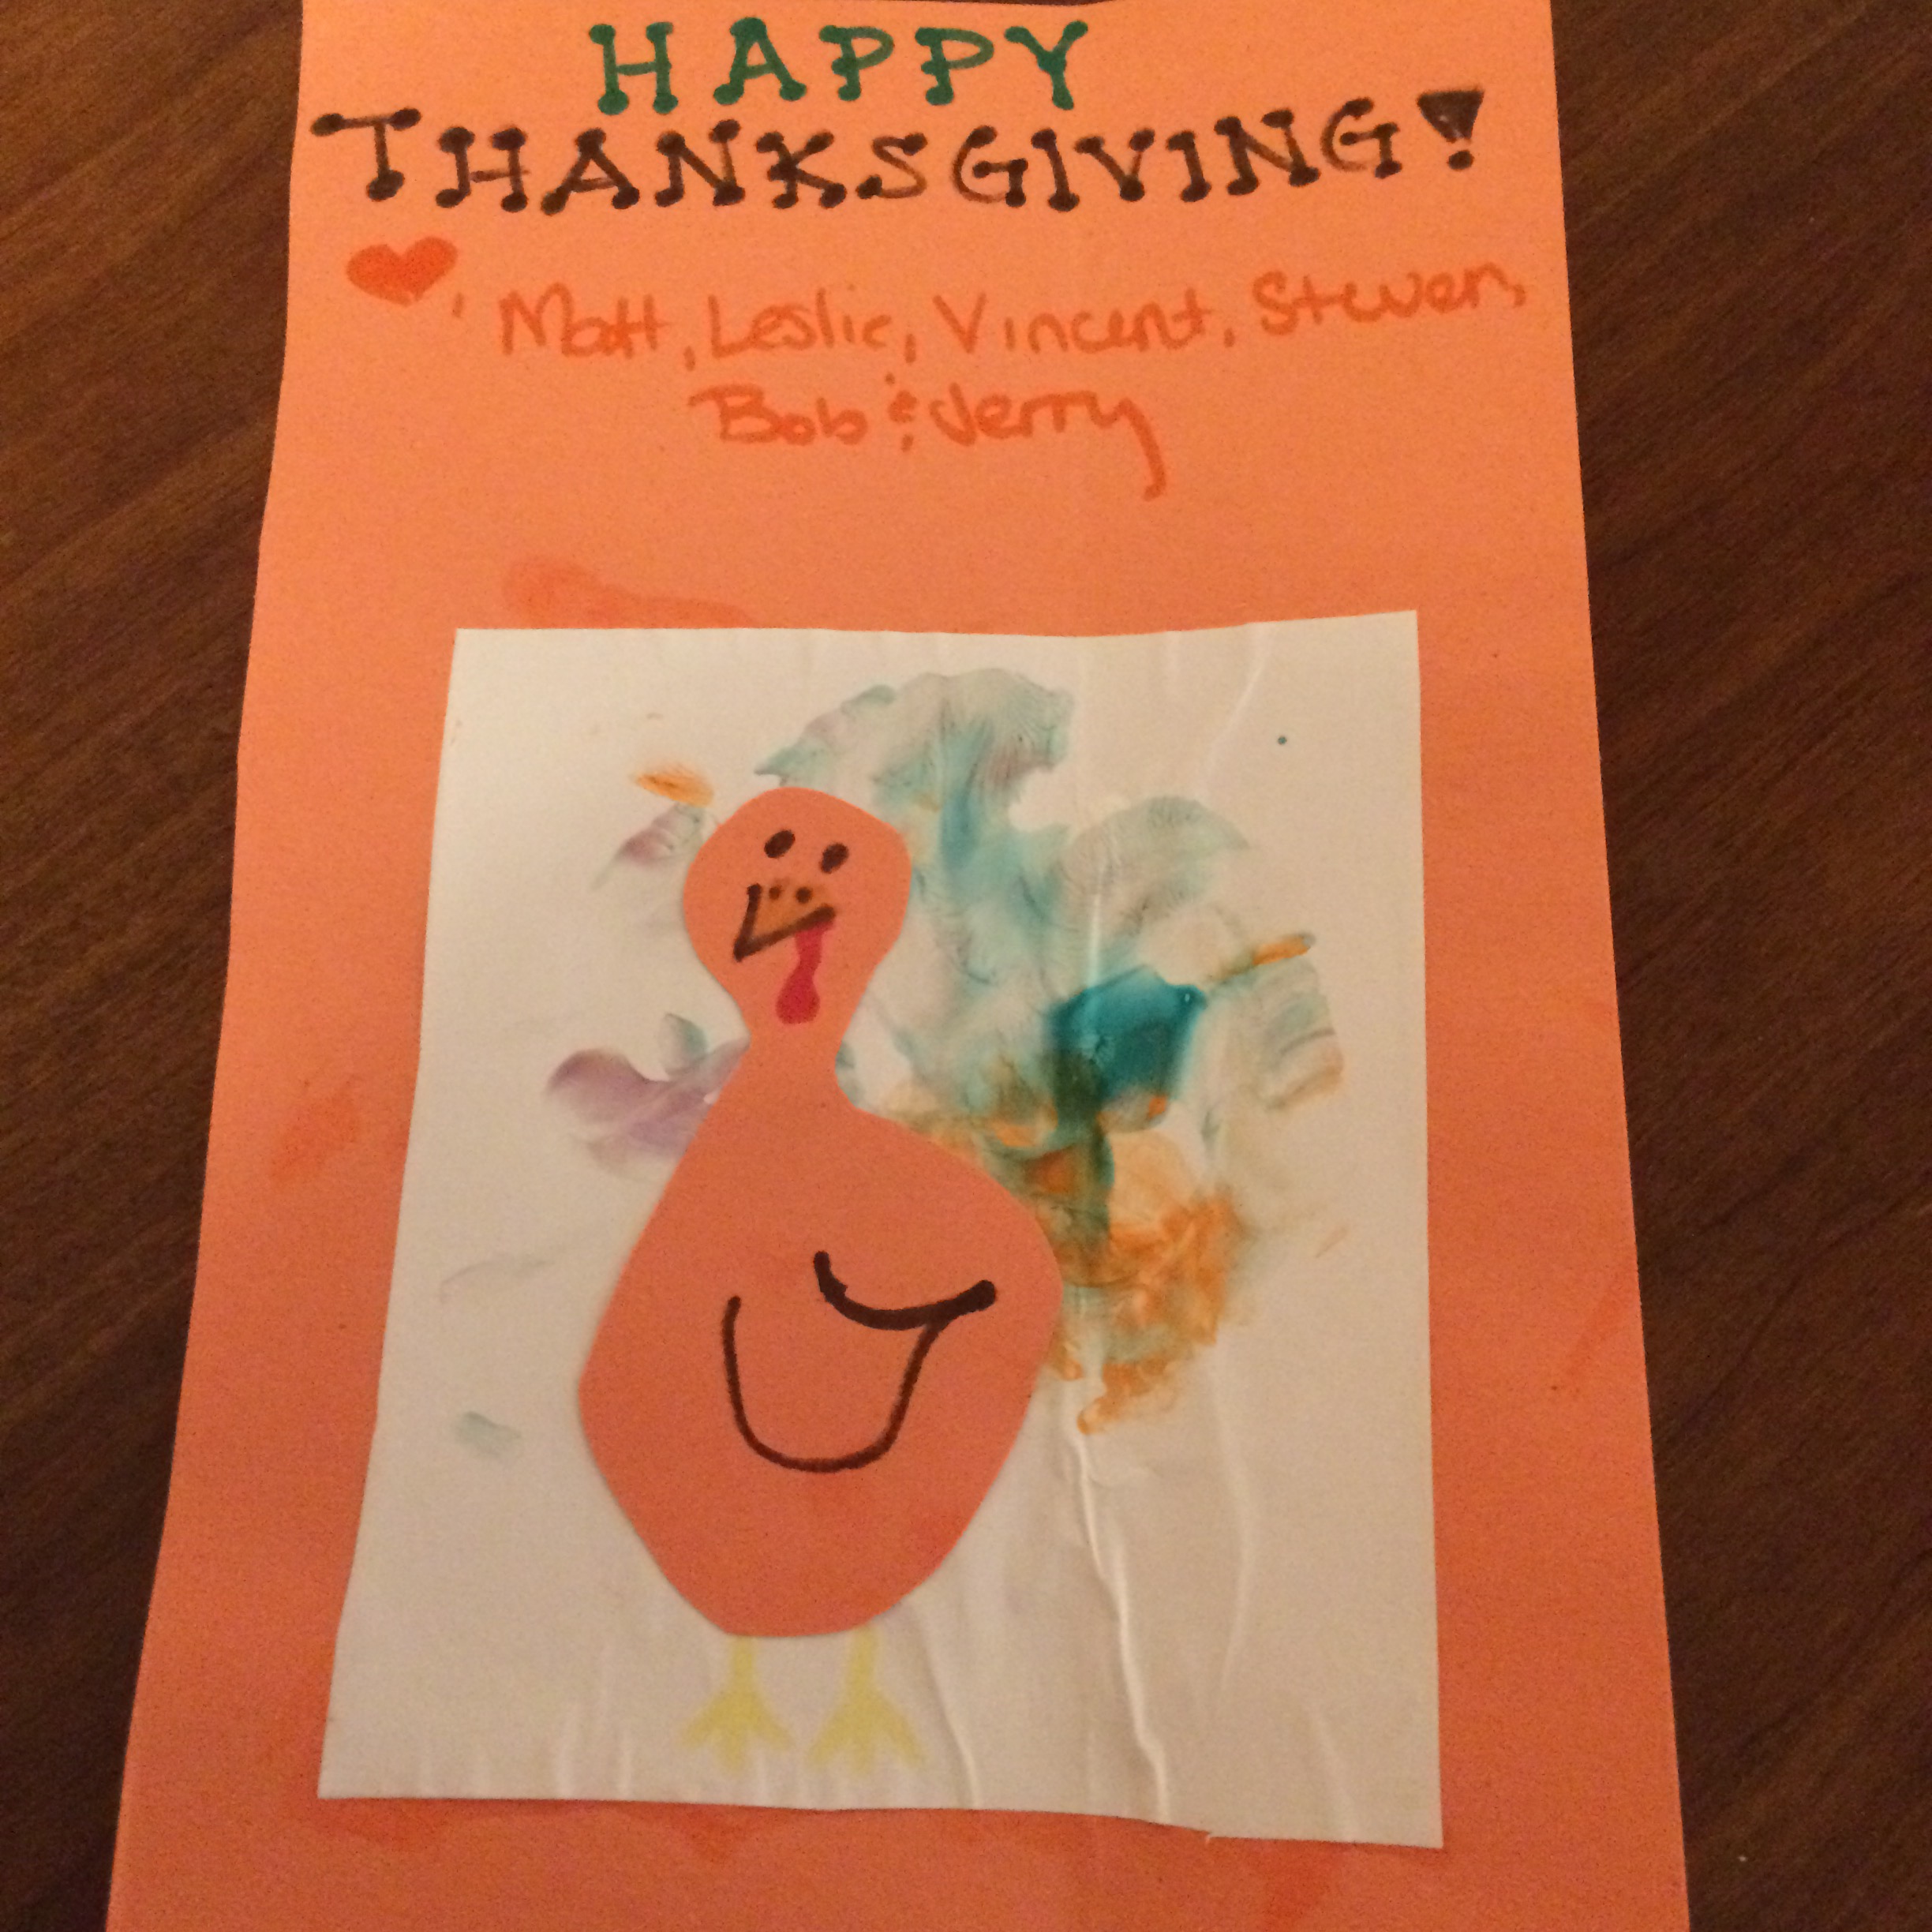
    5. Holiday Crafts  With Halloween and Thanksgiving in the fall, there are plenty of crafts to be done. With some construction paper, glue, markers and crayons, the possibilities are endless. One of our crafts this year, we made Thanksgiving cards to send out to all the family. 
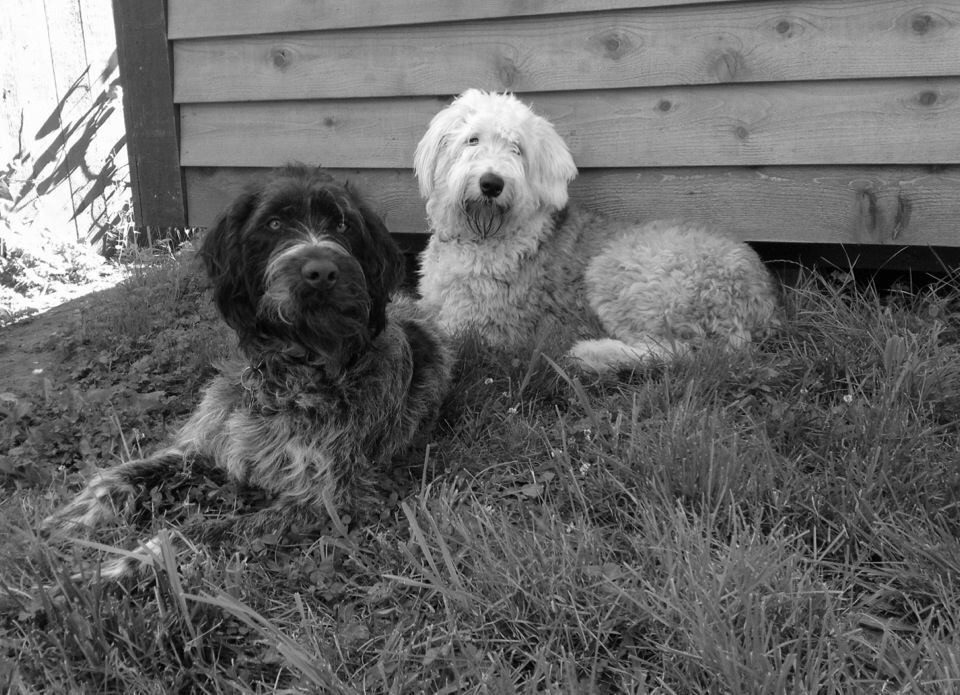
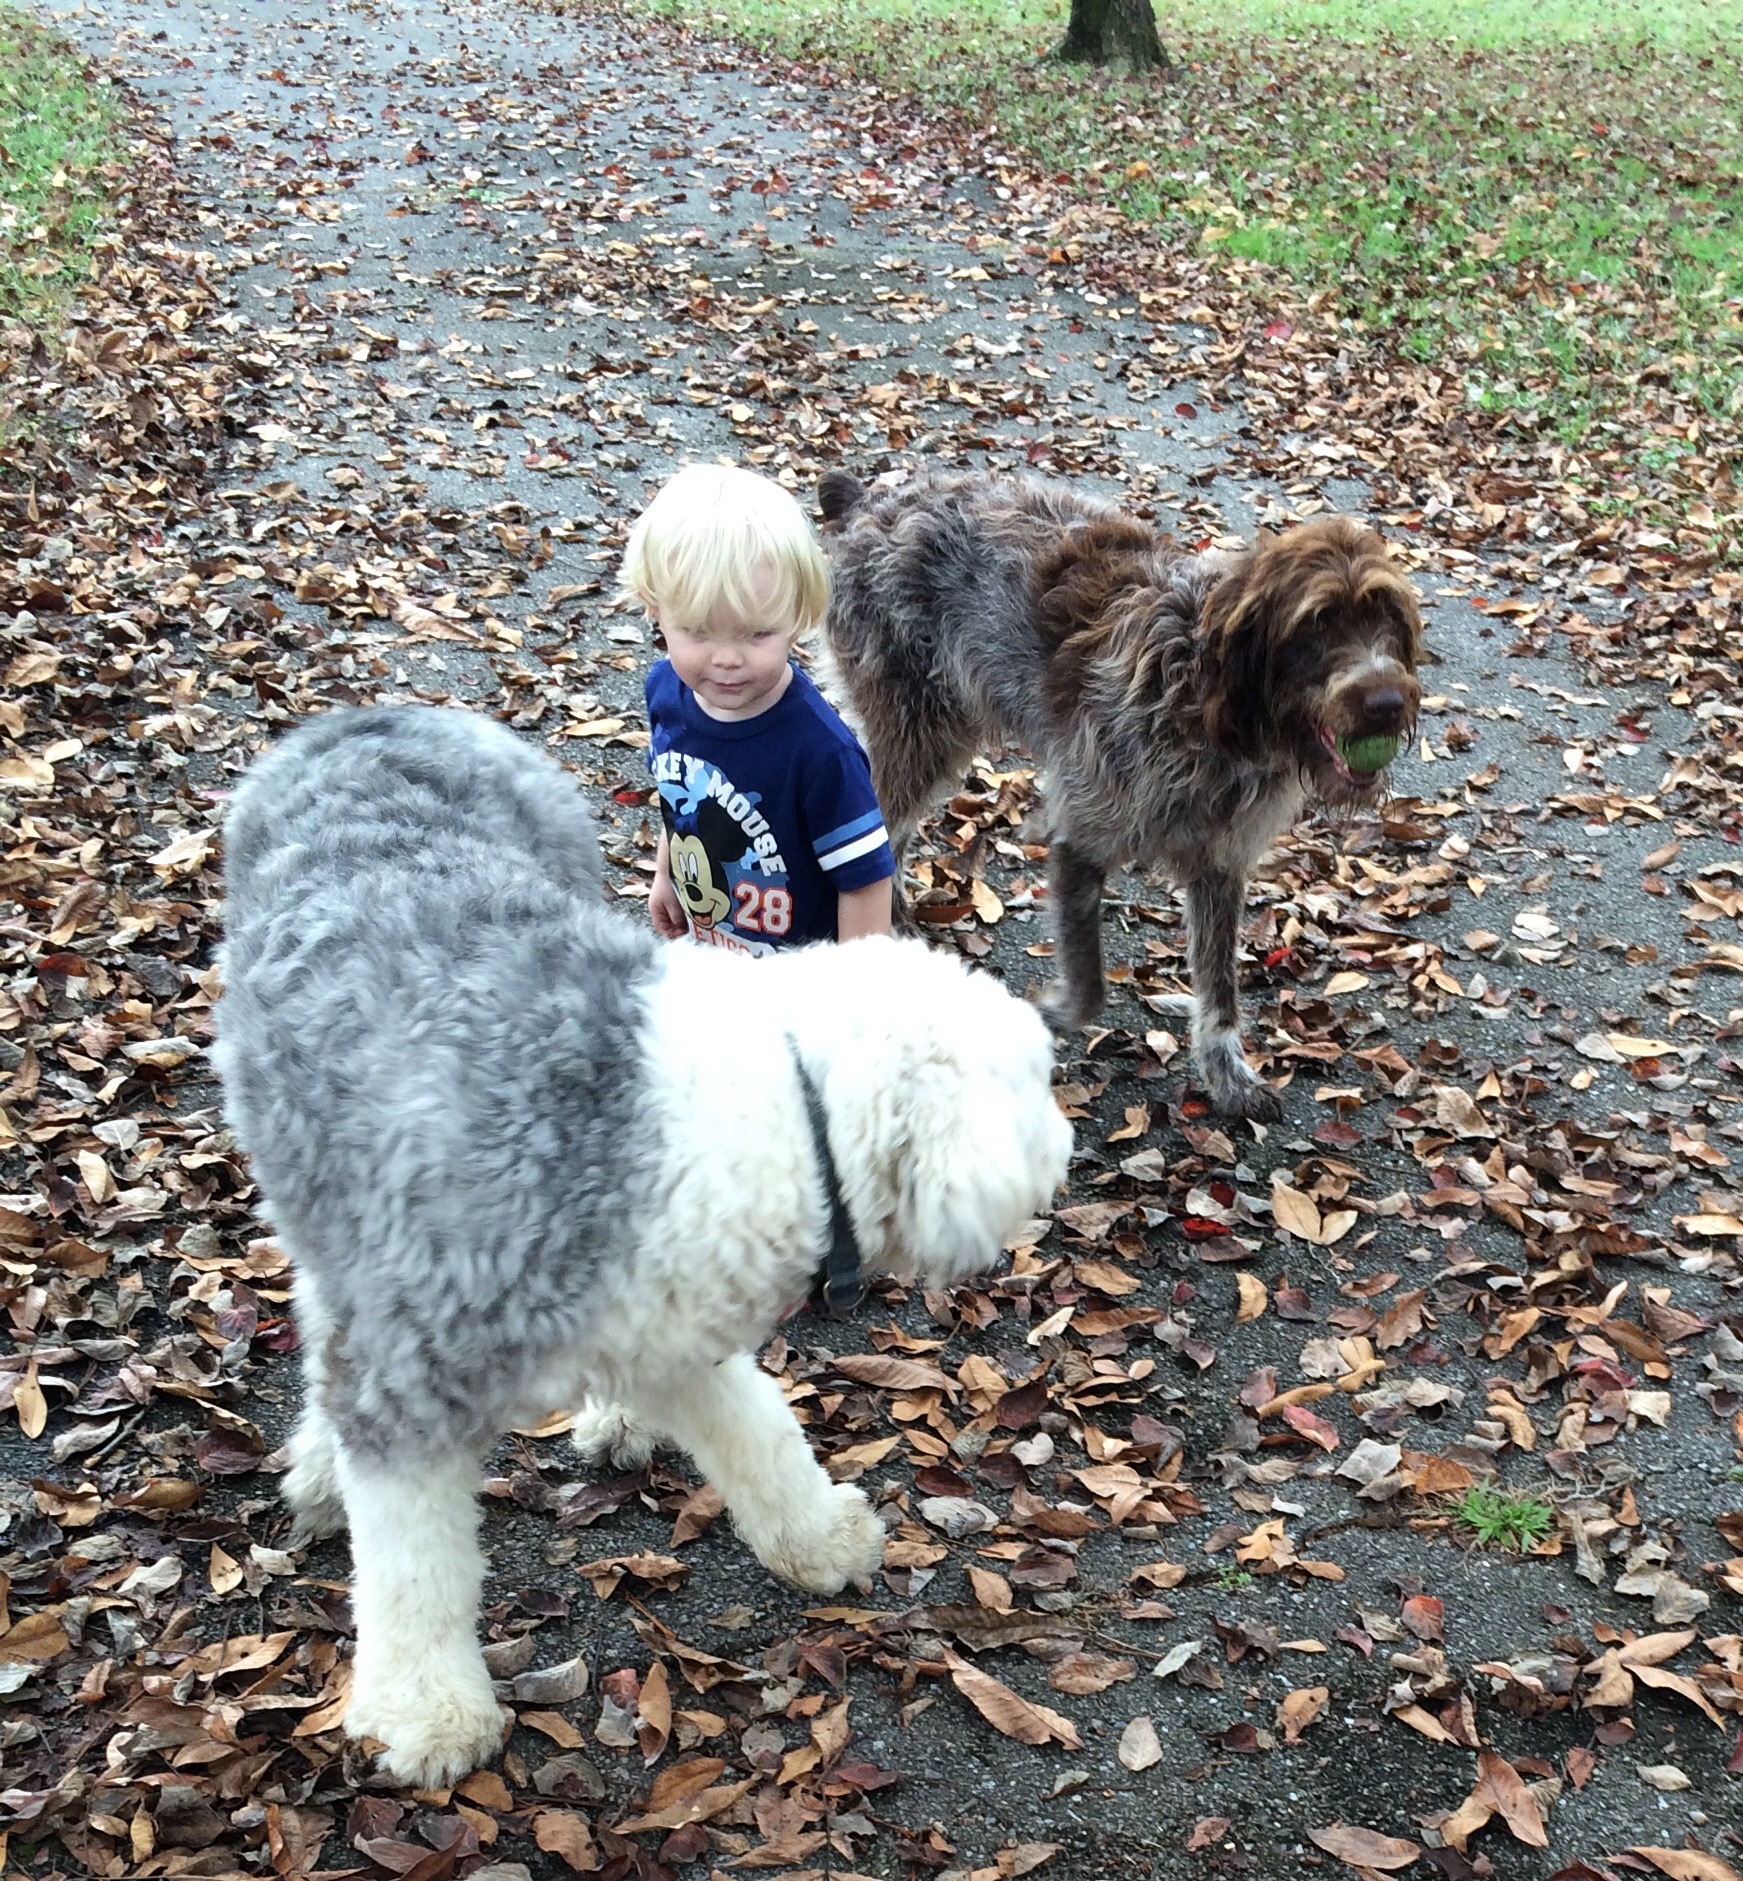
    6. Enjoy some outdoor time while you can! Now, the weather is not always perfect in the fall, so enjoy the nice days before it gets too cold. My toddler loves to run around outside and especially play fetch with our two dogs.
    Hope this gives you some new ideas to do with your toddler this fall. If you have any other fun activities you enjoy doing with your little one, please comment. I am always trying to find new activities to enjoy! Most importantly, enjoy every minute with your little ones because time just goes too fast.

  • Sweet Treat: Snickerdoodles

    Sweet Treat: Snickerdoodles

    I have been in a super baking mood lately. Also, I’ve been trying to keep my toddler occupied with fun activities too, such as baking. He’s at the age where he wants to learn and get into everything. I was trying to make a cookie that he would enjoy and that didn’t have chocolate in it. These snickerdoodles are super simple to make and will satisfy anyone’s sweet tooth. They will also make a fun baking activity for your little one to help with.  

    Snickerdoodles

    Yield: 3 dozen

    Prep Time: 10 mins

    Cook Time: 11-12 mins

    Total Time: 22 mins

    Ingredients:

    1 cup of unsalted butter, softened

    1 1/3 cup of sugar

    1 large egg

    2 tsp of vanilla extract

    3 cups of all-purpose flour

    2 tsp of cream of tartar

    1 tsp baking soda

    2 1/2 tsp of cinnamon

    1/2 tsp of salt

    Topping:

    1/4 cup of sugar

    2 tsp of cinnamon

    Directions:

    Preheat oven to 375 degrees F. Spray Cookie Sheet with nonstick cooking spray.

    To make the topping, mix 1/4 cup of sugar with 2 tsp of cinnamon in a small bowl. Set aside.

    In a large bowl using a mixer (hand-held or standing), cream the softened butter for about 1 minute on medium speed. When butter is smooth, add the sugar on medium speed until fluffy. Add egg and vanilla. Set aside.

    In another bowl, whisk together the flour, cream of tartar, baking soda, cinnamon, and salt. With the mixer running on low speed, slowly add the dry ingredients to the wet ingredients in 3 parts. The dough will be thick and you may eventually have to stir by hand to get the dough well incorporated.

    Then take a tbsp of dough and roll into a ball. Roll the dough balls into the cinnamon-sugar topping. Bake cookies for 11-12 minutes. The cookies will be very puffy and soft. Allow cookies to cool on the baking sheet for 10 minutes, then transfer to a wire rack to cool completely. Store cookies in an air-tight container. 

    Enjoy!

  • The Unforgettable Six Pack

    The Unforgettable Six Pack

    My husband and I met in the beginning of 2006. I married my best friend in 2009. We were happy, love birds.  It was just the two of us. We moved across the country to Washington State that year. And in 2010, we found our new member of the family, Jerry. A scruffy but distinguished fellow that loves to hunt. Later that year, we picked up another new member of the family, Bob. The loyal companion that is always by your side, yet thinks he’s only a 20lb. lap dog. And we became a family of four. We love our fur boys so much!   

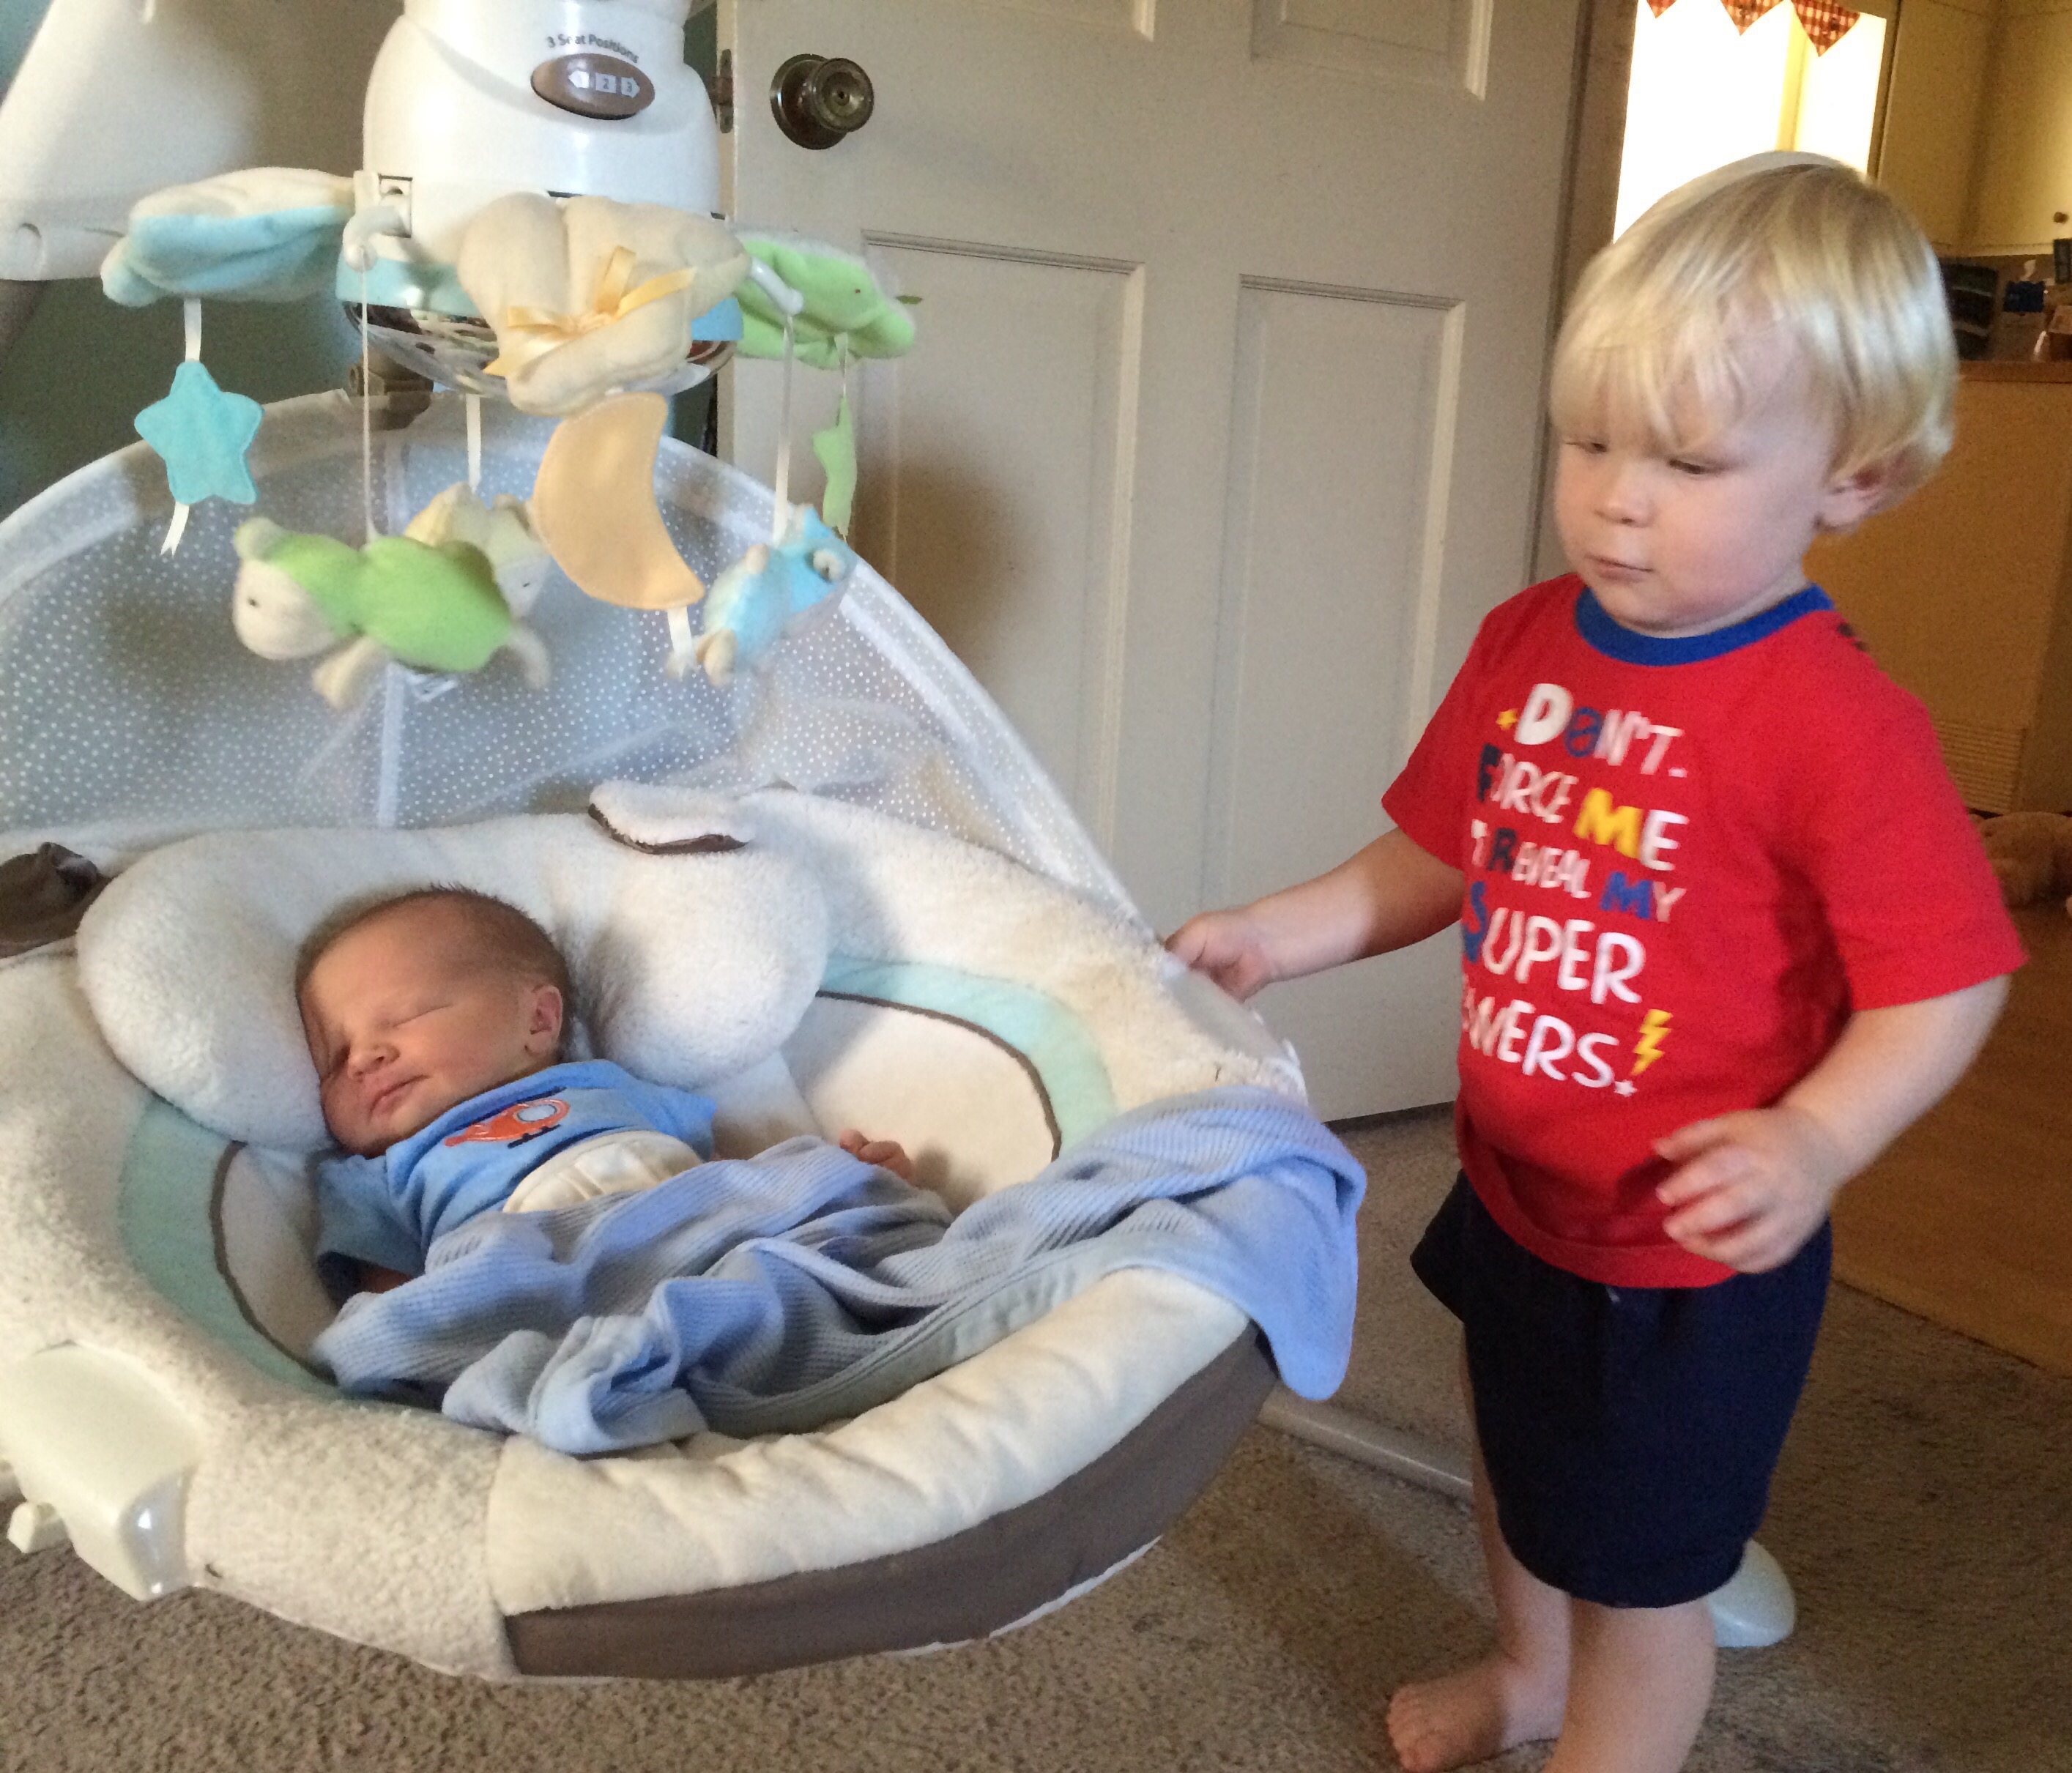
    Yet, by 2013, we felt something was missing. A pitter patter of feet, you might say. We moved back across the country to Tennessee and in March of 2014, we had our first little boy, Vincent. A blonde, blue eyed flirt that is always the life of the party. Then by surprise, in the beginning of 2015, we found out we had a new bundle of joy on the way. In the beginning of October, we welcomed Steven to the world. He’s my brunette, hazel eyed thinker. We have become a six pack now. Now with two little ones until 19 months, it has been crazy in our household, but I wouldn’t change it for the world.  

    The daily juggling act has been a challenge getting used to. Making sure each child gets quality time as well as my 19 mo old has plenty of educational and creative learning throughout the day. We are still working on a routine. My husband is an amazing stay at home dad. Without him, there are times I don’t know if I could have done it by myself. For one, occupying a toddler while breastfeeding or pumping. The first few days were rough. Yet, we have figured out a method to our madness. Reading to my toddler while I feed the new little one or pump has been key. Vincent will bring me a stack of books and we just begin from there. Sometimes reading the same book two or three times in a row, like “Go, Dog, Go.” Goodness! I think I could quote that book verbatim. Yet, it is a good book! Another challenge was teaching my toddler to be gentle with the new baby. We discussed the topic with him on a few occasions before Steven got here, but experience learning is key with a toddler. I swear that seems like my phrase of the day lately, “Be Gentle!” My toddler has a big heart, and is so loving yet he’s built like Bam Bam and doesn’t realize his strength. He has been doing good so far. My other challenge has been if the baby has something, my toddler wants it too. Thank goodness, I had two boppies. My toddler has to sit with his boppy if Steven is feeding and using his own. Two blankets, two toys, kisses for each, and attention spread evenly. I give props to all the mommies dealing with this right now. It’s not easy some days. Oh, and don’t forget the fur babies, they need attention and exercise too. Working that into a schedule can be hectic at times. Our dynamic six pack is a handful some days but with each new day the routine gets easier. The quality time with each person in our little troop can be difficult to juggle but I make sure that each person or furry one knows how much I love them and how important they are each day. And that is the answer to keeping a happy family. No one left out, and love spread daily. My husband and I are very lucky to have such a wonderful family. Counting our blessings daily!

    If you have a routine of managing a family you would like to share, please comment! I would love to hear others methods of juggling daily life with toddlers. Thanks for reading!

  • Mad About Pumpkin: Gluten Free Pumpkin Pupcakes

    Mad About Pumpkin: Gluten Free Pumpkin Pupcakes

    I love pumpkin! This is my favorite time of year just to cook as many pumpkin things as I can. My fur babies enjoy pumpkin too so I couldn’t leave them out from enjoying a tasty treat. One of my boys is gluten intolerant so I have to make all dog treats gluten free. These Pupcakes are definitely in high demand in my house. Share the joy of fall with your fur babies!

    Pumpkin Pupcakes

    Yield: 12 Pupcakes 

    Prep Time: 10 mins

    Cook Time: 27 mins

    Total Time: 37 mins

    Ingredients

    1 cup of pumpkin puree

    1/3 cup of peanut butter

    1/3 cup + 1 tbsp of vegetable oil

    1 egg, lightly beaten

    3 tbsp of honey

    1/2 tsp of baking soda

    1 tsp of baking powder

    1 1/2 cups of Gluten Free Flour

    Directions

    Preheat oven to 350 degrees F. Place cupcake liners in your cupcake pan.

    In a large mixing bowl, add in the pumpkin puree, peanut butter, vegetable oil, egg, and honey. Whisk together until combined.

    Add in the baking soda, baking powder, and whole wheat flour. Mix together with spatula. The batter is thick.

    Scoop the batter and fill the cupcakes almost to the top of the liner.

    Place in the preheated oven and let bake for 25 – 27 minutes or until done. Stick a tooth pick in the center of the pupcakes and if it comes out clean, it’s done.

    Let cool completely. Then give your fur babies a treat for being so great!

    Enjoy!

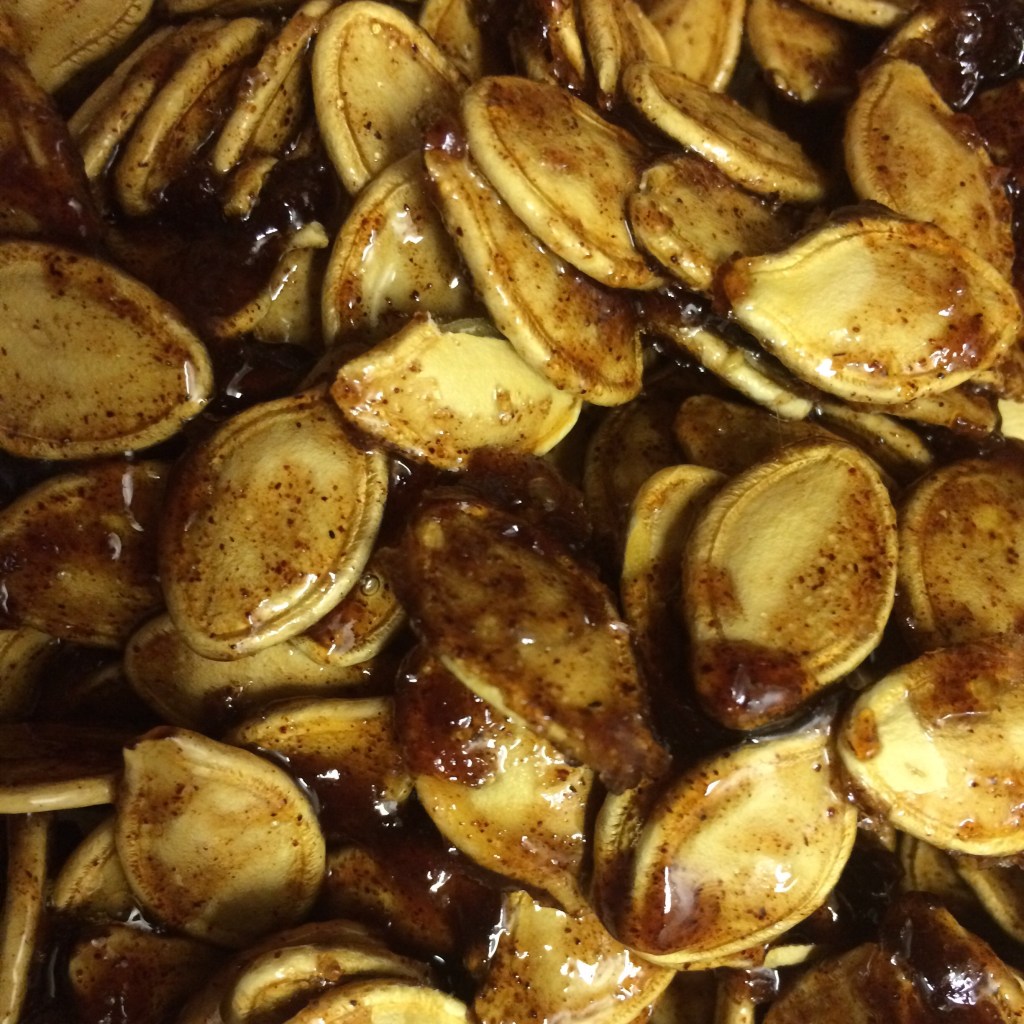
  • Mad About Pumpkin: Cinnamon Sugar Roasted Pumpkin Seeds

    Mad About Pumpkin: Cinnamon Sugar Roasted Pumpkin Seeds

    When carving my Halloween pumpkin each year. I try to figure out how to use all parts are the pumpkin, as to not waste it. So of course, to roast the pumpkin seeds is part of it. You can do a variety of flavors with the pumpkin seeds; spicy, salty, honey sweet. But my favorite by far is always the simple cinnamon and sugar. It’s an easy snack to make, that you can eat on the go! And with my life of two little ones under 2 years old, I need things I can snack on while running around.

    Cinnamon Sugar Roasted Pumpkin Seeds

    Prep Time: 10 mins

    Cook Time: 40 mins

    Total time: 50 mins

    Ingredients

    2 cups of Pumpkin Seeds

    1/4 cup of margarine, melted

    1 tbsp of brown sugar

    1 tsp of cinnamon

    1/8 tsp of salt

    1/8 cup of sugar

    Topping:

    2 tbsp of brown sugar

    2 tbsp of sugar

    1 tsp of cinnamon 

    Directions

    Preheat oven to 350 degrees F.

    Combine the pumpkin seeds, margarine, brown sugar, cinnamon, salt, and sugar in a bowl; stir to coat the seeds. Spread the seeds out on a greased cookie sheet or large casserole dish. 

    Bake in the preheated oven for 8-10 minutes; stir and return to oven for 8-10 minutes more; remove from oven and sprinkle half of the topping over the seeds; stir to coat. Return to oven and bake another 8-10 minutes before removing again to sprinkle with the remainder of topping and stirring. Bake another 8-10 minutes. Allow to cool before serving. Store leftover seeds in an airtight container.

    Bon Appetit!!!

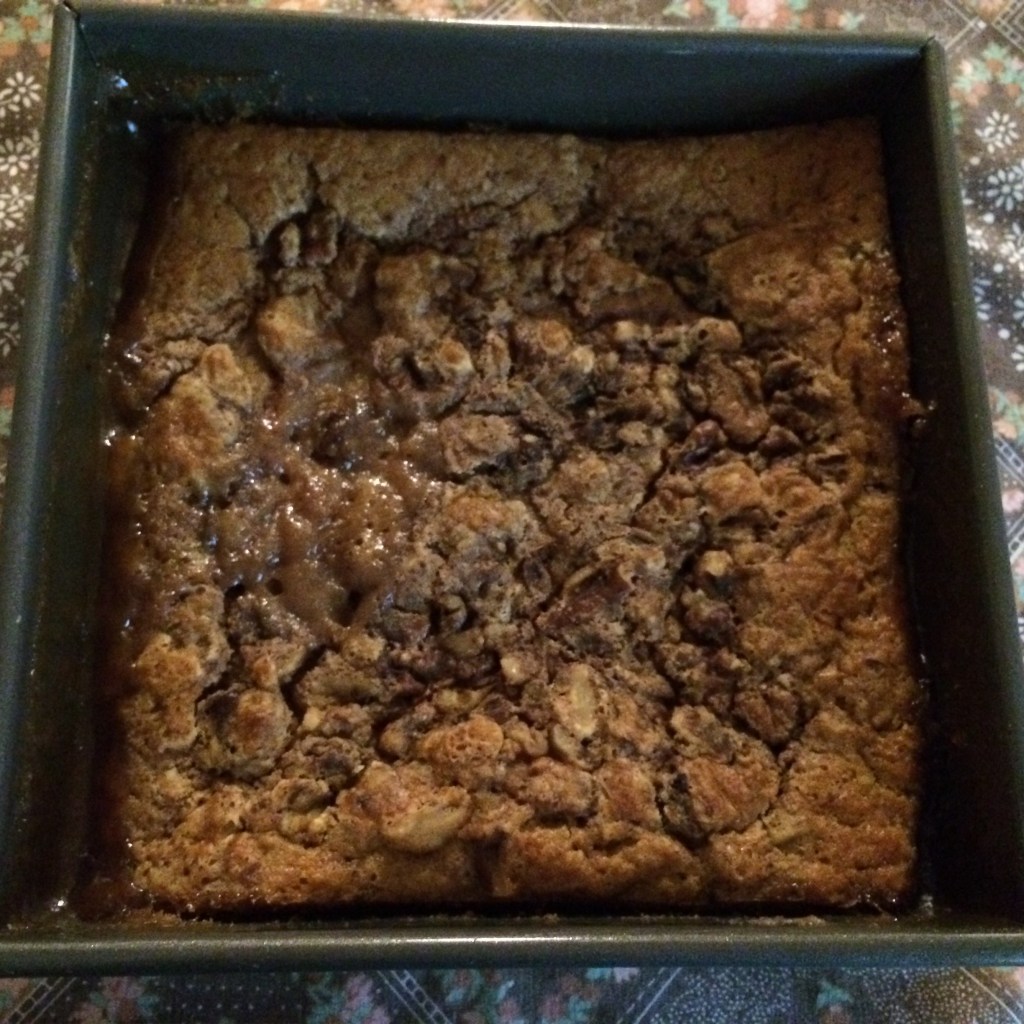
  • Mad About Pumpkin: Pumpkin Walnut Cobbler

    Mad About Pumpkin: Pumpkin Walnut Cobbler

    It’s Fall! The leaves are changing, crisp smell in the air, cooler weather, and oh yes! PUMPKIN! If you are like me I look forward to this part of the year just to bake as much as I can with Pumpkin. It makes the whole fall season for me. My first creation I made this year is a Pumpkin Walnut Cobbler. Simple, rich, and delicious!

    Pumpkin Walnut Cobbler

    Yield: 9 servings 

    Prep Time: 10 minutes 

    Cook Time: 50 minutes 

    Total Time: 60 minutes

    Ingredients

    1 cup + 3 tablespoons all purpose flour

    2 teaspoons baking powder

    1/2 teaspoon salt

    3/4 cup granulated sugar

    1 teaspoon cinnamon

    1/2 teaspoon nutmeg

    1/2 teaspoon cloves

    1/2 cup pumpkin puree

    1/4 cup milk

    1/4 cup vegetable oil

    1 1/2 teaspoons vanilla

    Topping

    1/2 cup granulated sugar

    1/2 cup brown sugar

    1/4 cup chopped walnuts

    1 1/2 cups very hot water
    Directions

    Preheat oven to 350 degrees.

    In a bowl, mix together flour, baking powder, salt, sugar and spices. Set aside.

    In another bowl, mix pumpkin, milk, vegetable oil, and vanilla together. Pour wet ingredients into dry ingredients and mix to create a thick batter. Pour into a small 8-inch casserole dish with high sides.

    In a separate bowl, combine sugar, brown sugar, and walnuts together. Spread over the top of the batter evenly. Pour hot water over the entire thing. Do NOT stir! Bake for 50 minutes or once the middle is set. Cool 5-10 minutes before serving. Serve with more walnuts and vanilla ice cream for an added delight!

    Enjoy!